
When biking in the Bay Area hill climbing is inevitable, but there’s hill climbing and then there’s mountain climbing. The mountain looming the background most everywhere in Marin County is Mount Tamalpais: the pinnacle of mountain climbing not only in Marin County, but the Bay Area. There are multiple routes to reach the top of Mt. Tam, as it’s affectionately known to locals, but a favorite is to approach it from Mill Valley. This route allows you to climb Mt. Tam in four separate stages. From the finish of each stage, you have the ability to turn back and descend into Mill Valley or Sausalito depending on how far you are prepared to climb. The first step in climbing Mt. Tam is arriving at Panoramic Highway, the gateway to Muir Woods and Stinson Beach. The first stage of this challenging assent includes 712 feet of climbing over the last two miles with spectacular views from Panoramic Highway. Whether you set your sights on conquering Mt. Tam or developing some serious hill climbing skills towards this goal, the vistas along this route will distract from the pain.
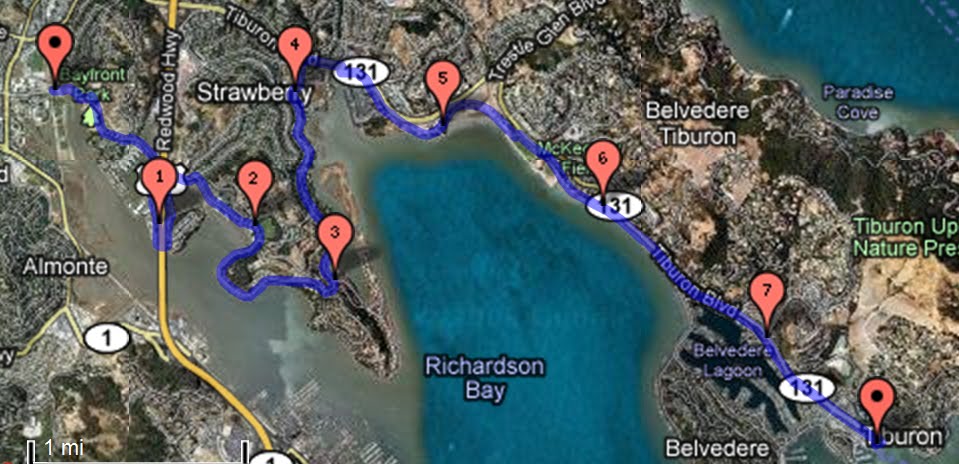
Distance: from San Francisco Ferry Building (see Golden Gateway Trail) 18.51 miles; from the Marin Crossroads 4.08 miles
Difficulty: No pain, no gain.
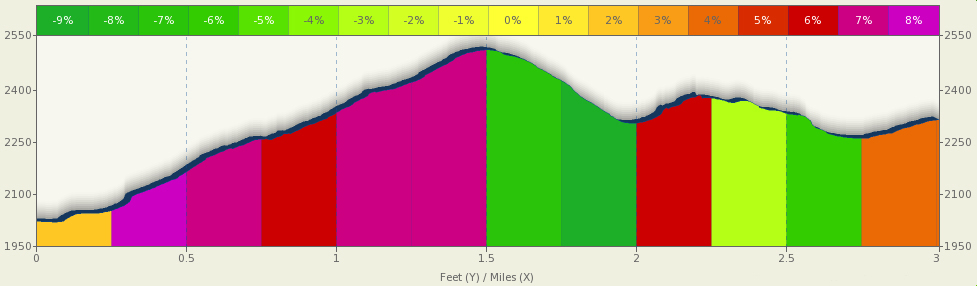
Climbing on Route: 712 feet (230 meters)
Total Elevation Gain from Marin Crossroads: 712 feet (230 meters)
Download your route sheet here: Directions – Somewhere Over the Rainbow
Download your route sheet for the entire Mount Tamalpais Route here: Directions – There and Back Again

FOR A MORE DETAILED LOOK click here for the full Geoped Map provided by g-map-pedometer.com.

Elevation Map for the Route provided by MapMyRide.com.
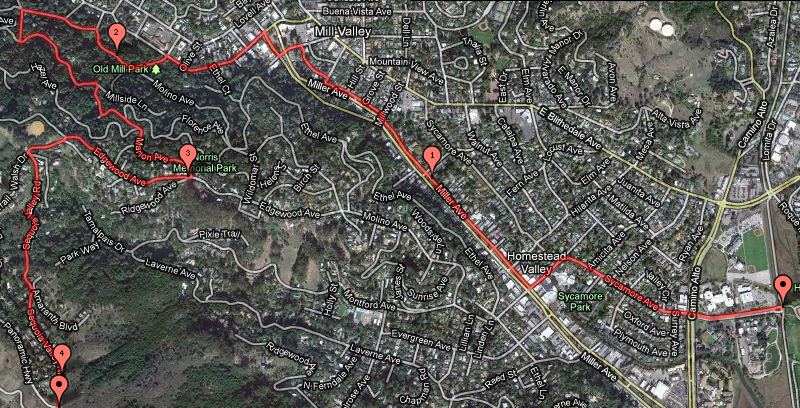
This route has a lot of twists and turns to it, so we’ve broken down the map into parts in order to make it easier to follow.

Marin Crossroads to Miller Avenue
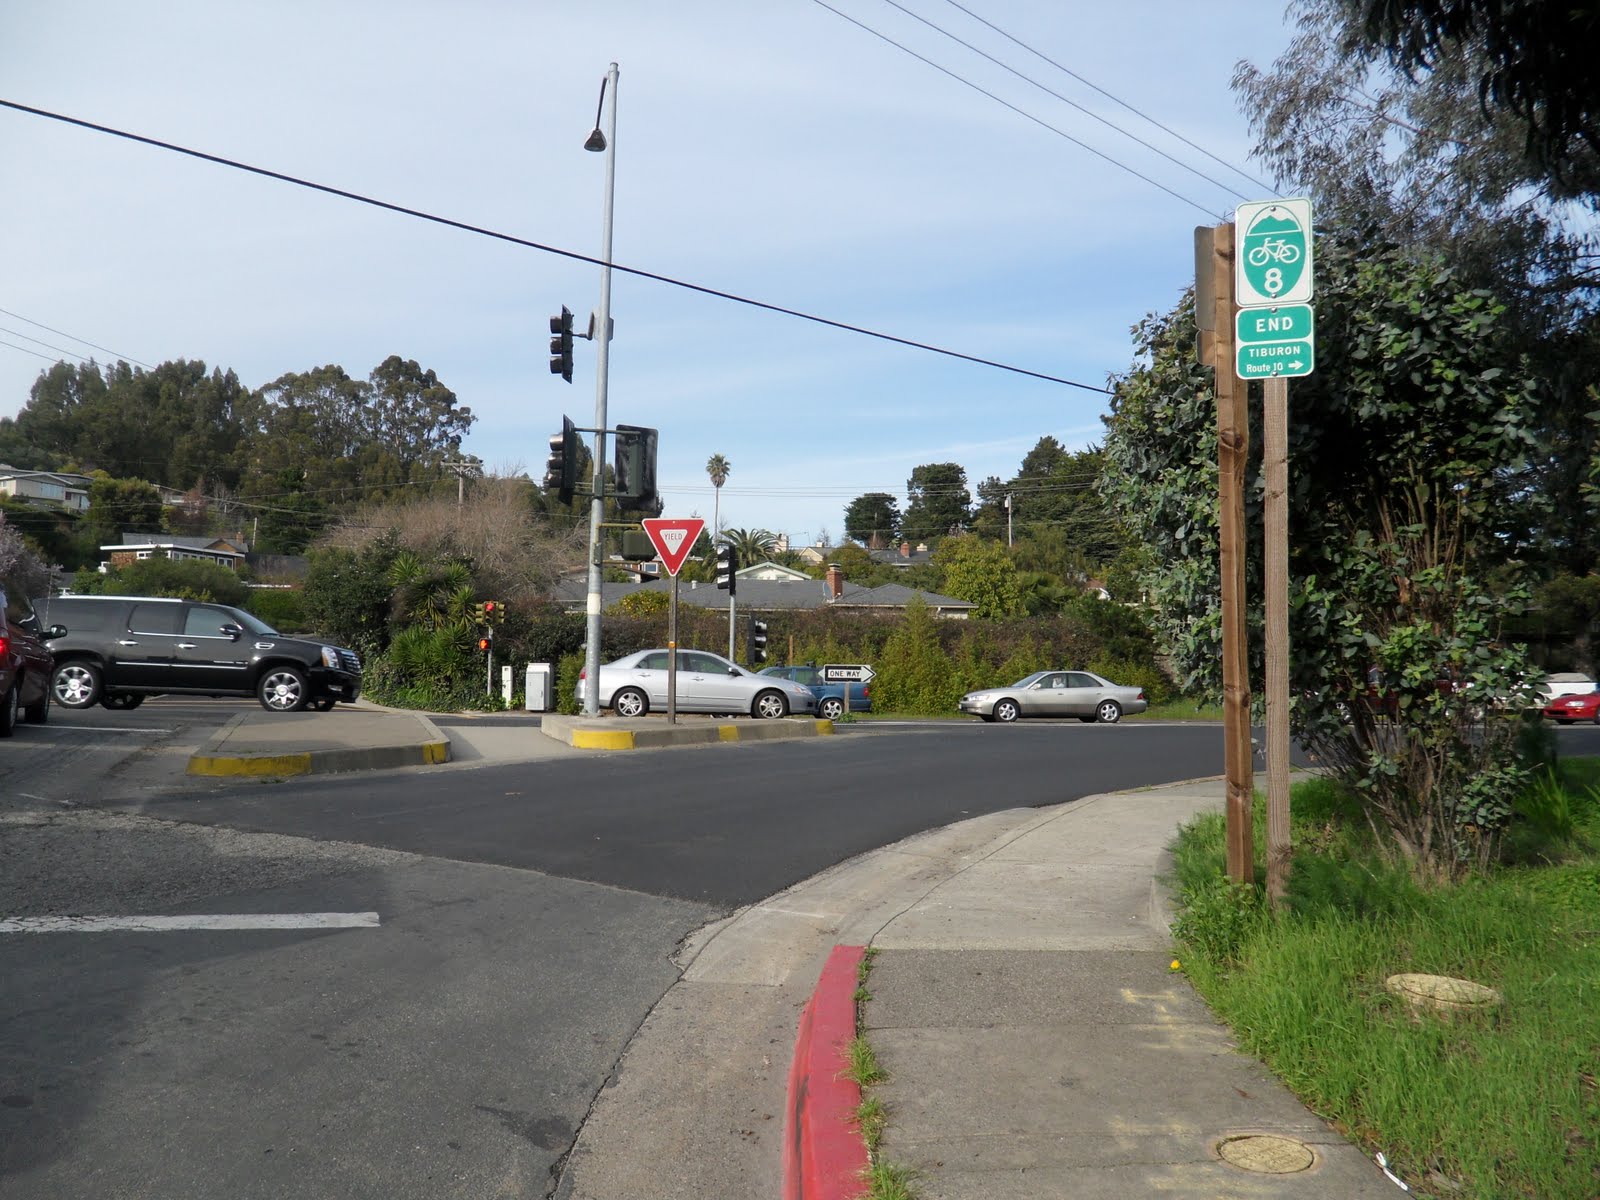
Starting from midway through Marin Crosroads, look for the traffic circle where Route 8 turns to the right towards Tiburon.


Make a left at the traffic circle, the opposite direction of Tiburon and follow Route 10 towards Mill Valley. This is Sycamore Avenue.


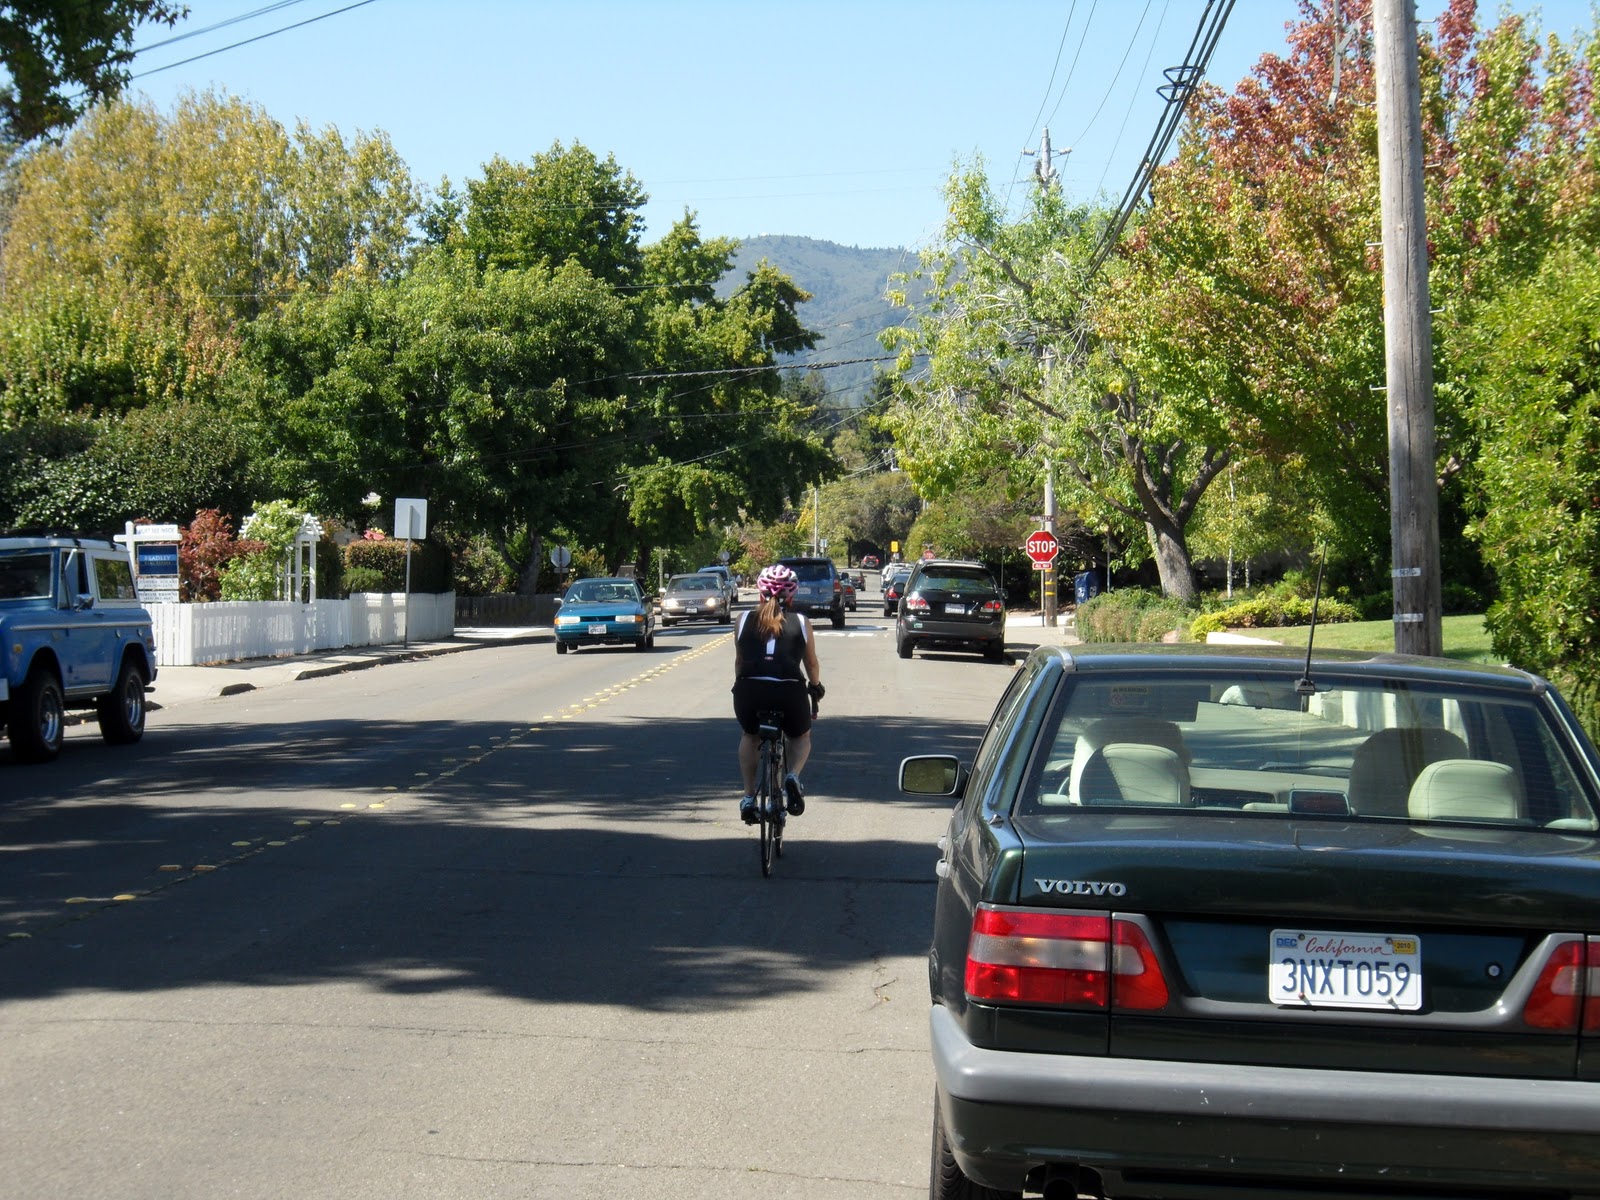
Heading down Sycamore Avenue
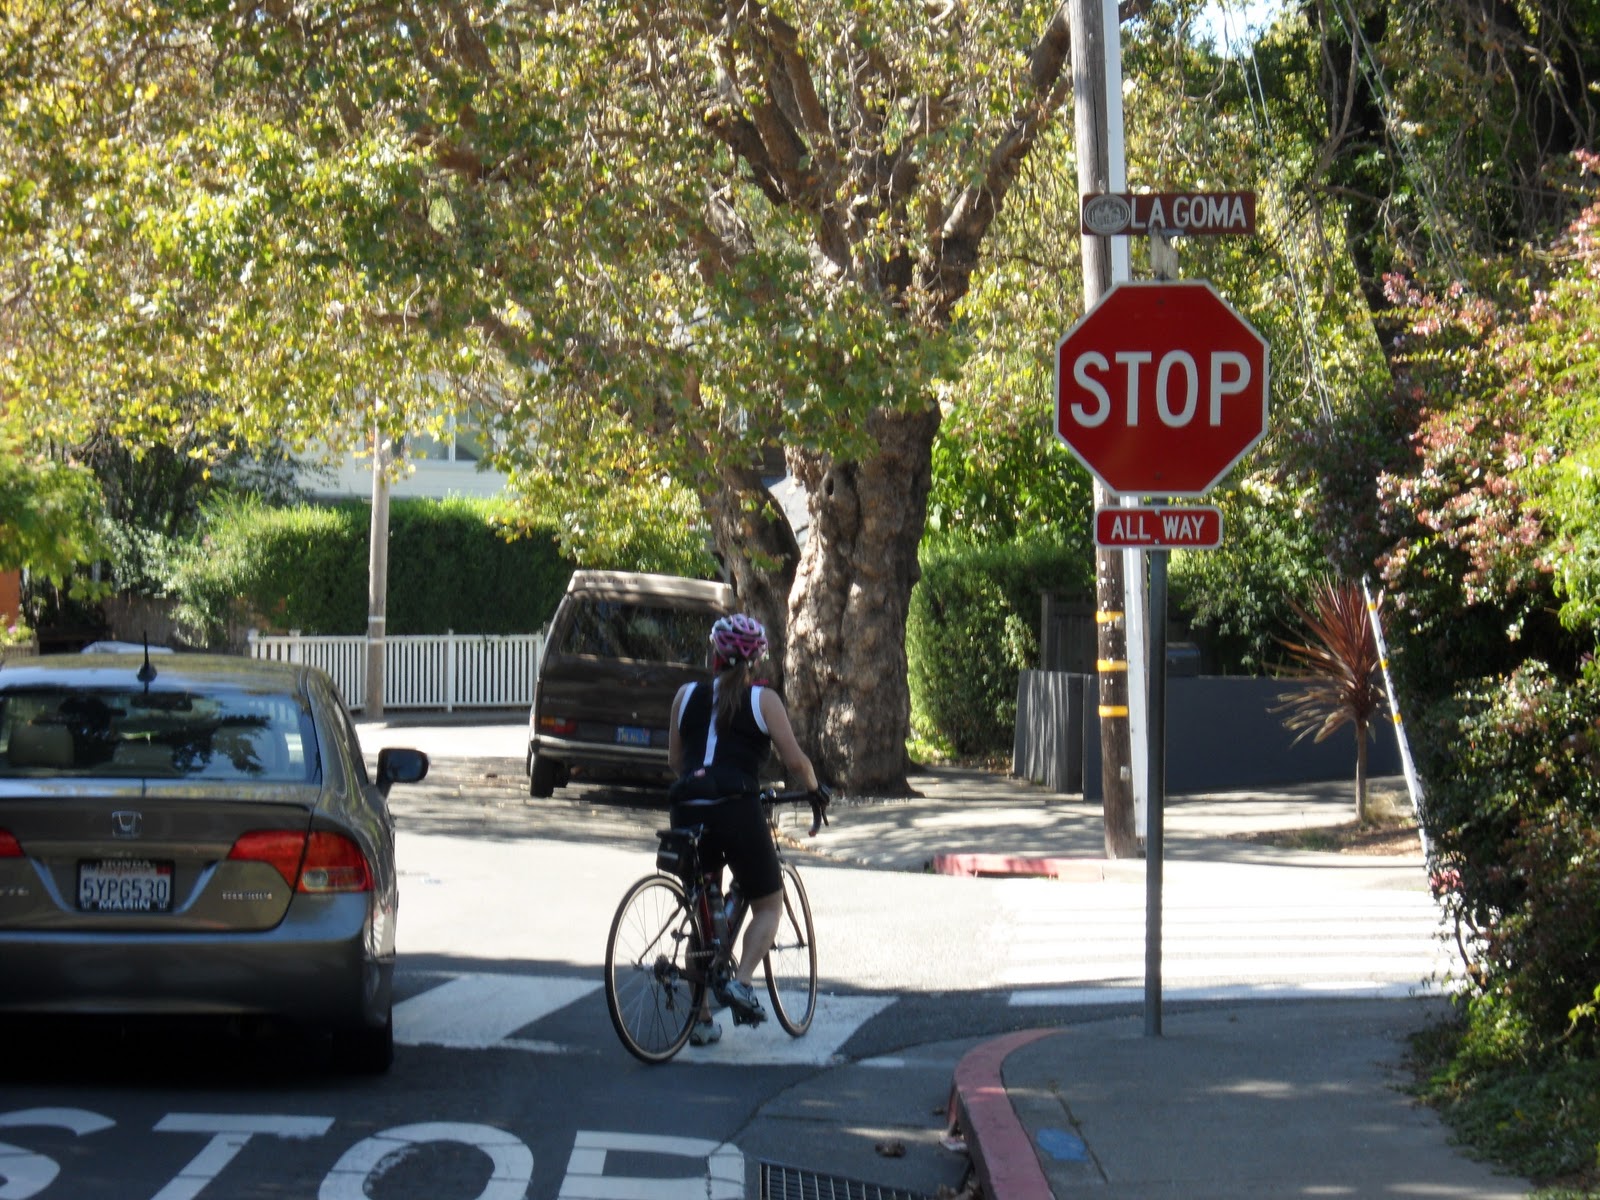
Go through the light and stop signs until you get to the intersection of La Goma. This is a five way stop and you will make an immediate left. You’ll see the orange house on the right, keep following La Goma until you get to Miller Avenue.

Left on La Goma

Follow La Goma

Miller Avenue to Presidio Avenue
At the first stop sign on La Goma, make a right on to Miller Avenue. As you head down Miller Avenue you’ll see Mt. Tam in the foreground.

Right on Miller Avenue

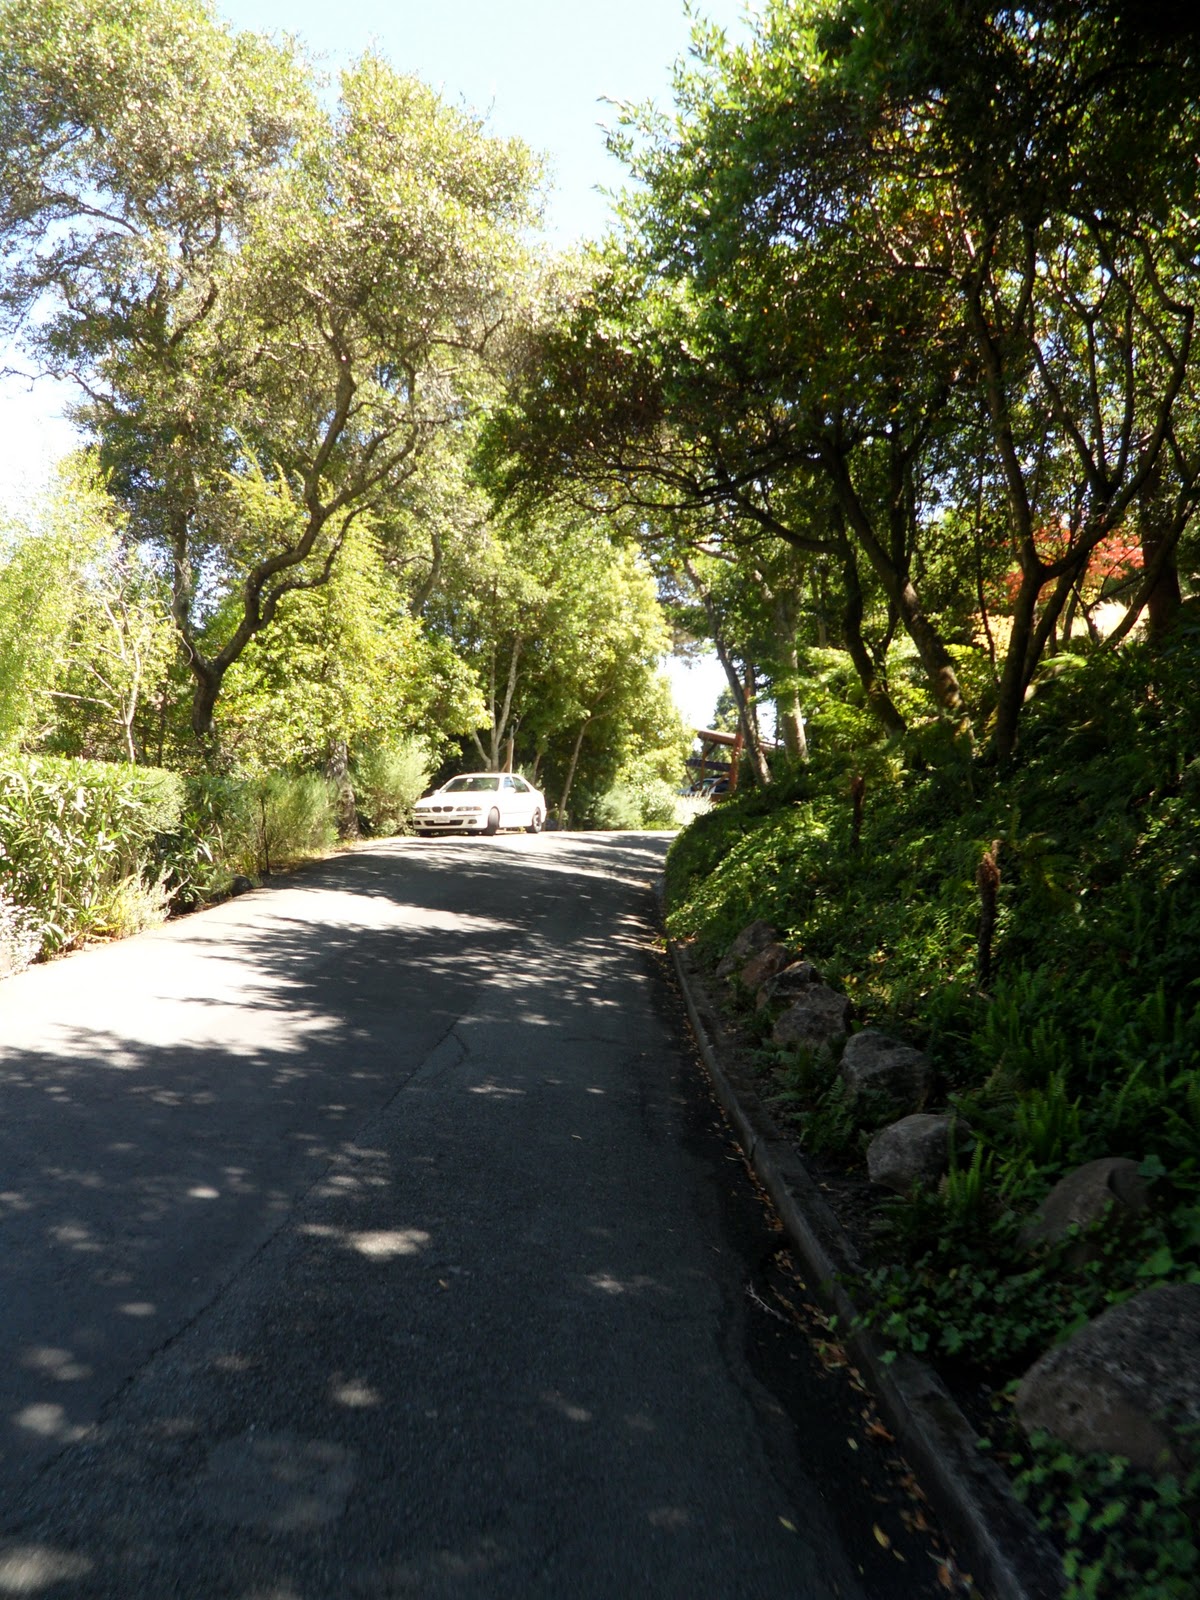
Heading down Miller Avenue towards Mt. Tam
You’ll know you’re on the right path when you pass the “village”, seemingly lost in time…Riding down Miller Avenue, you’ll see palm trees and redwoods growing side-by-side, perhaps an oddity unique to Northern California.


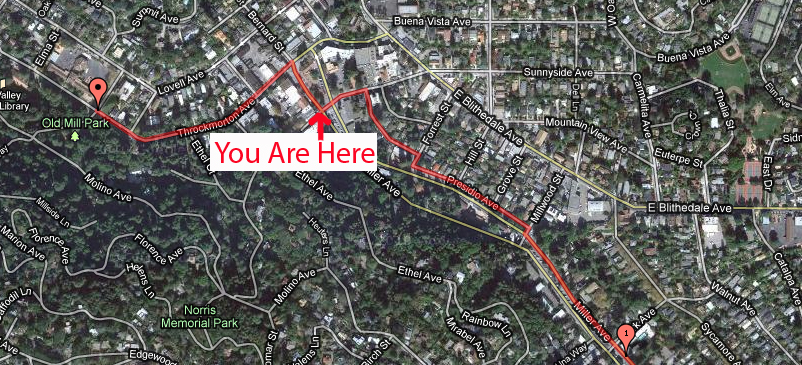
Presidio Avenue to Old Mill Park
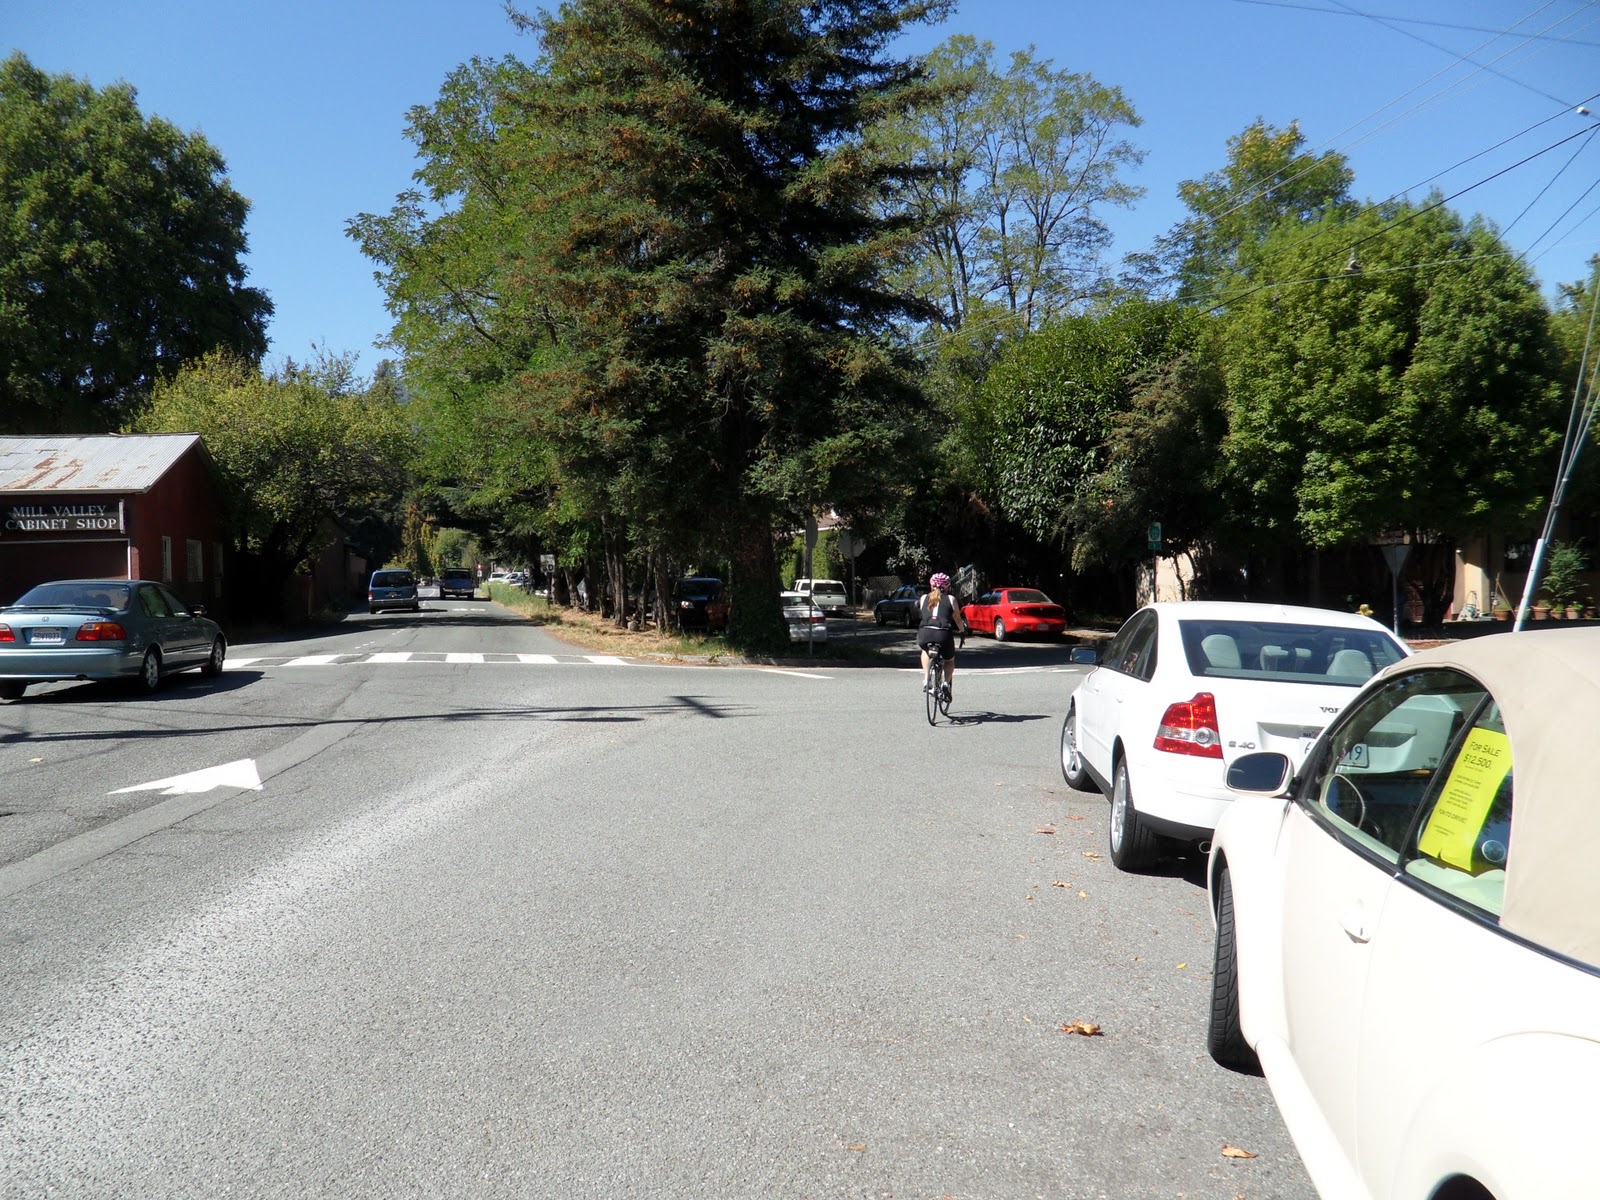
Follow Miller Avenue until you approach the Mill Valley Cabinet Shop on your left. Here, you’ll make a quick right onto Millwood Street and then an immediate left onto Presidio Avenue.

Mill Valley Cabinet Shop on left, signals a right onto Millwood and left onto Presidio (the red car is on Presidio)
Follow Presidio Avenue and Route 10 where you’ll ride by Mill Valley’s namesake…the mill.


Mill Valley Lumber Company
After passing the mill, you’ll come to a bend in the road where you follow the Route 10 signs through a bend to the right. Follow the directions of the “little green man” around the bend.

The little green man signals the route

and then a quick left onto Laurelwood…


Follow Laurelwood until it ends at Sunnyside Avenue. Then make a left onto Sunnyside Avenue.


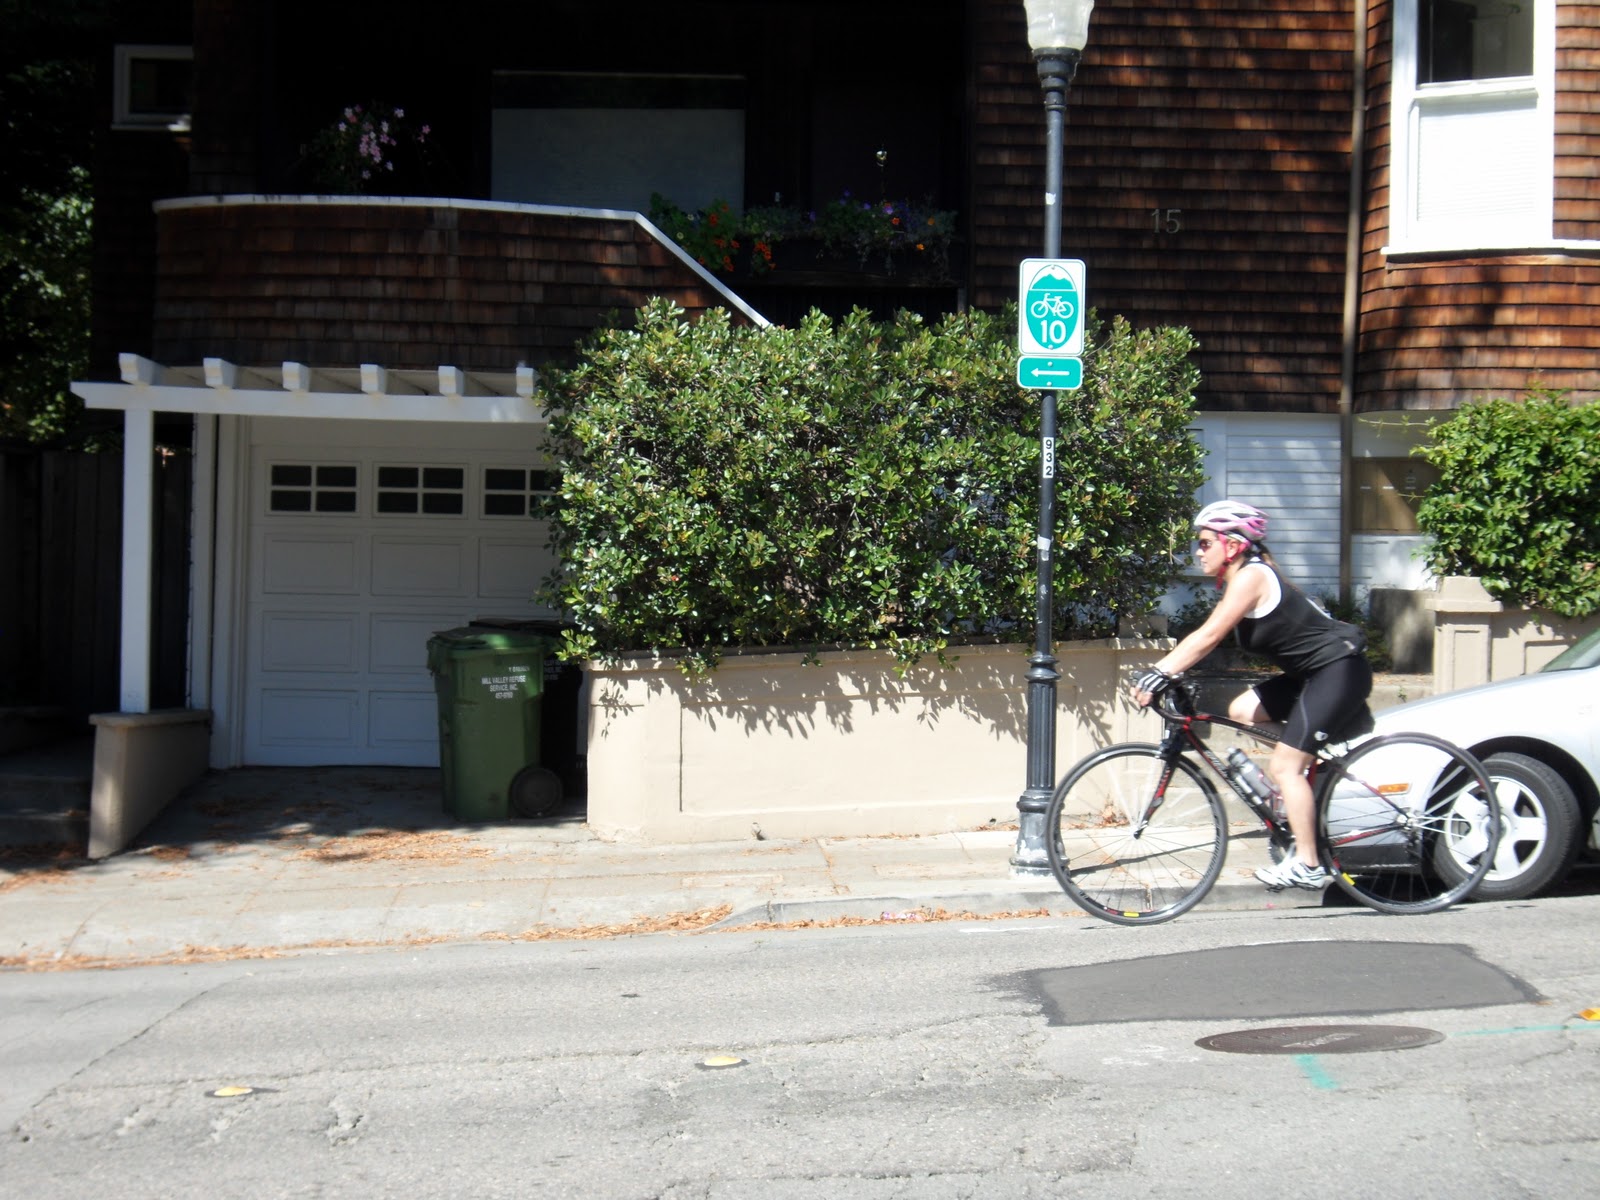
Follow Sunnyside Avenue through the center of Mill Valley. Look at the map above and just remember to follow the Route 10 signs if the turns in this part of the route get a bit confusing. The twists and turns in this section are to keep you off Miller Avenue where it has high-speed traffic and no shoulder. Once you arrive at the stop sign with Miller Avenue, this signals the end of Route 10. The rest of journey to Panoramic Highway you’ll have to watch for the street names as this next part of the journey is not part of a marked bike route.


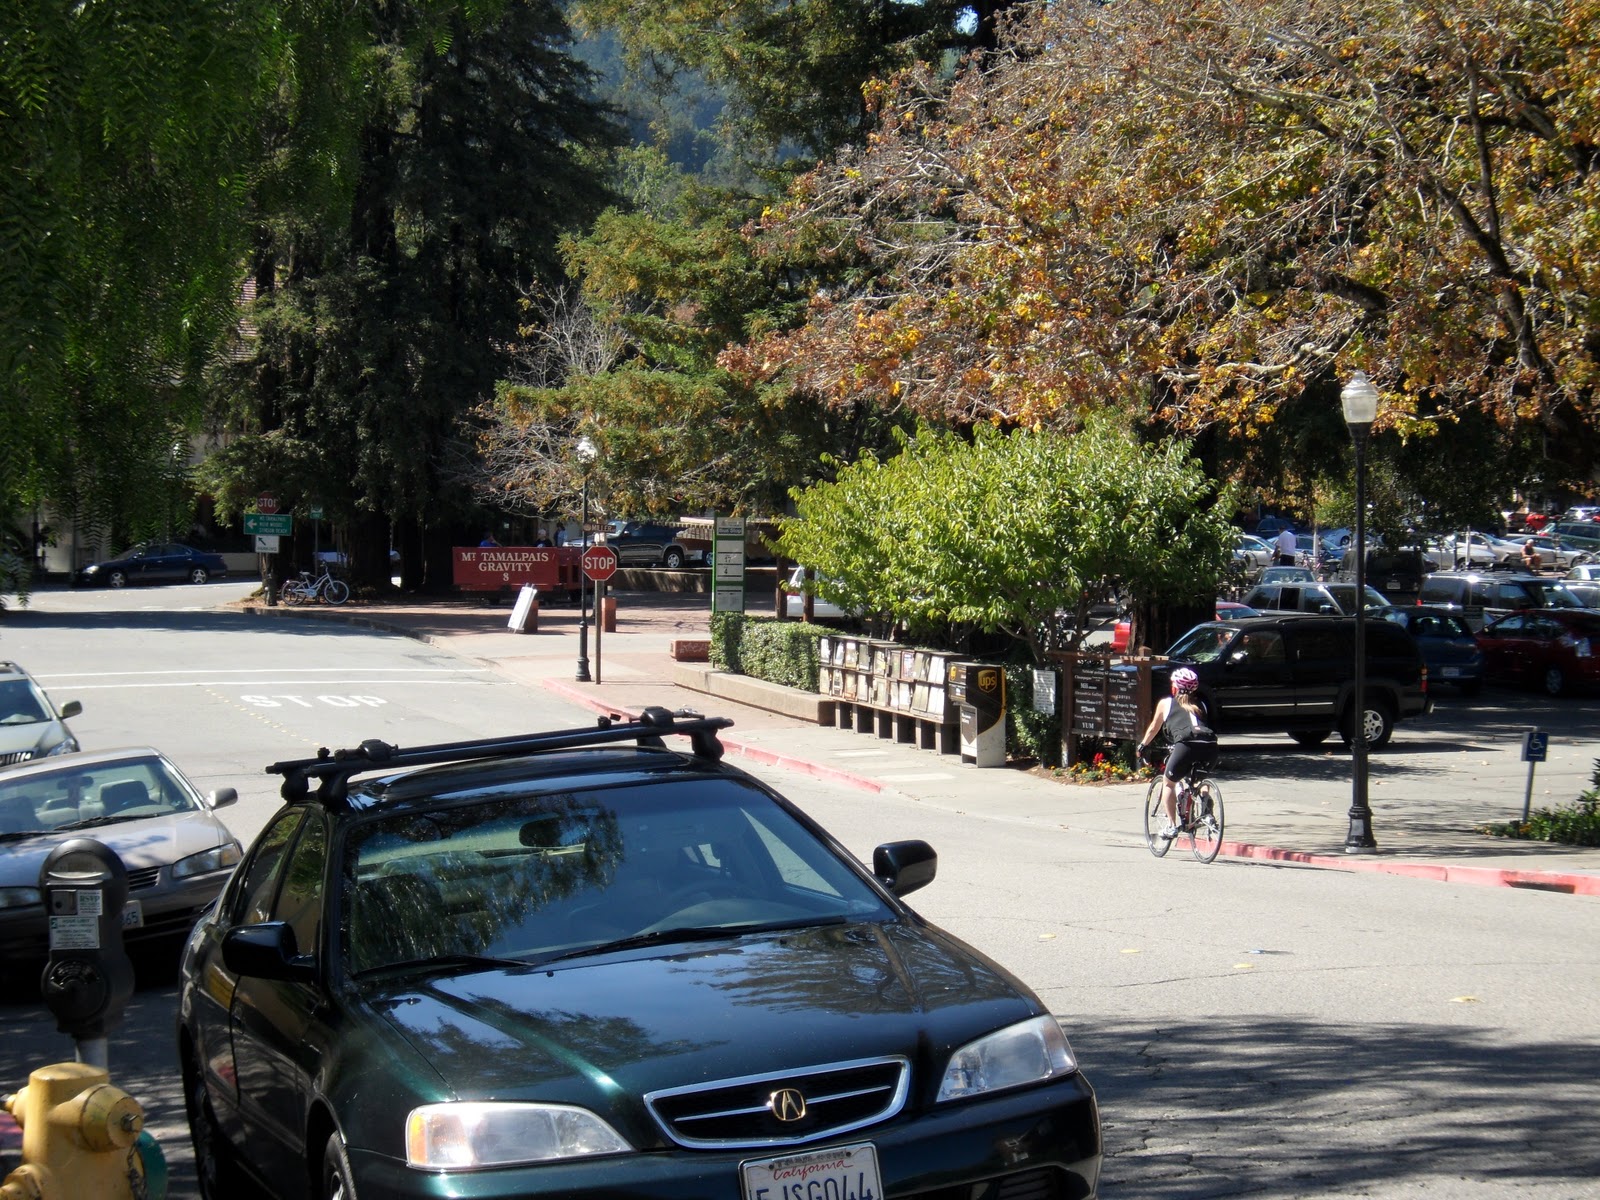
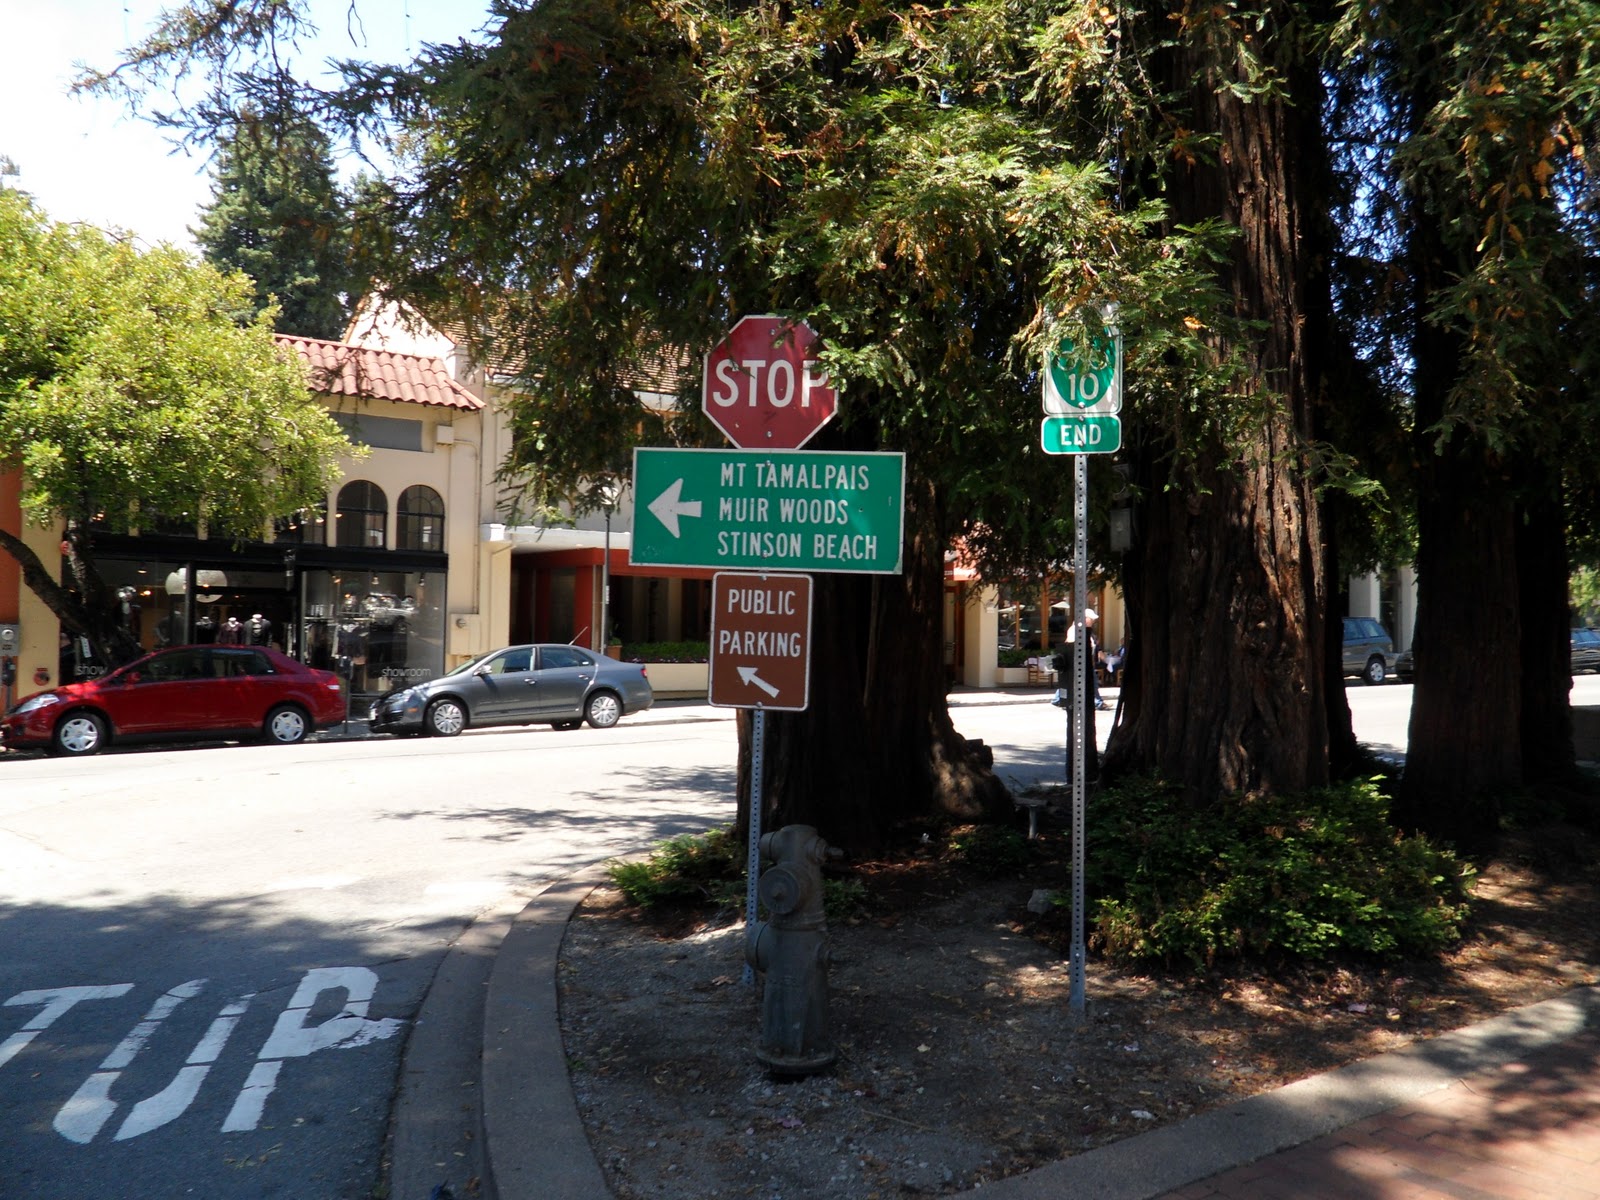
The stop sign at Miller is the end of Route 10
The green sign (pictured above), below the stop sign at Miller Avenue, indicates “Mt Tamalpais, Muir Woods and Stinson Beach” to the left, these are directions for cars, not cyclists. Instead, you will make a right on to Miller Avenue.

Another look at the map from Presidio Avenue to Old Mill Park

A look down the last section of Miller
At the next stop sign, you will encounter another five-way intersection (pictured below). Make an immediate left down Throckmorton Avenue. You will pass the Throckmoroton Theatre on your right.

The intersection at Throckmorton

Making a left onto Throckmorton
Follow Throckmorton until you reach Old Mill Park.

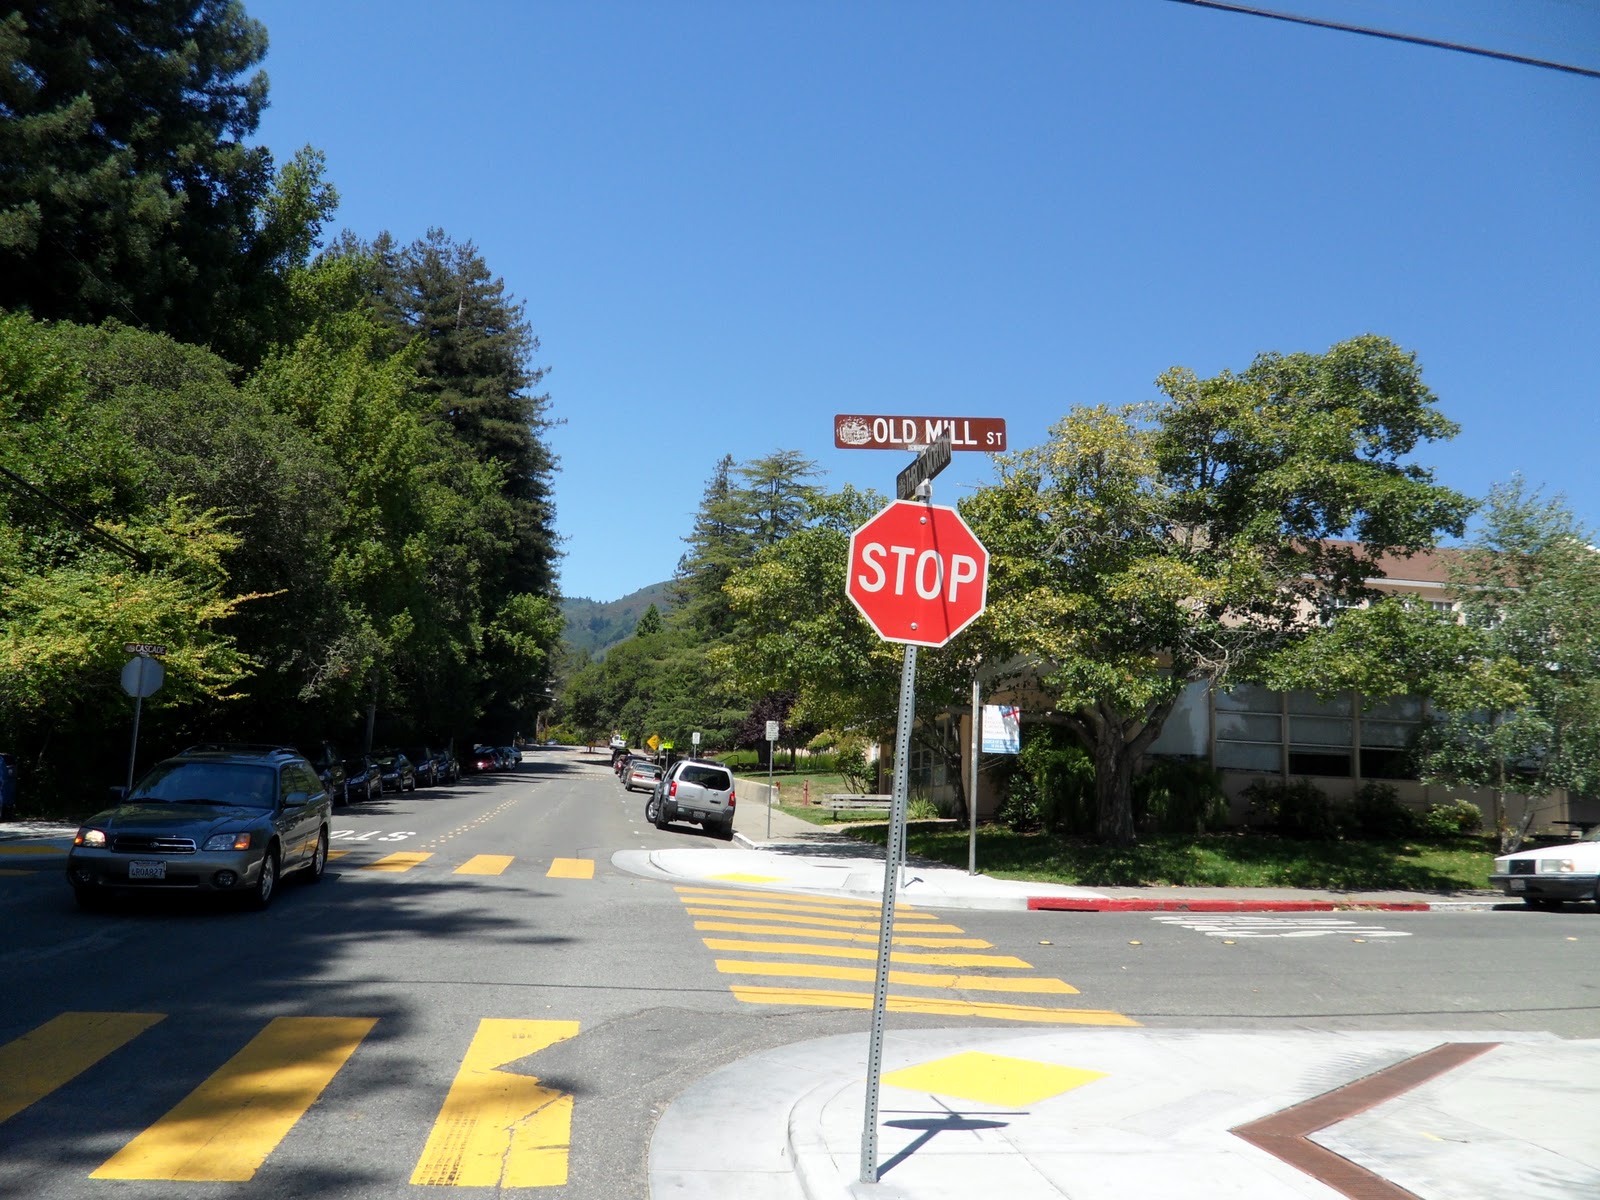
Old Mill Park to Edgewood Avenue
Make a left at the intersection onto Cascade Way/Old Mill Street and into Old Mill Park.

Intersection of Old Mill Street/Cascade Way and Throckmorton


There is a little slope you can glide down trough Old Mill Park
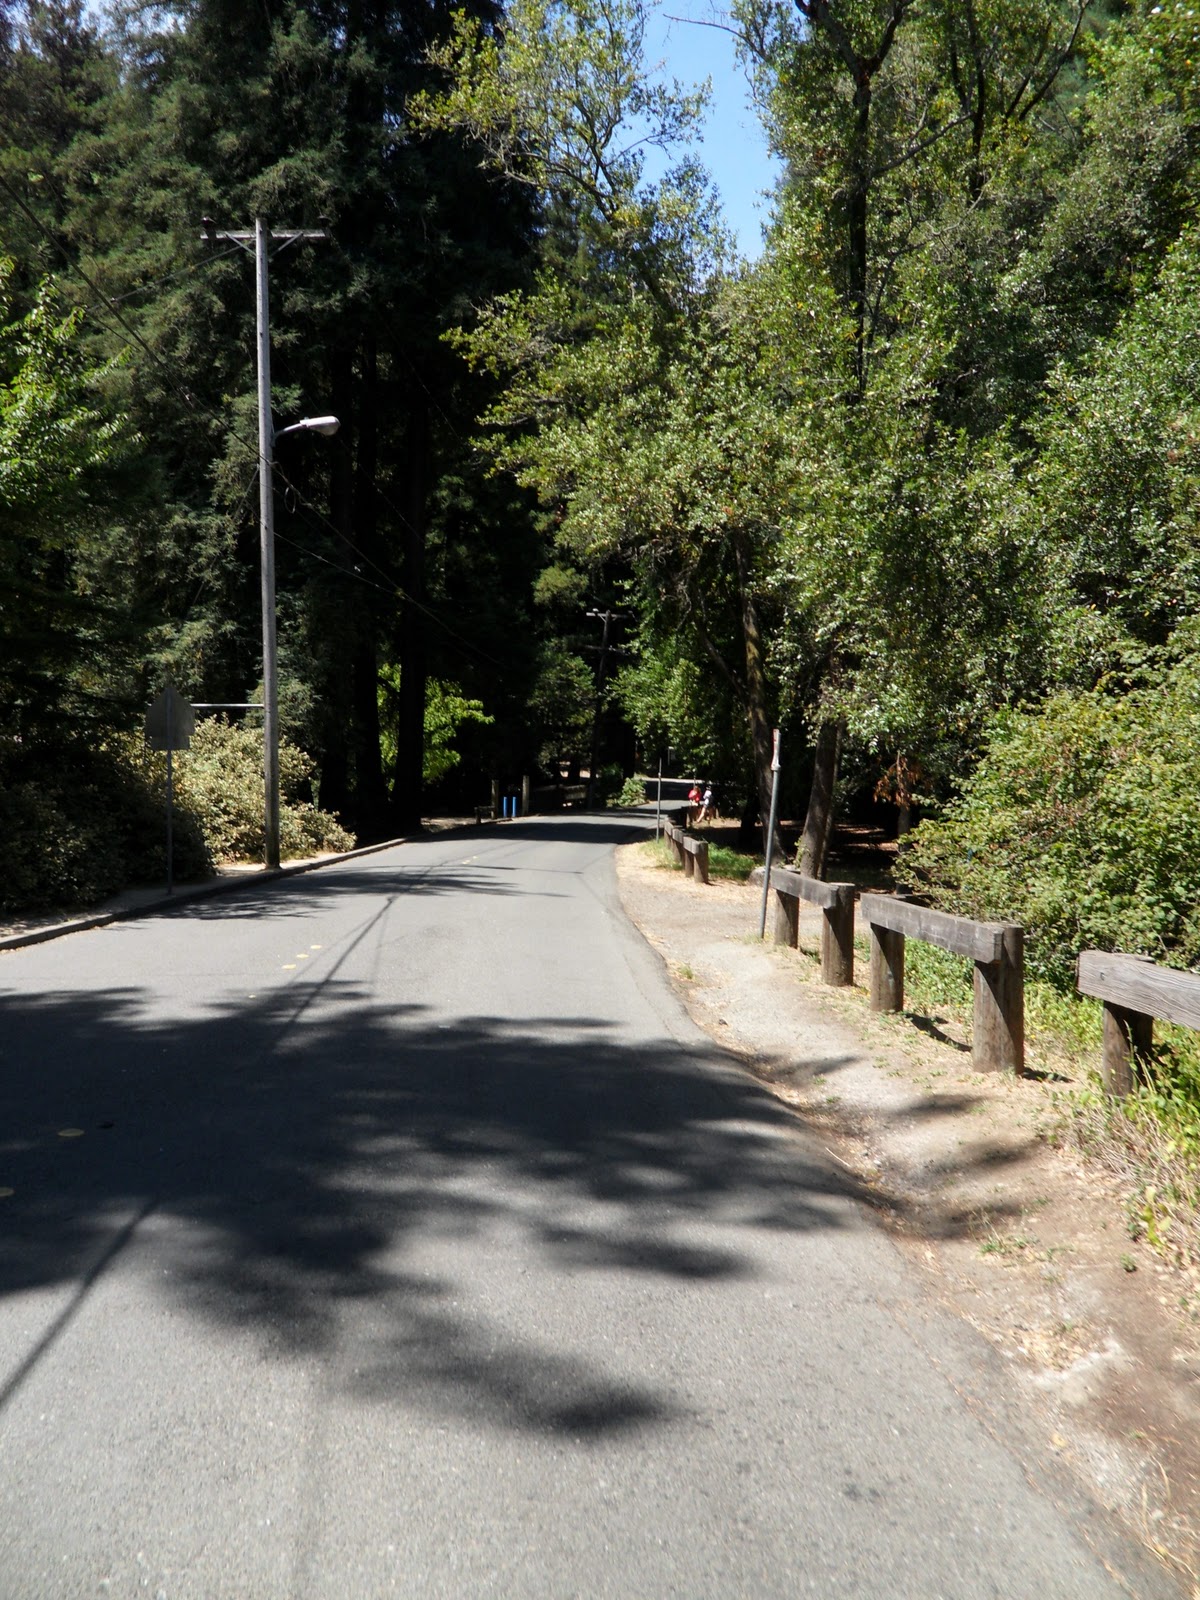
Old Mill Park has a little stream that runs through it that you will be passing as you travel along Cascade Drive. At the end of Old Mill Park, make a right onto Cascade Drive.

Traveling through Old Mill Park

Make a right at the intersection with Cascade Drive
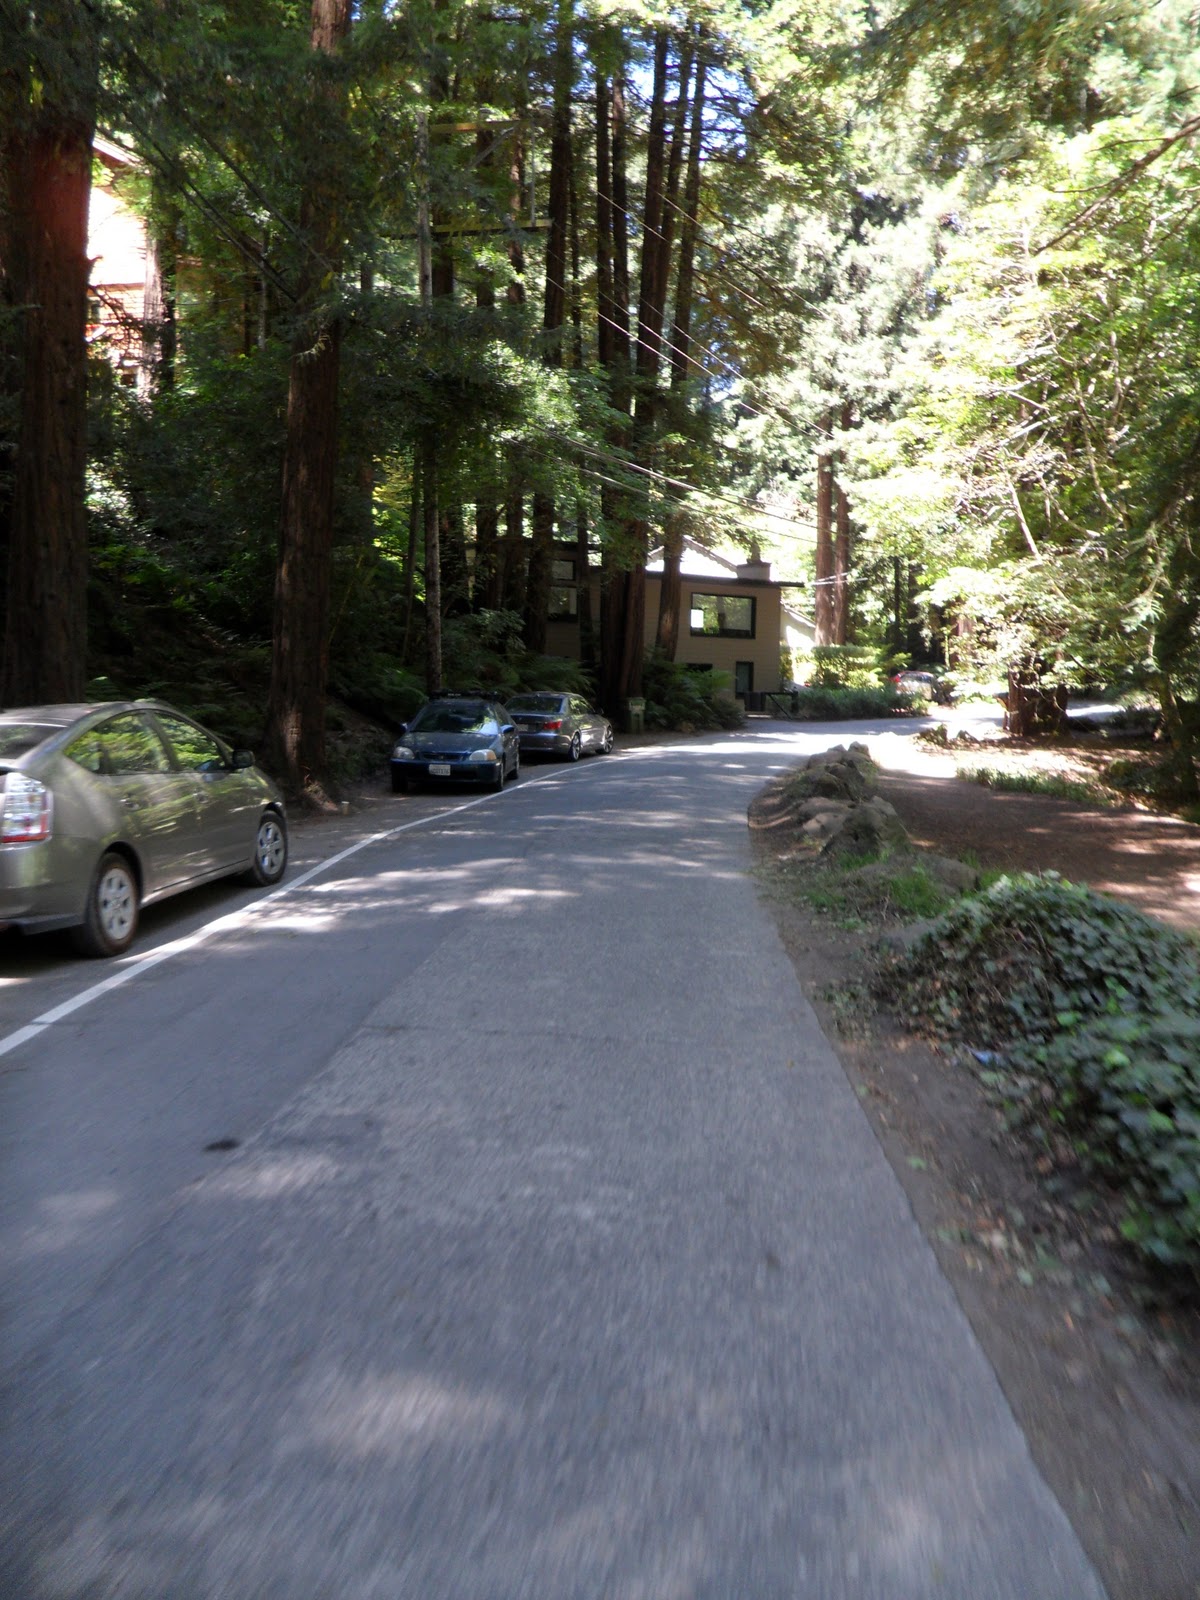
Follow narrow Cascade Drive through the redwoods. Stop to enjoy the views of the redwoods and the stream on your right through the last relatively flat section of this route.

A narrow road takes you through the woods

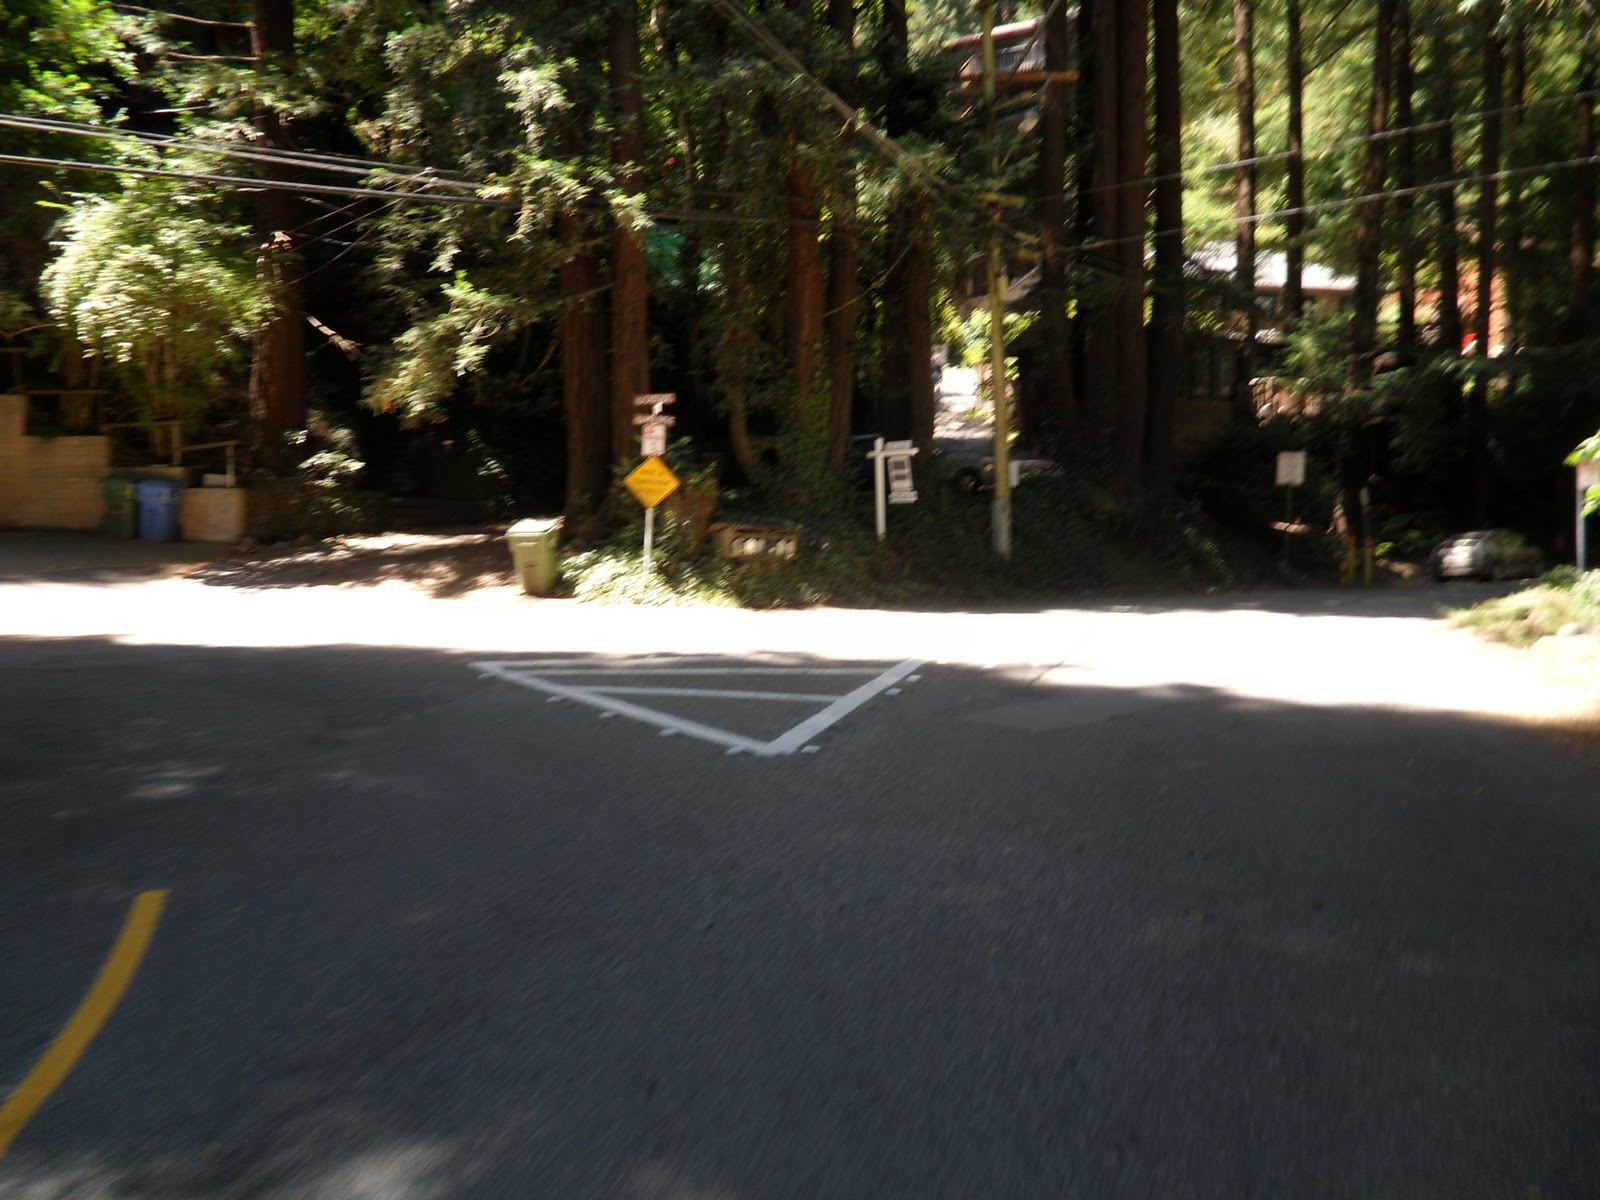
At the intersection of Cascade Drive and Marion, make a left at Marion Avenue. This is beginning of the hill climbing.

Make a left at Marion and…

…let the hill climbing begin
Keep left on Marion Avenue at the intersection of Marion and Monte Vista.

Make a left to follow Marion when you get to this intersection with Monte Vista
Follow Marion’s winding path up the mountain.

After following Marion for a bit, you will arrive at the intersection with Millside Lane, which looks like this…

Y-Intersection with Millside Lane
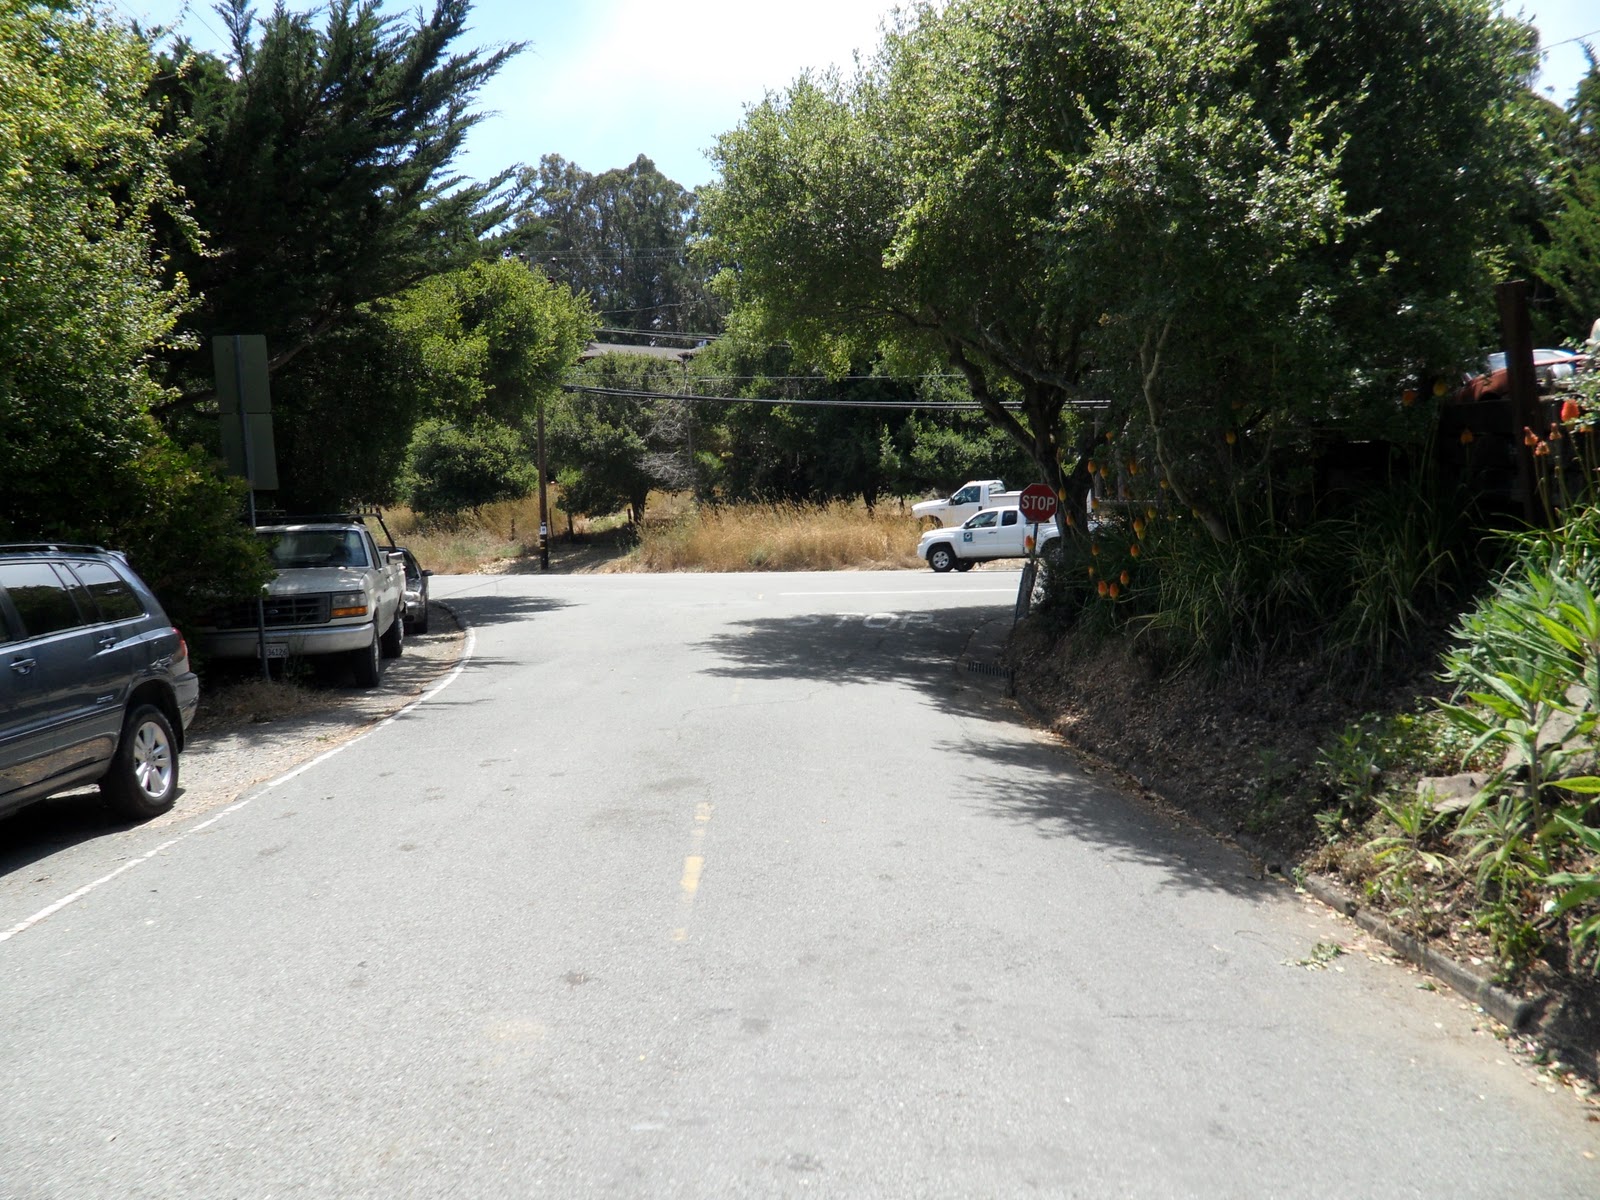
Keep to the right and keep on climbing. We made the mistake of going to the left the first time we did the climb. The road dead ends at a home about a quarter of a mile down the way, which means more climbing to get back to this intersection.


Keep on going up
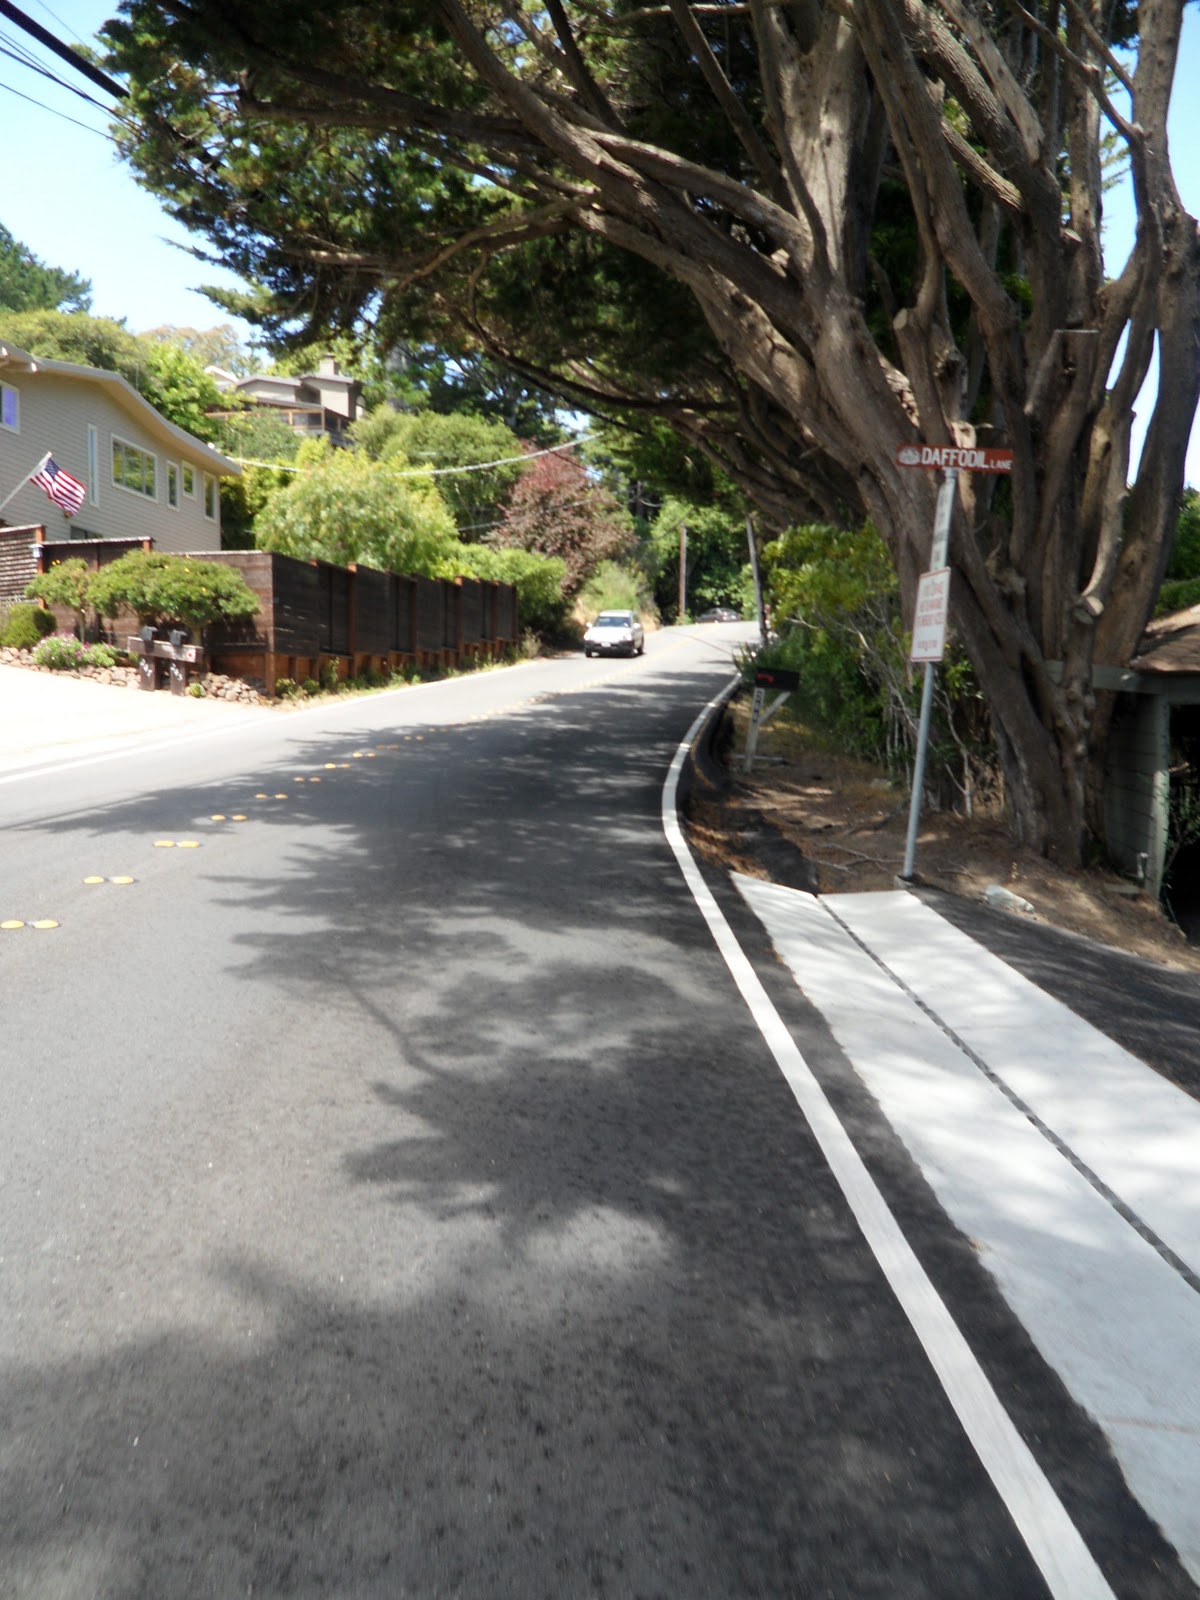
Marion Avenue will keep climbing until just before you reach the intersection with Edgewood Avenue.


Edgewood Avenue to Panoramic Highway
Once you reach the intersection with Edgewood Drive, make a right for more hills.


Though your route along Edgewood is only a little over a quarter mile, it is steep.
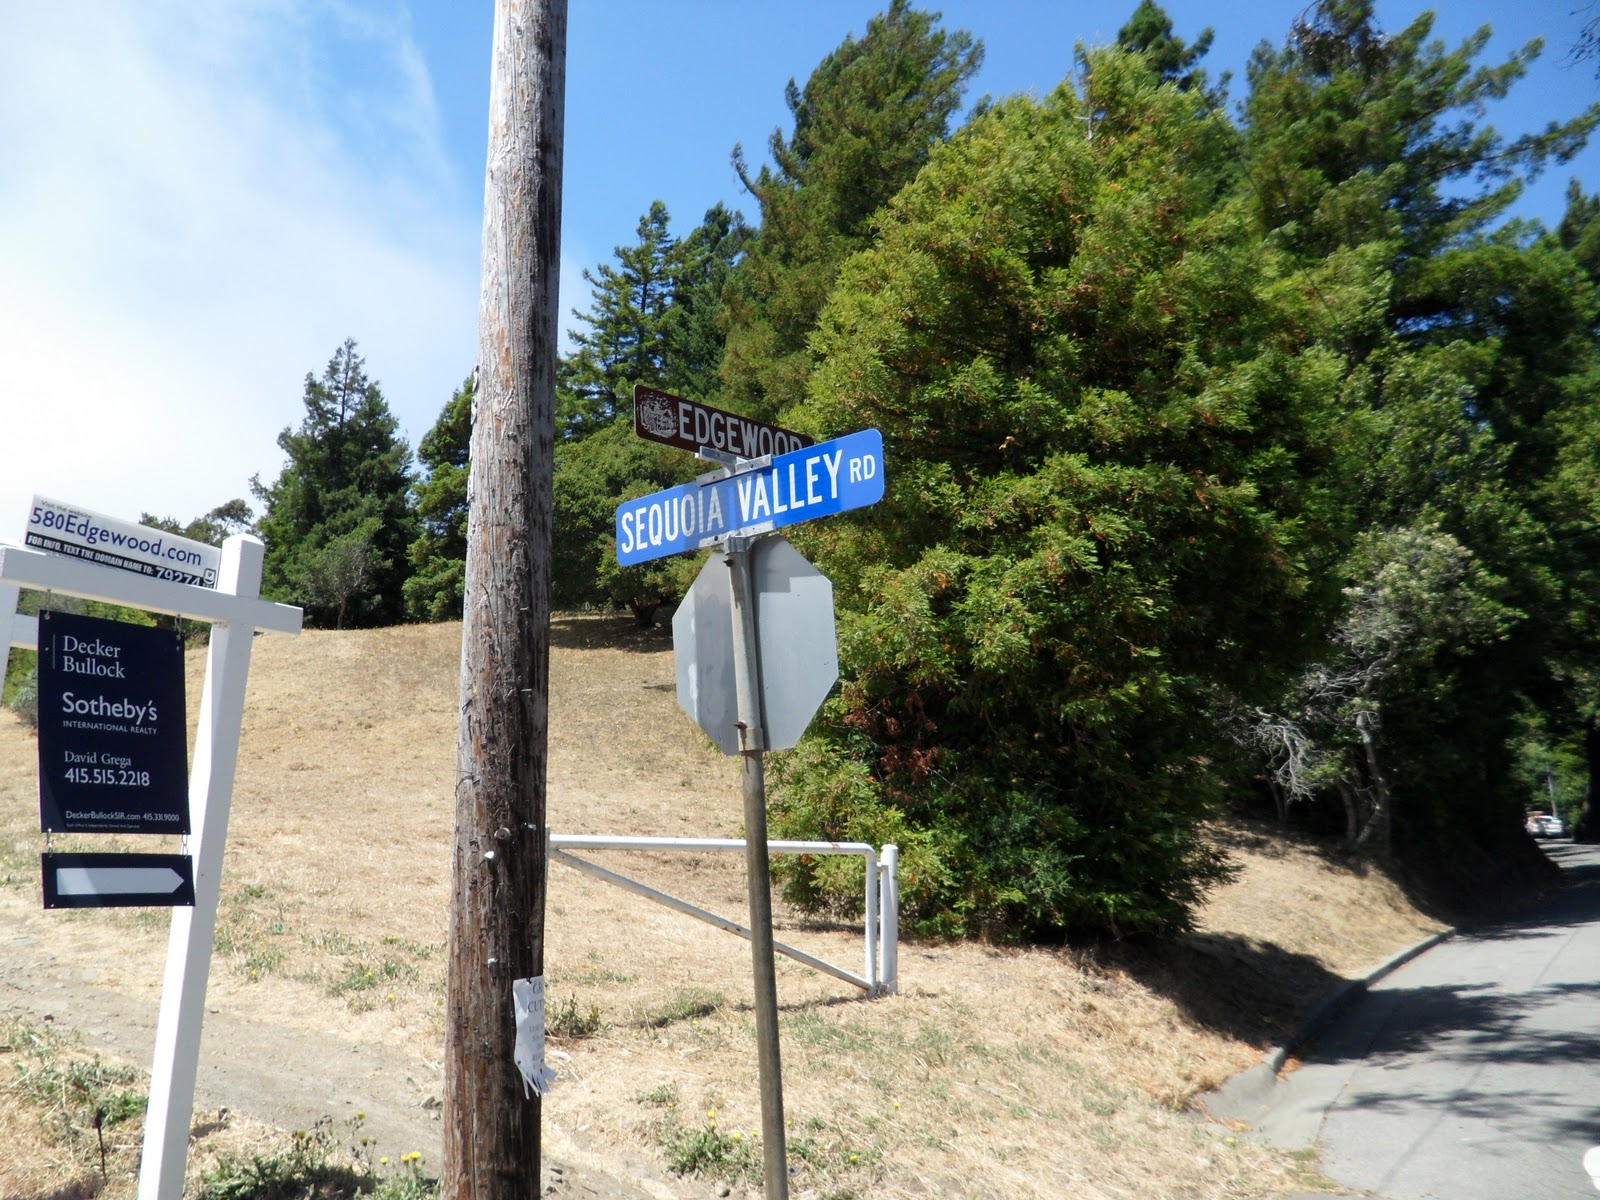
After a quarter mile along Edgewood Drive, you’ll come to the intersection with Sequoia Valley Road. Follow the natural curve of the road to the left and onto Sequoia Valley Road. This intersection has a wide shoulder under the green sign (pictured below) which is a good place to take a break from the climbing and get some pictures.

Keep left on Sequoia Valley Road

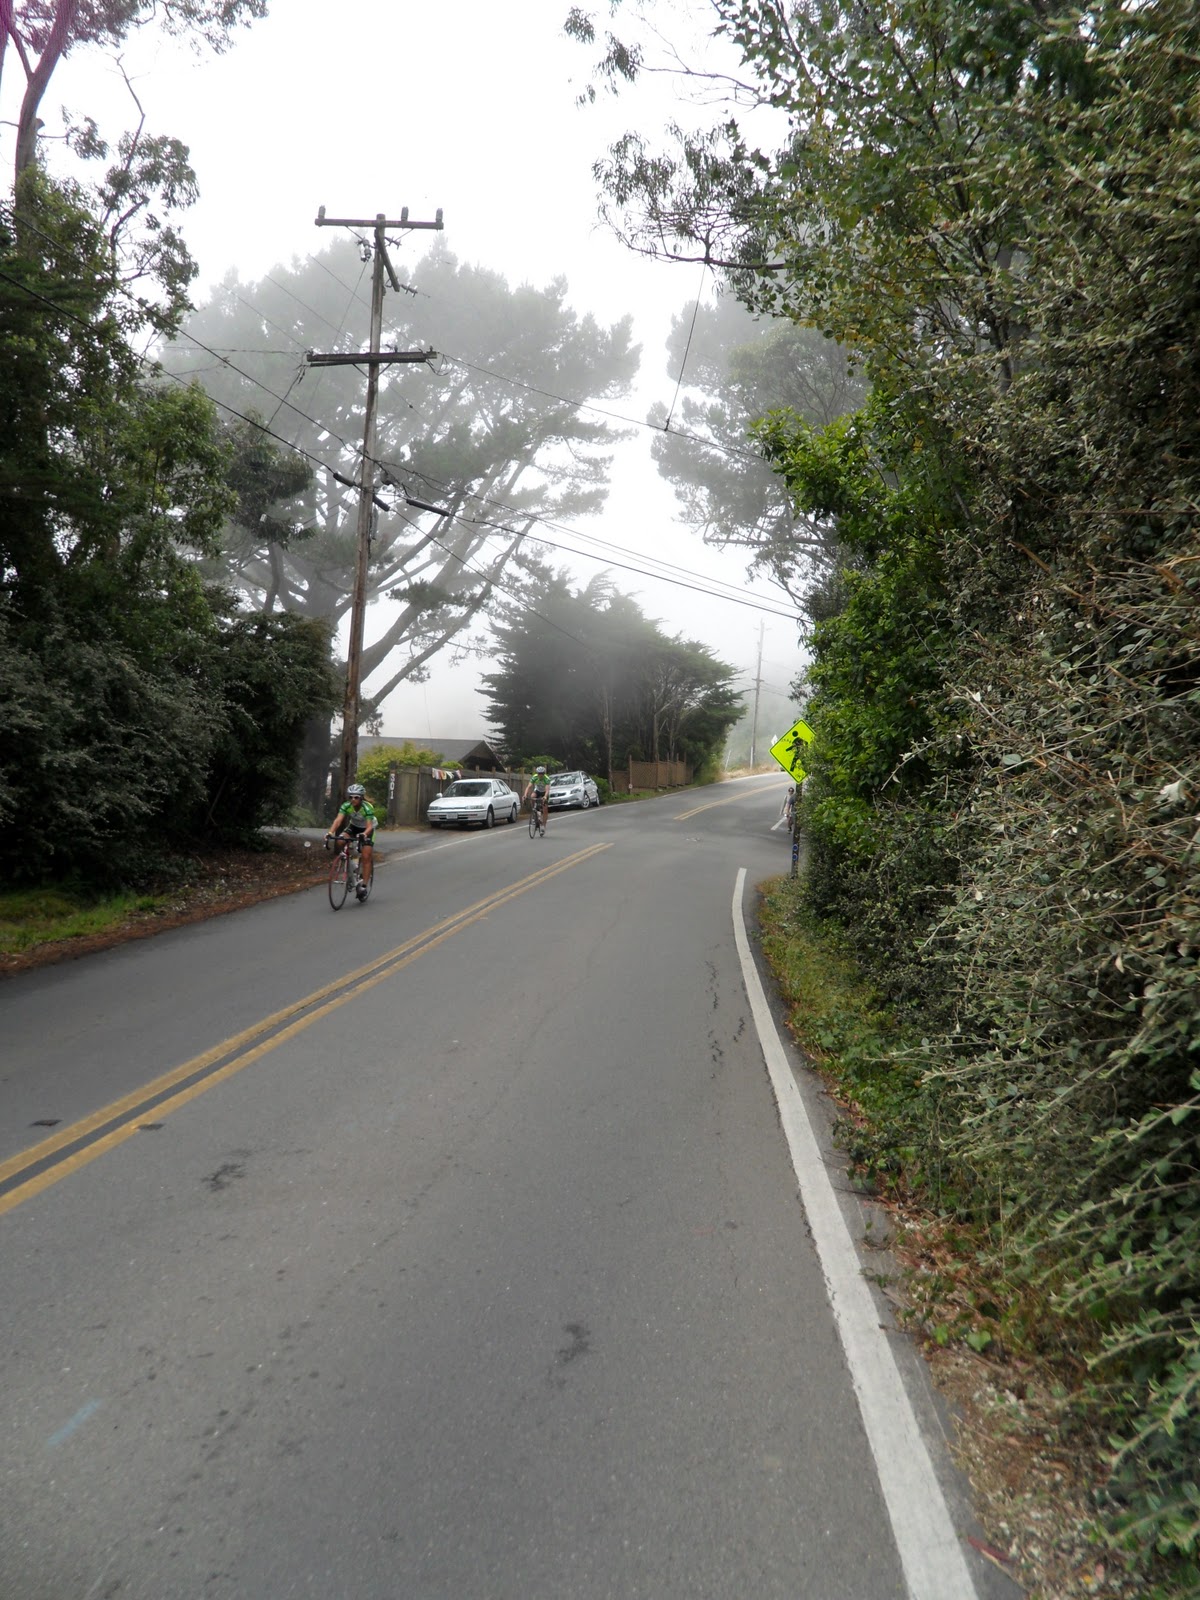
Follow Sequoia Valley as it climbs through the homes. Be careful at this point as the car traffic begins to increase. This is one of the paths that cars take to Mt. Tam, Muir Woods and Stinson Beach as well.

Starting with Edgewood Drive and Sequoia Valley Road, this is a main path for cars to Mt. Tam, Muir Woods and Stinson Beach
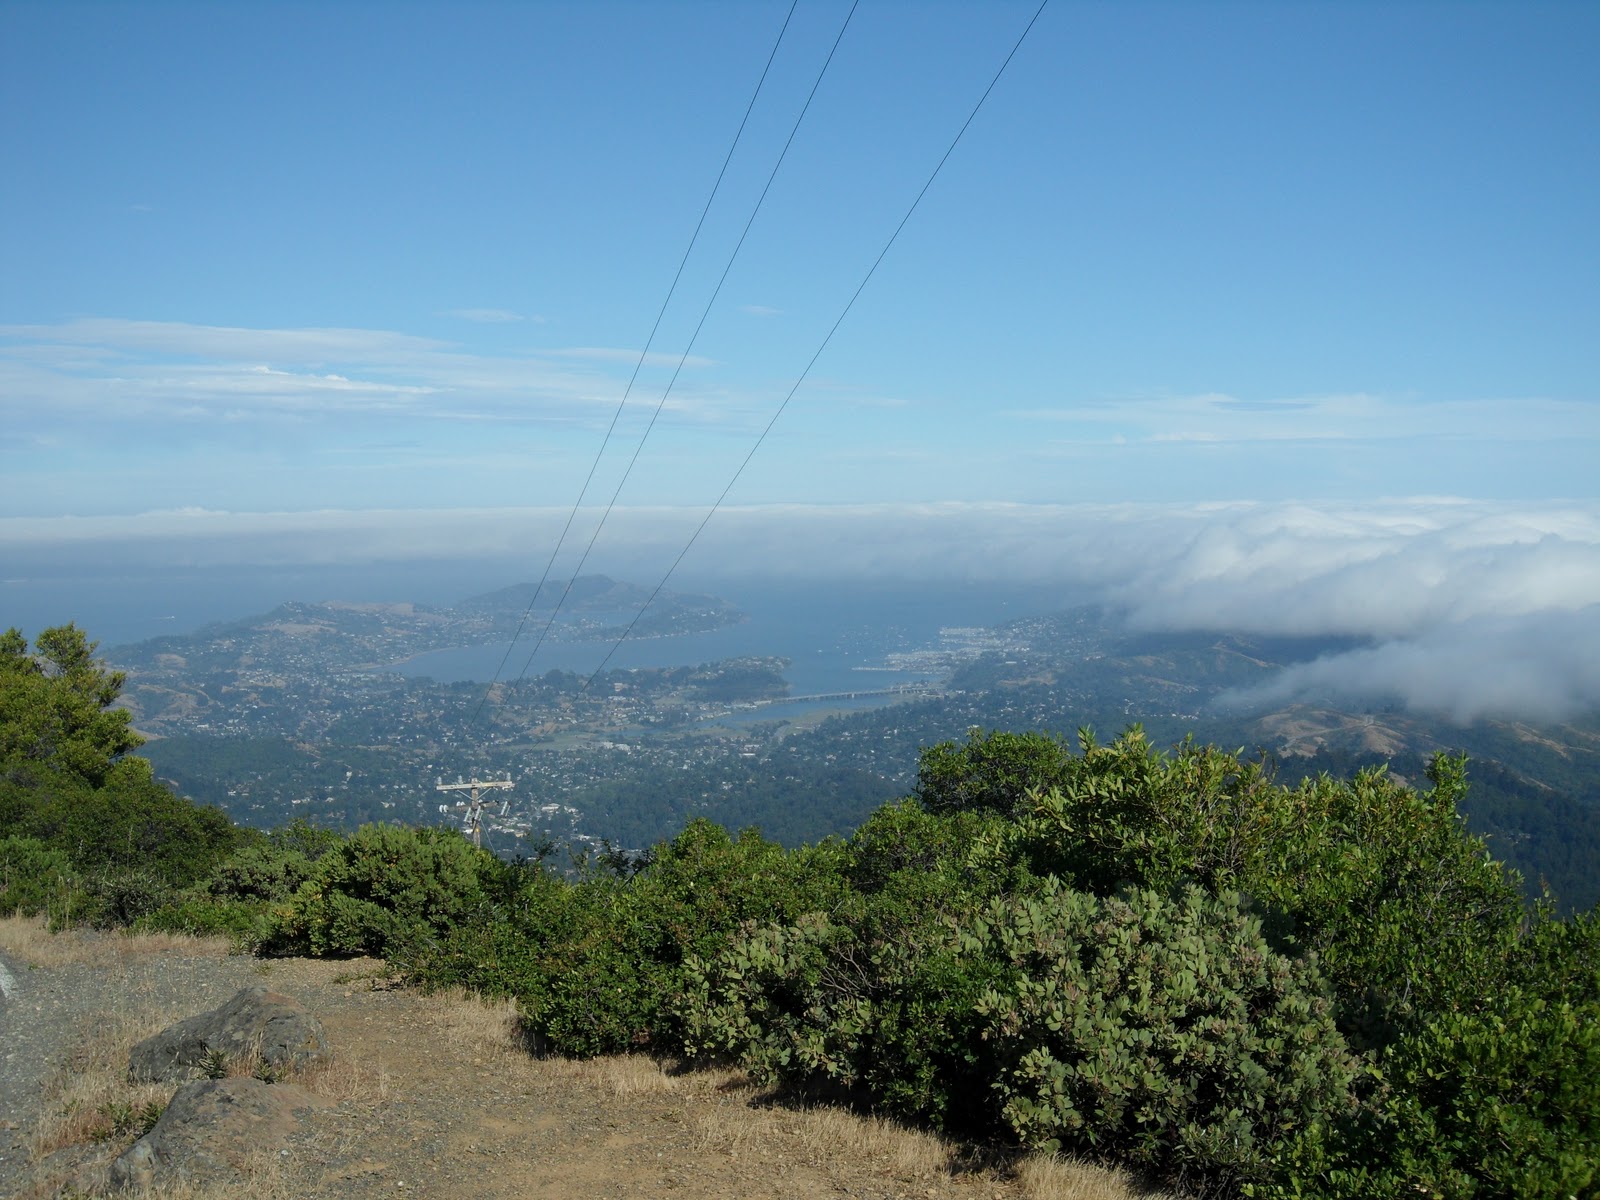
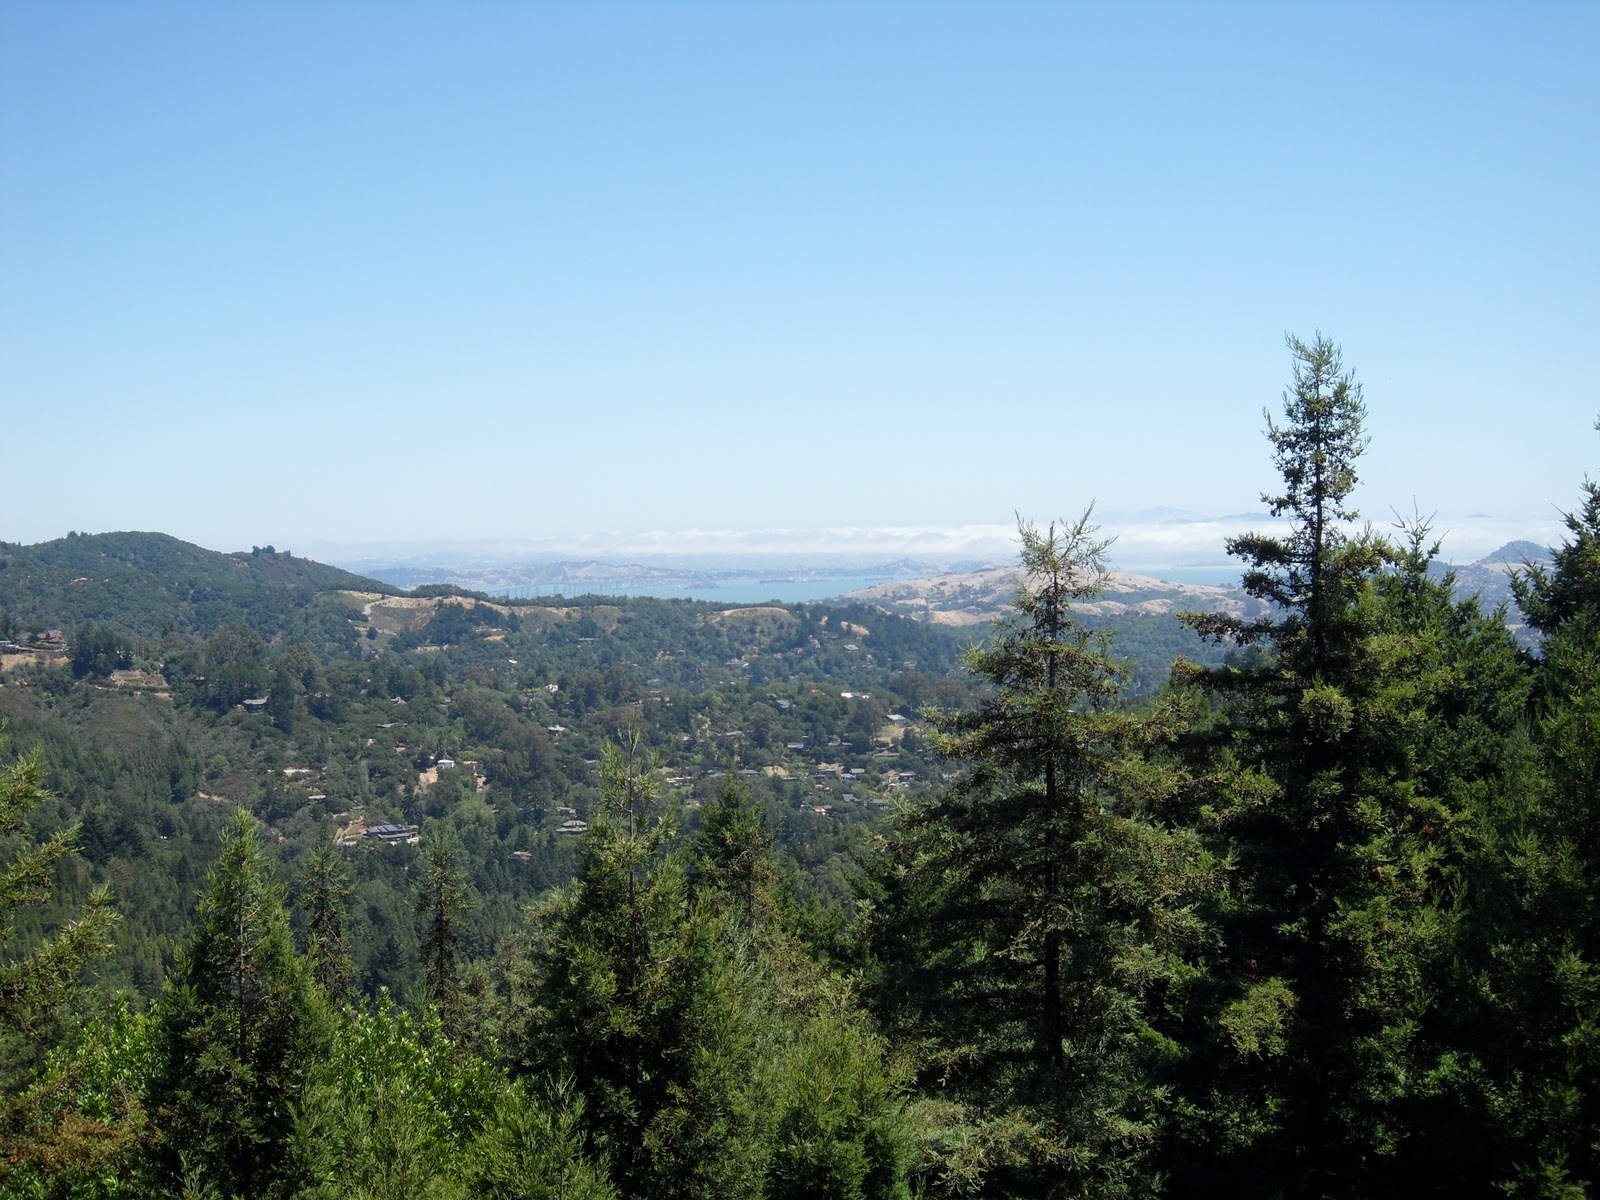
There are many picturesque views as you climb Sequoia Valley Road. Just remember to pull over to a safe place to take them, as the road can be narrow and cars are more frequent on this part of the journey.

View along Sequoia Valley Road

Sequoia Valley winds up the mountain

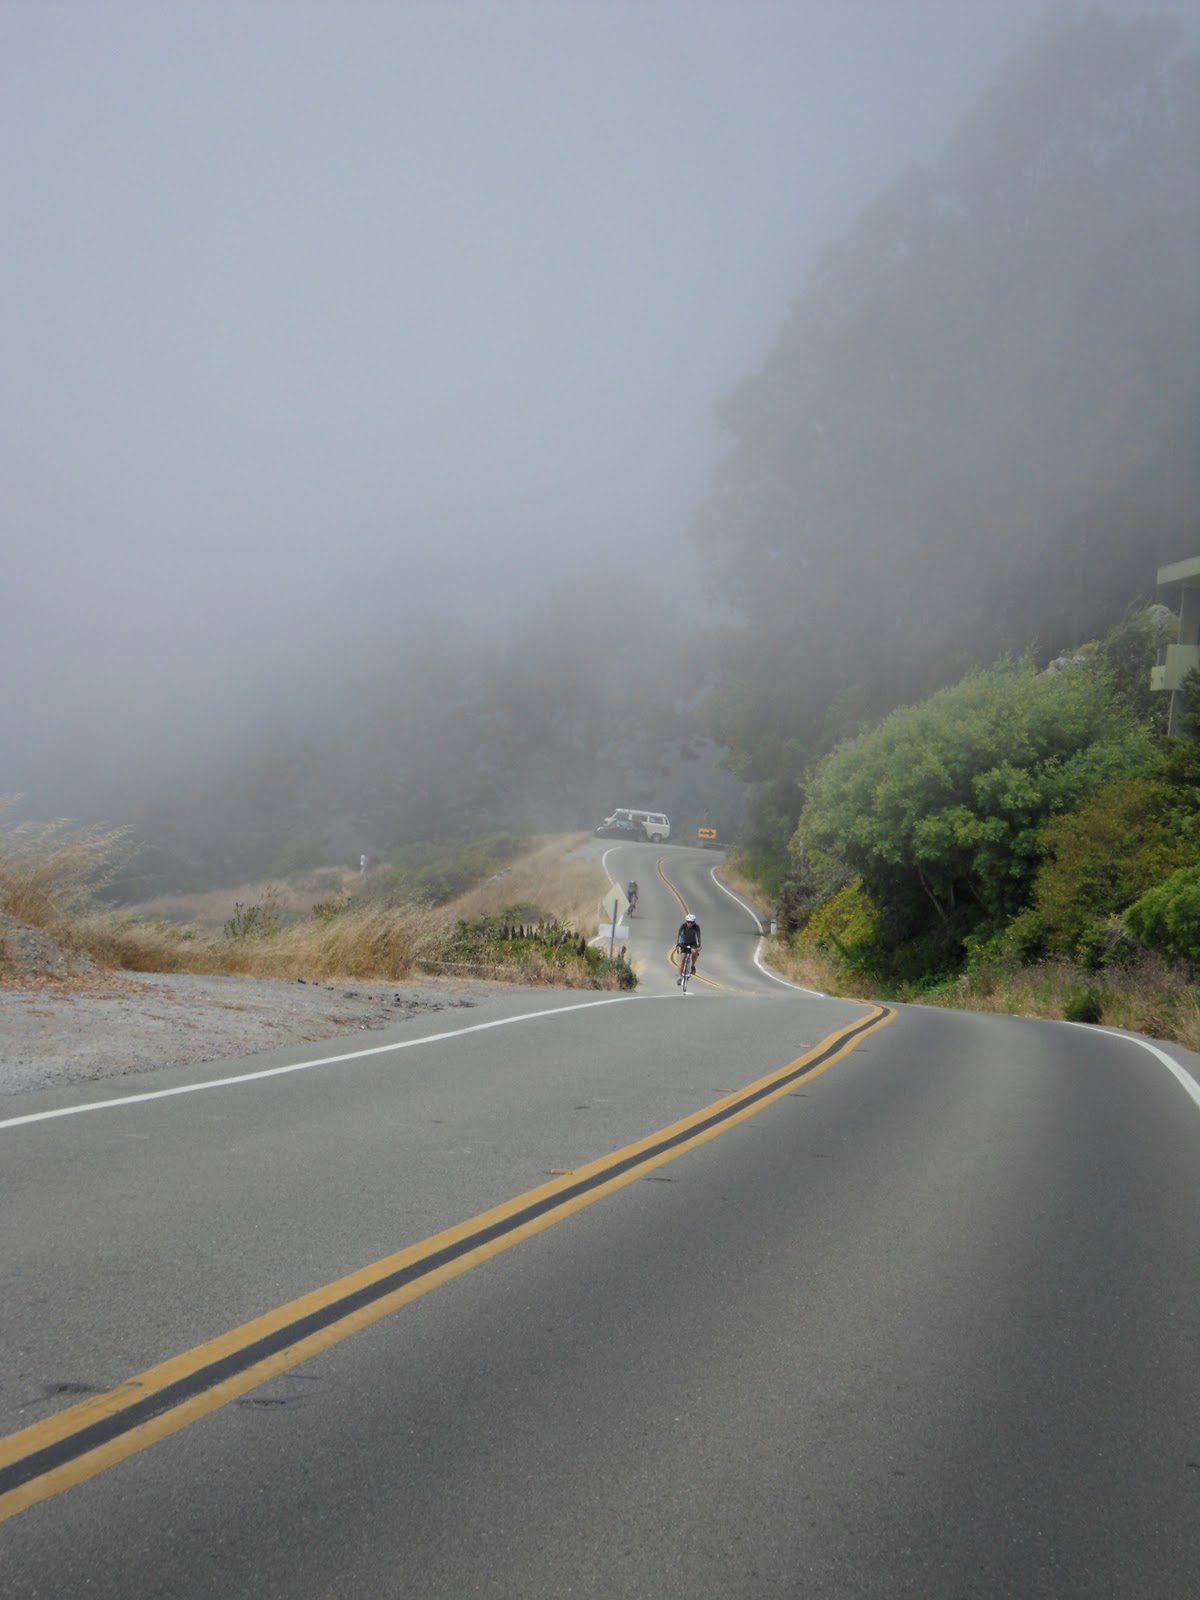
The route along Sequoia Valley is about 0.75 miles long and mostly climbing. There are mile markers along the way to let you know how far you’ve going. You known you’re getting close to the end when you see the gap in the trees and the mirror on the telephone pole on the left hand side of the road.

Bikers take this route both to and from Mt. Tam, notice the break in the trees, you

The 0.66 mile marker and the mirror on the left let you know you
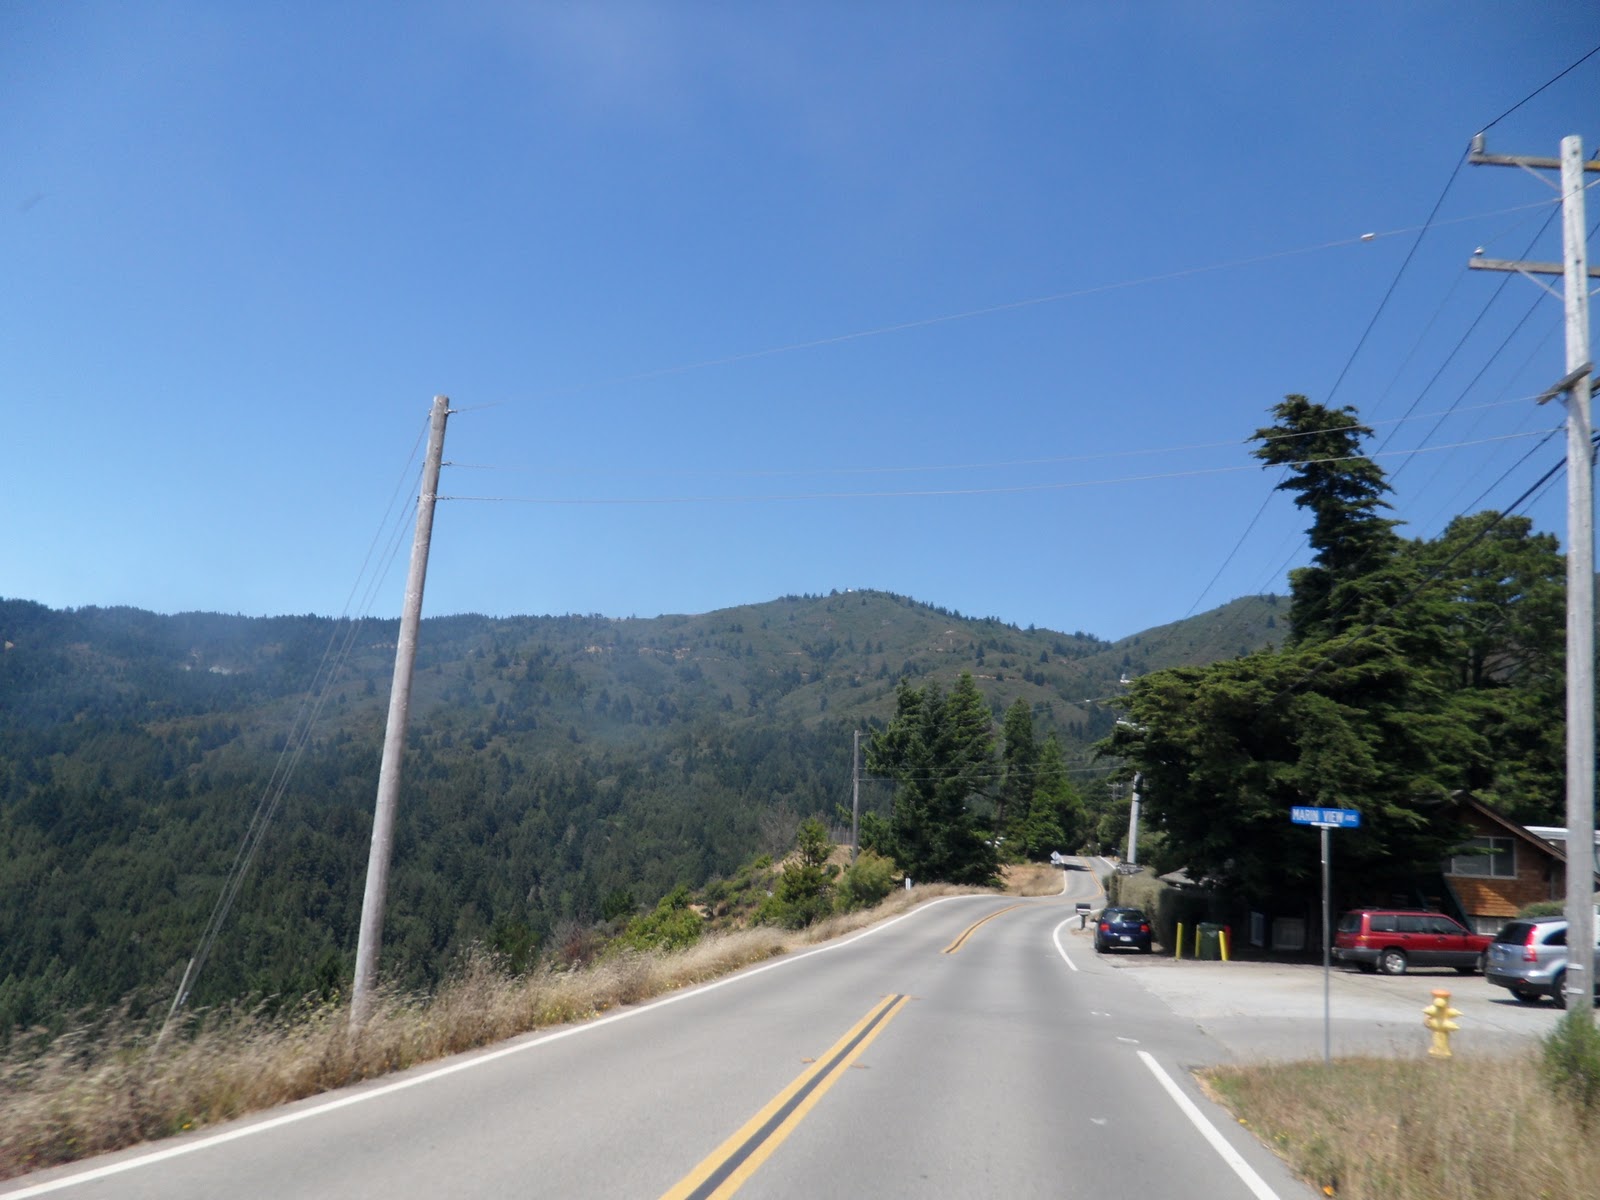
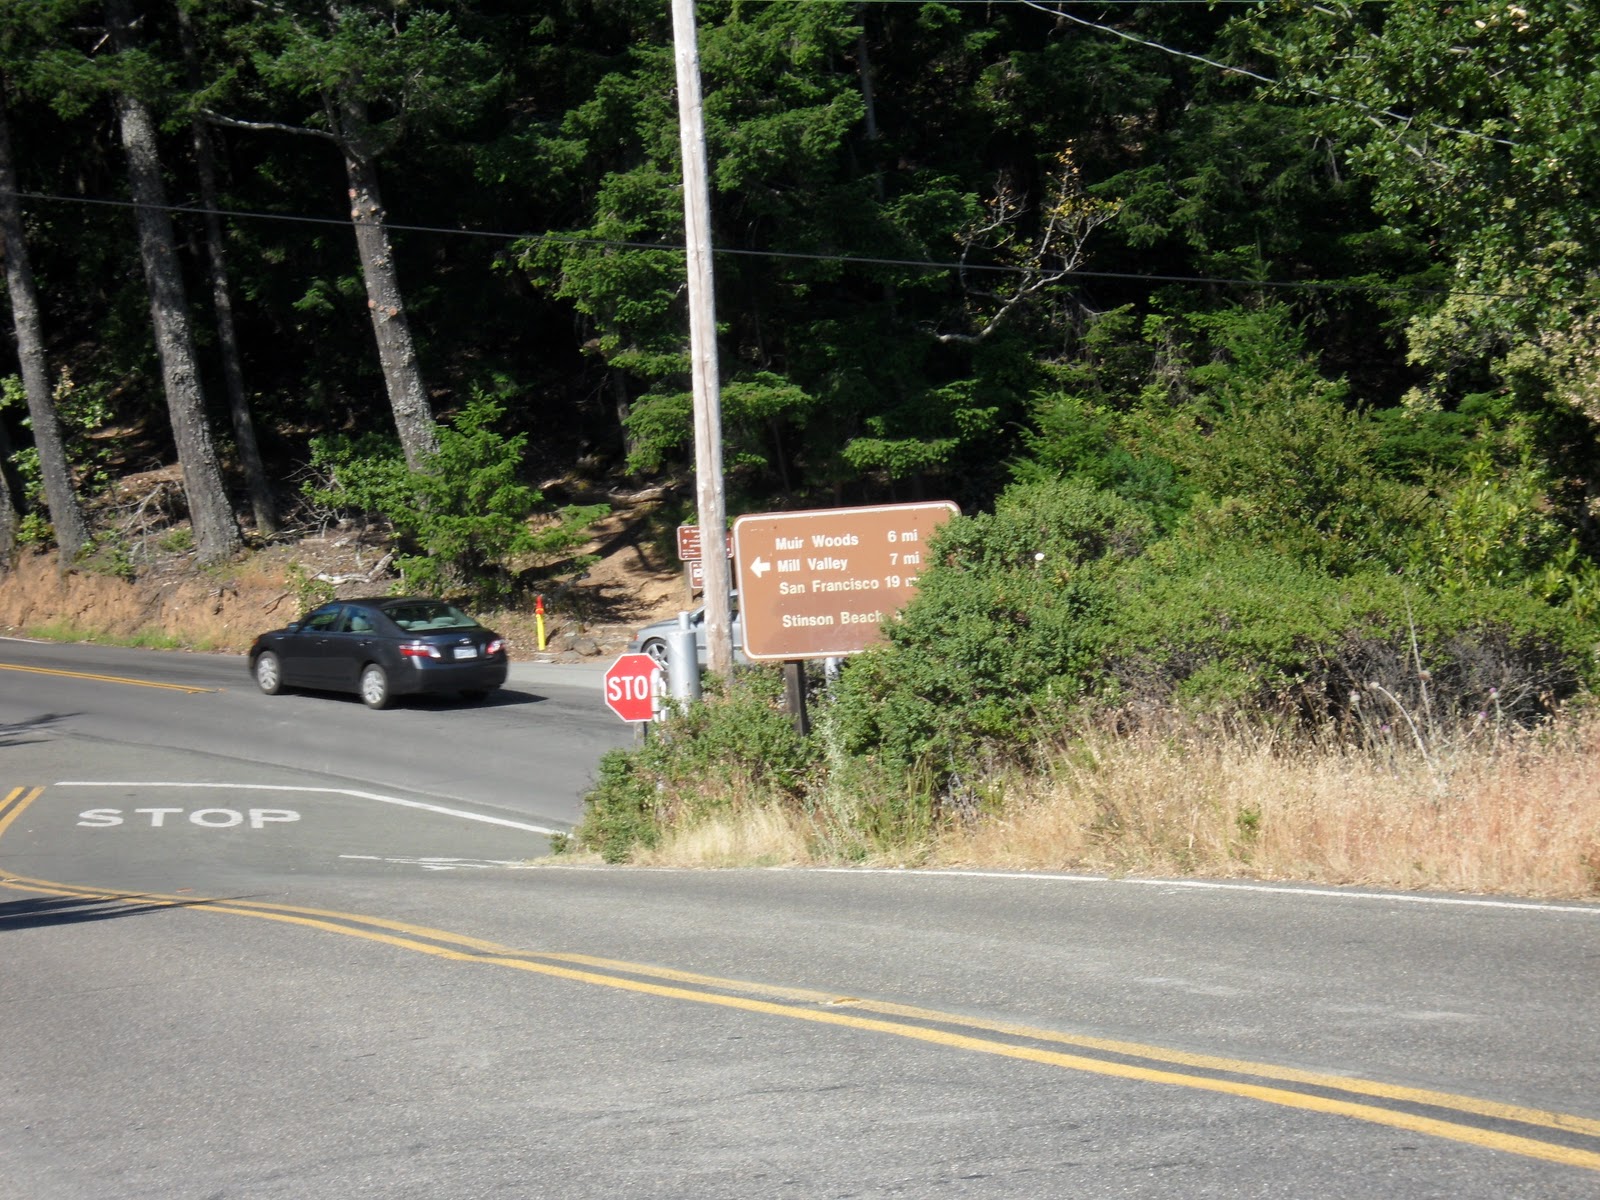
Once you follow the bend to the right, you can see the intersection with Panoramic Drive just ahead.


The stop sign signifies the end of this route. You are now at the crossroads of a great descent back to Sausalito along the Panoramic Highway, a trip to Muir Woods, or continuing to climb up Panoramic Highway on your way up Mount Tamalpais and beyond.

Whether this is your first trip up the mountain, or you are seeing how far you can go up the mountain in stages, this is one of the most rewarding climbs you’ll have in the Bay Area. Very few views can compete with those you see from Panoramic Highway.

The further you travel along Panoramic Highway, the more it lives up to its name. As you approach the Pacific Ocean, there are switchbacks reminiscent of the Alpine car chase scenes in James Bond films with views to match. The route to Panoramic Highway isn’t only for those seeking to climb Mt. Tam, it’s for everyone who wants a challenge with a fitting reward. The reward for climbing in the Bay Area is both in spectacular views and amazing descents. The higher your go, the better the views and the longer the descent back to Earth.

Here are the Route Directions, print them to take them along with you


