Tips & Tricks: Keep it Clean – Pre- & Post-Ride Rituals


Bike maintenance doesn’t just happen when you take your bike to the shop, it’s what you do before and after every ride.  To keep our bikes working their best all of the time, we have these pre- and post-ride rituals.

PRE-RIDE RITUAL

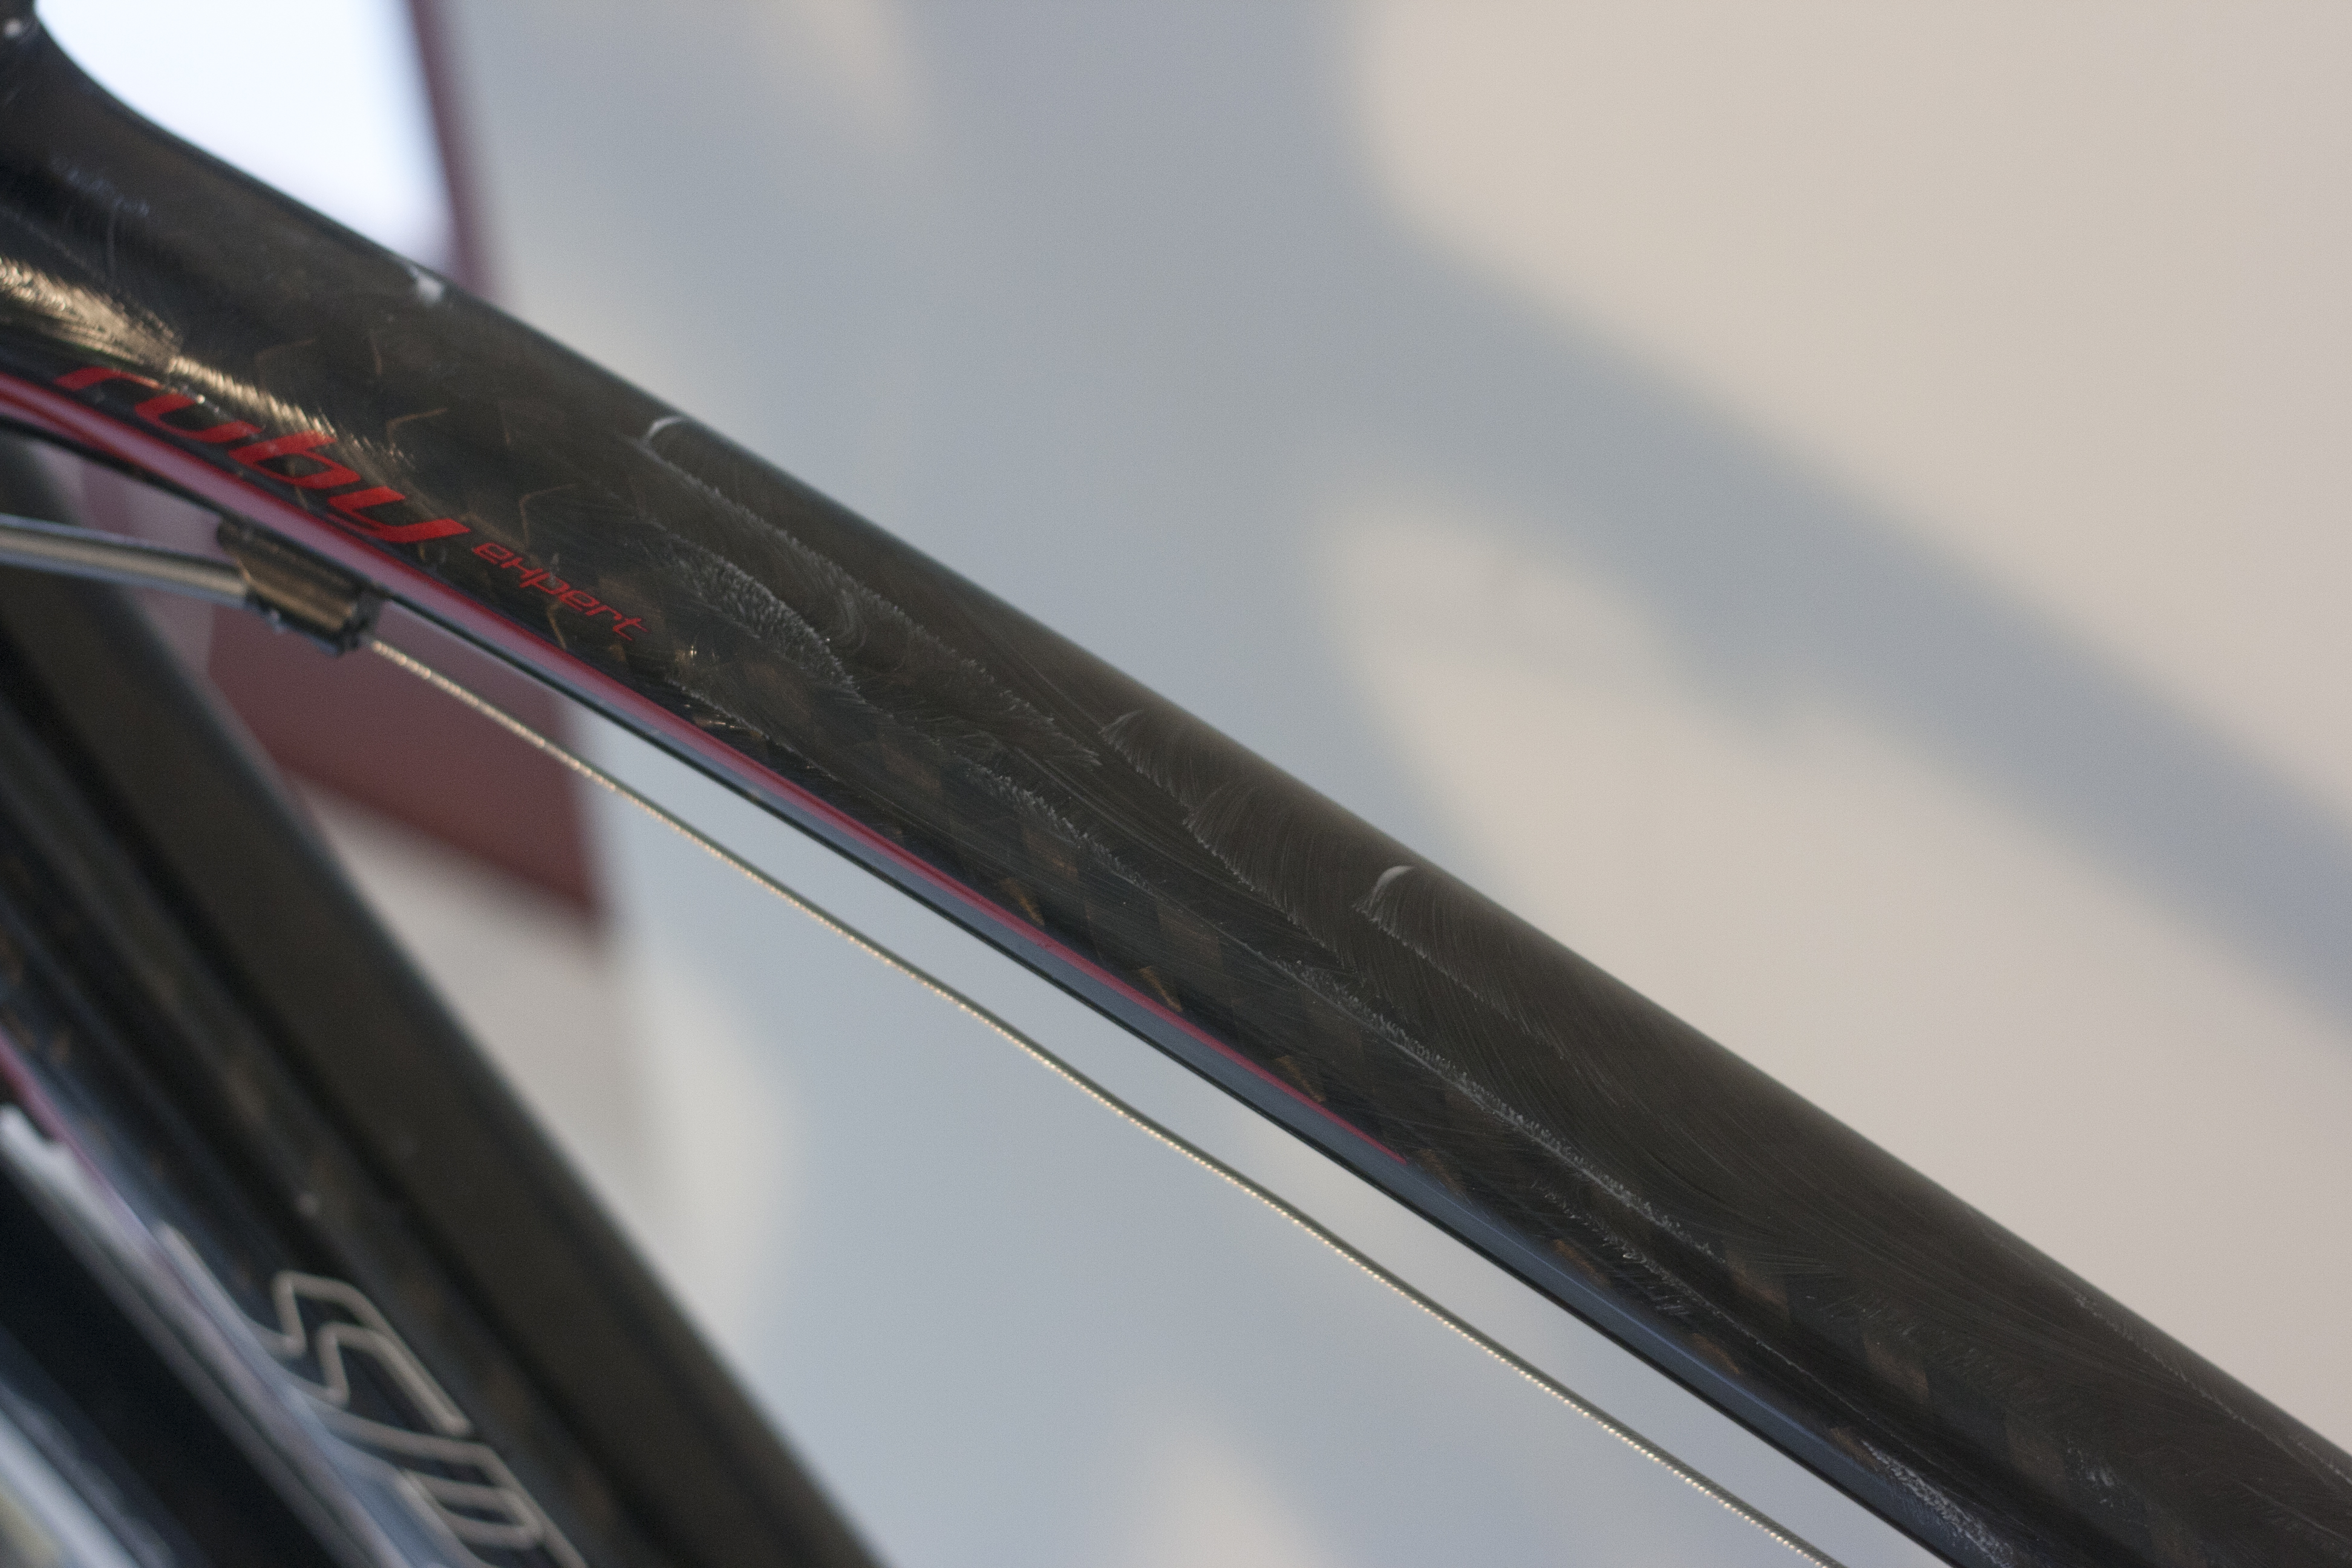
Because of our post-ride rituals, our pre-ride check takes only a few minutes.  All that is required is to pump your tires to the desired pressure. We use 95 – 100 psi for normal rides, or 100 – 110 psi for races. Once the tires are pumped, we are ready to roll with the clean, bright and shiny frames!

POST-RIDE RITUAL

After a ride is when your bike needs the most care.  Putting your bike away dirty is one of the ways to make your bike and components wear out more quickly.  To keep your bike working better longer, our post-ride ritual requires lube, a couple of rags, a paper bag, steel wool and alcohol pads.
IMG_9689
Start by lubing the chain with Rock-n-Roll lube. On days with dry roads, we use the red, Absolute Dry lube. When the roads are wet, or it’s foggy out, we use the Gold lube for a bit more waxiness to keep the chain from getting wet.  There’s a third option which is great for your mountain bike, the blue Rock-n-Roll Extreme lube.
Set up the rags behind the the chain and apply the lube to the lower part of the chain behind the chain ring. Rotate the pedals ten times while applying the lube. Next apply the lube to both upper and lower rear derailleur sprockets. Then rotate the pedals another ten times.
IMG_9826
IMG_9836IMG_9845
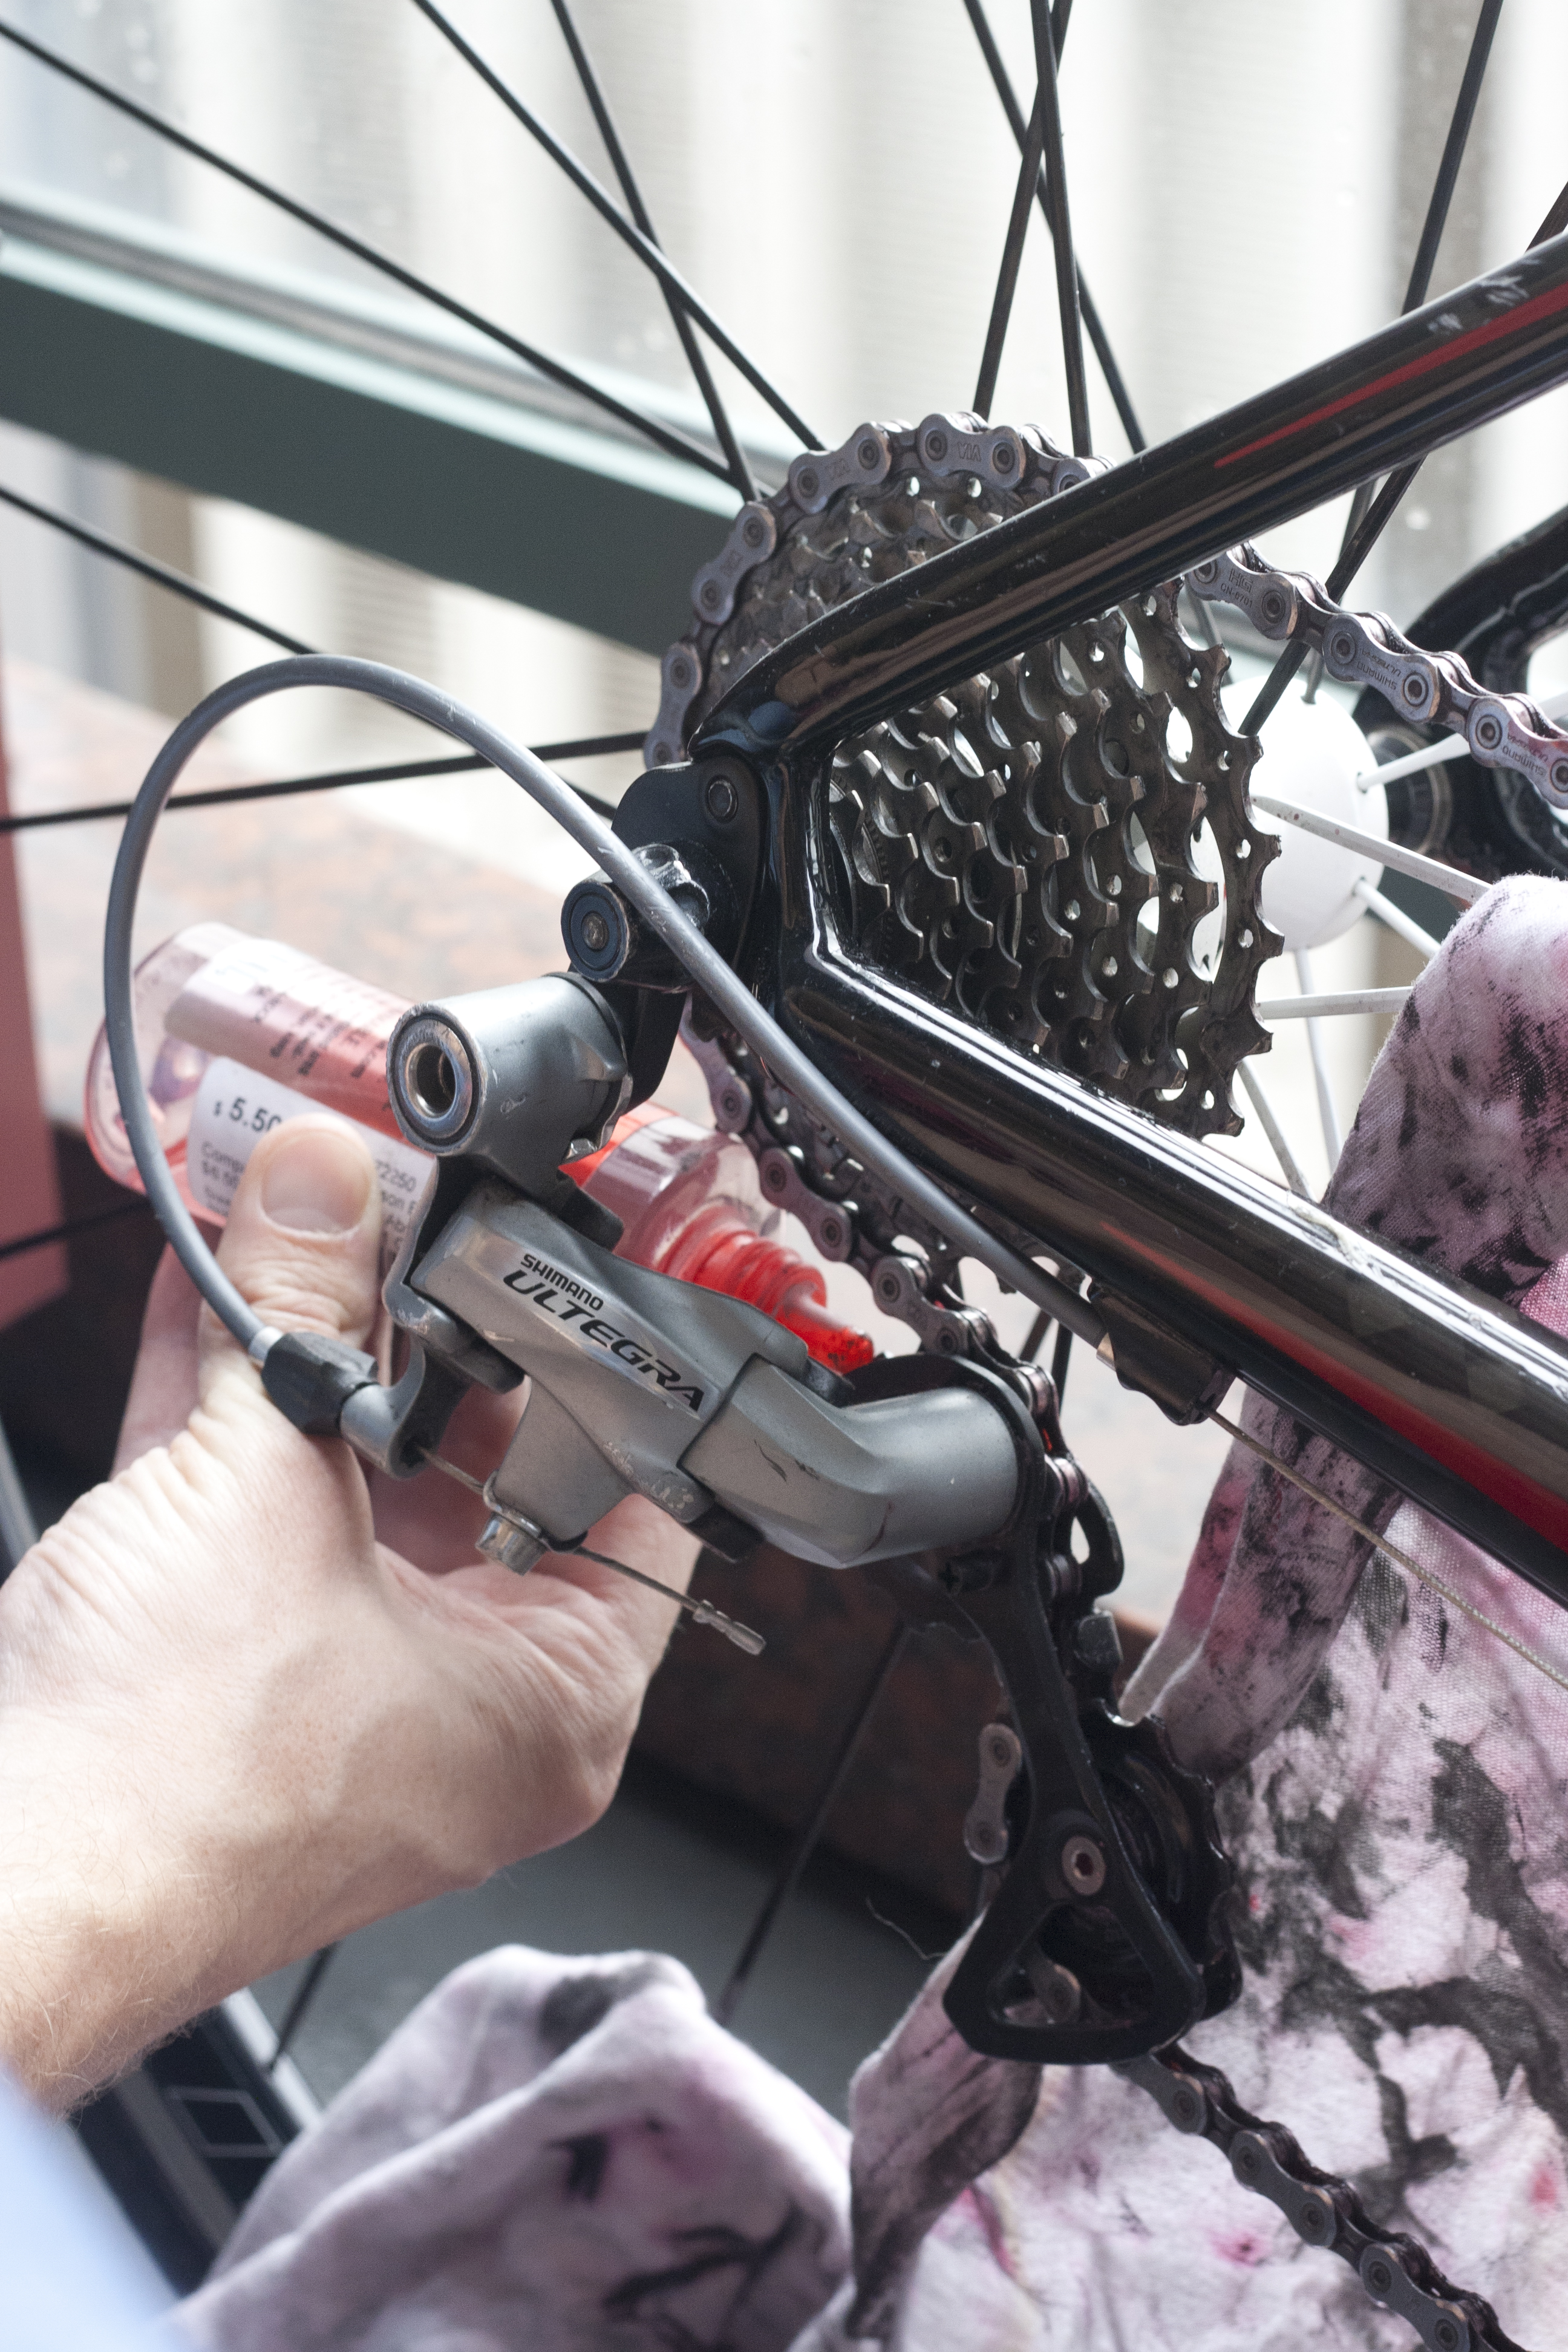
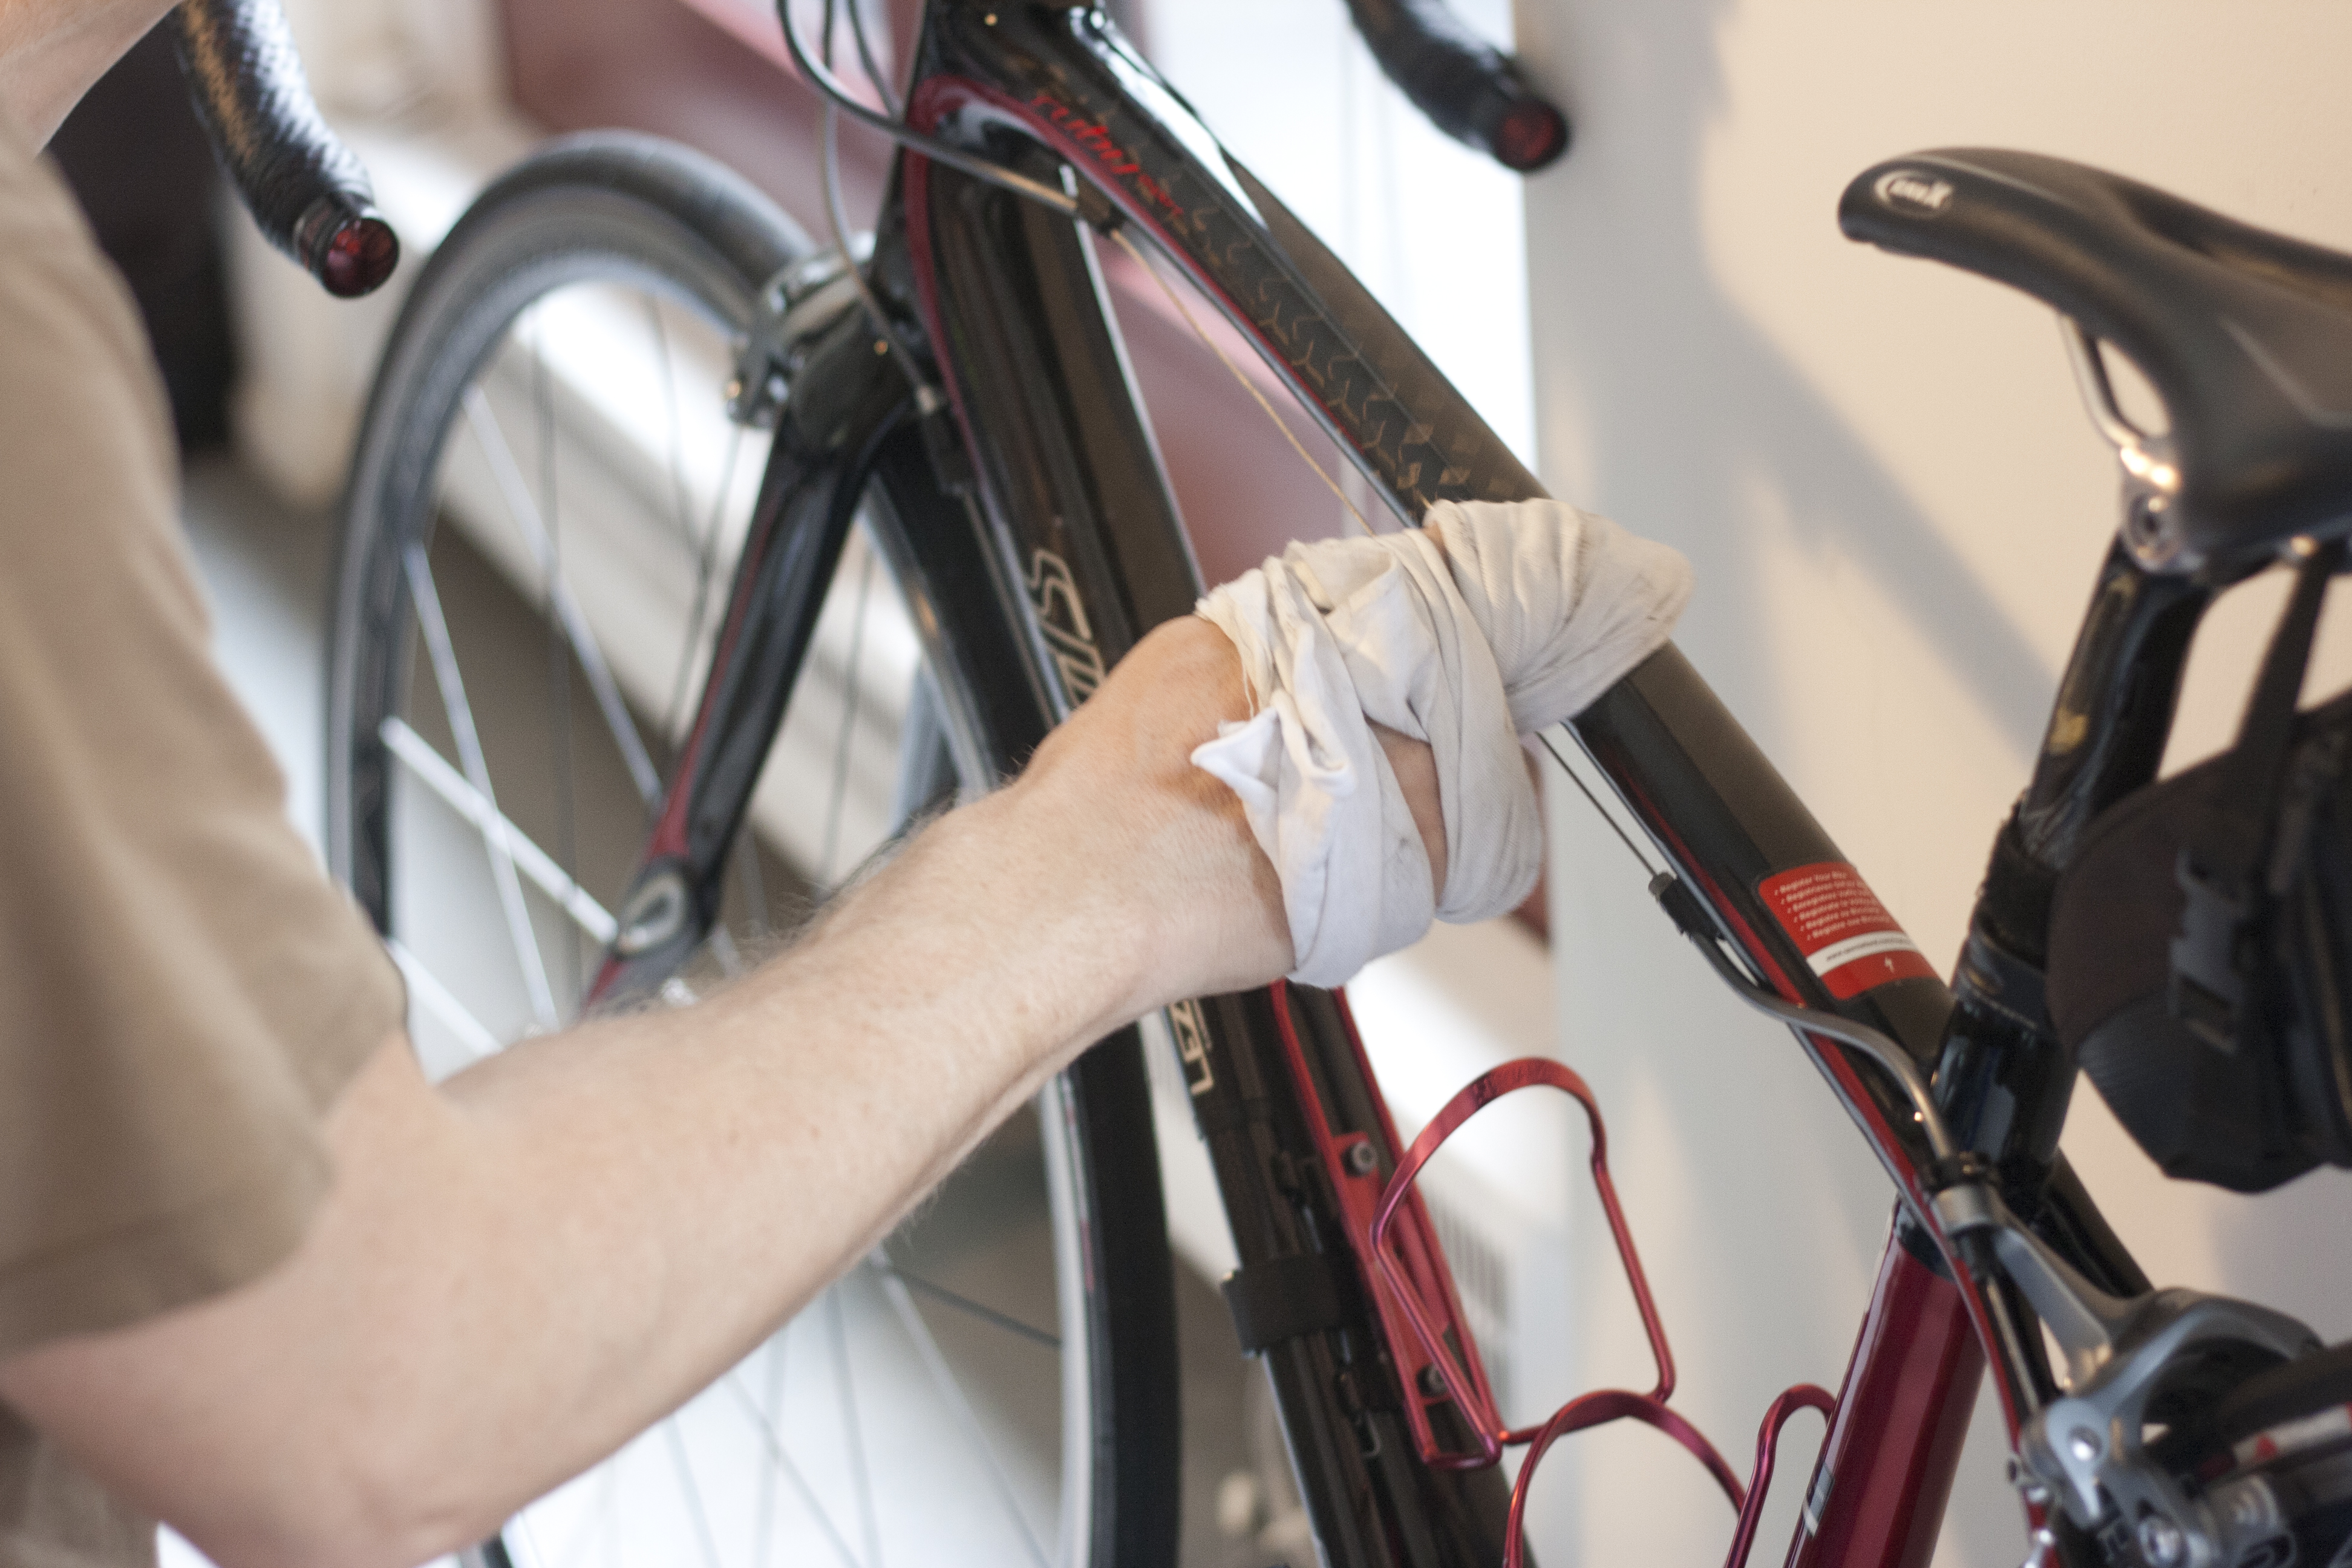
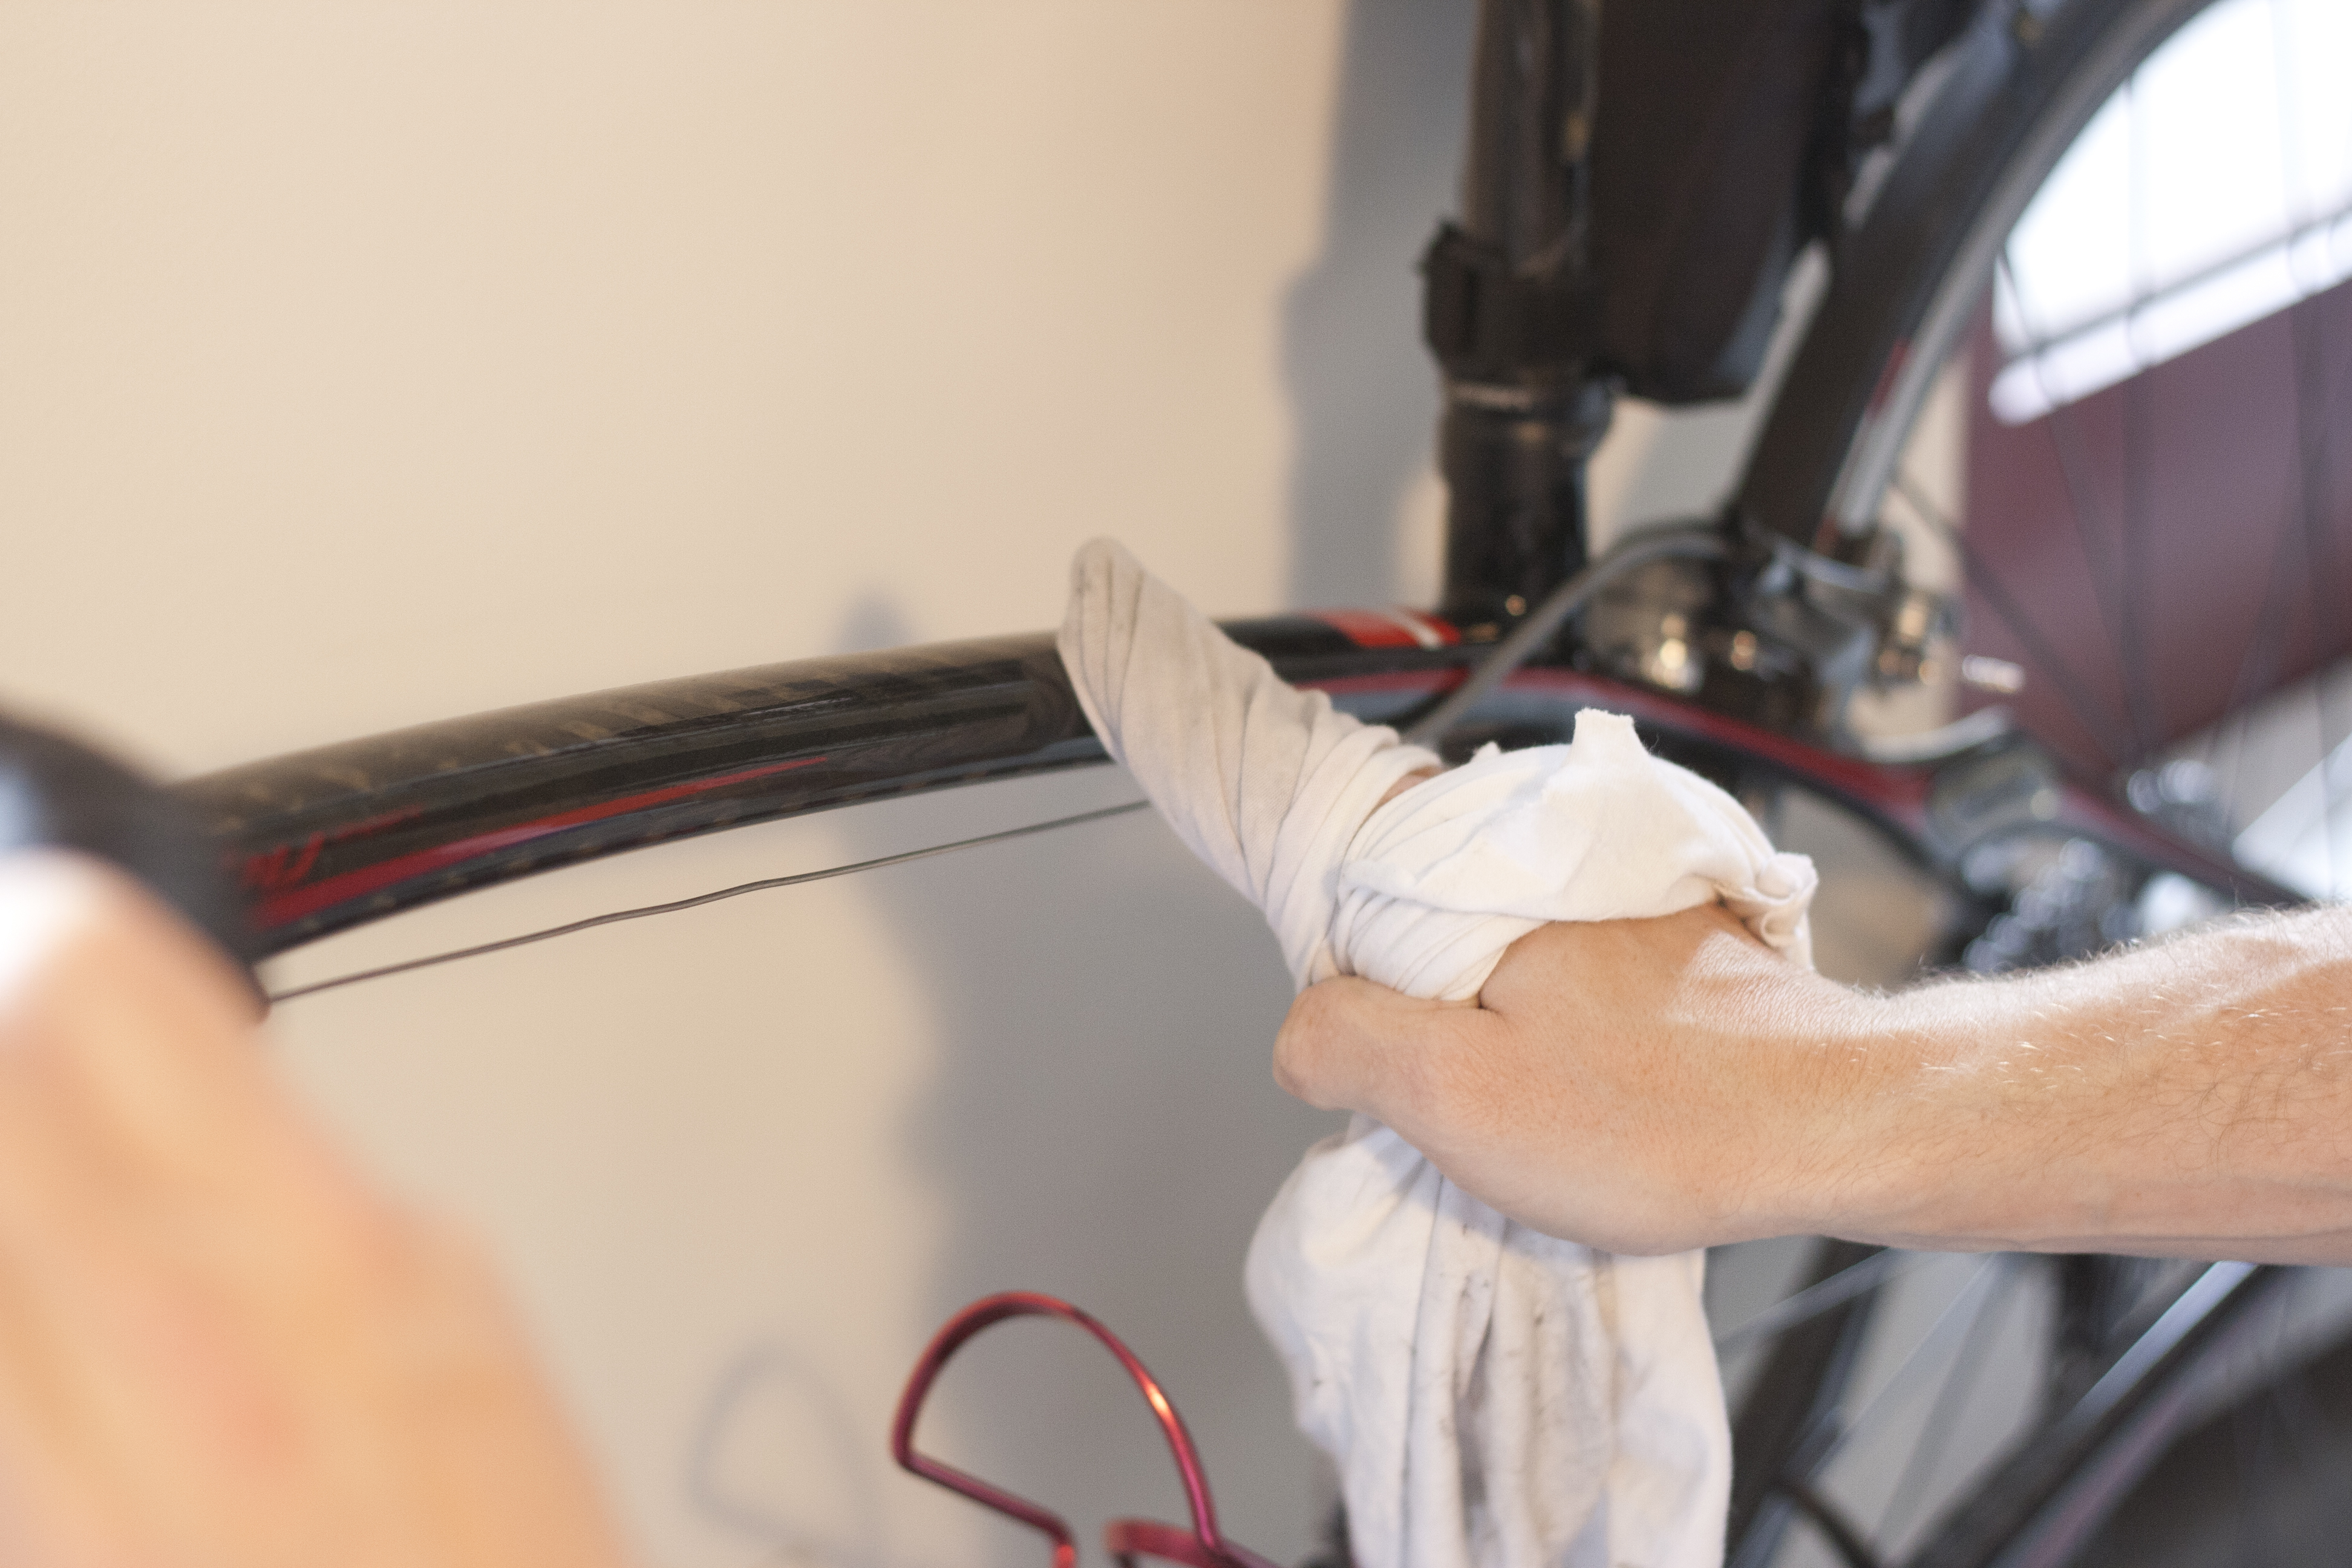
With a clean rag, wipe the excess lube off the chain and derailleur sprockets. Start with the lower sprocket and then the upper sprocket. Then the chain where it meets the lower sprocket and repeat where the chain meets the upper sprocket.
IMG_9851IMG_9869
Then wipe the excess lube off the top and bottom of the chain by gripping the top and bottom of the lower part of the chain with your thumb and forefingers and rotating the pedals twenty times. Then do the same for the sides of the chain an rotate the pedals thirty times. Finally, repeat wiping the top and bottom of the chain another ten rotations. When you are done, your clean rag will have much of the dirt, grime and excess lube from your chain.
IMG_9877
IMG_9901
After lubing the chain, we use an isopropyl alcohol pad to wipe off the aluminum breaking surfaces of the rims in order to remove any brake dust and ensure proper brake power.
If you have a nick or other surface imperfection in your braking surface, you can also use steel wool to smooth out the surface. We use copper, as it leaves less residue on the aluminum braking surfaces as your are smoothing it out.
IMG_9911

Tips & Tricks: Keep it Clean – Wax On, Wax Off


A wash is just the beginning of keeping your ride clean.  In order to make it shine and keep it clean longer, it needs a coat of wax.  This tip always raises an eyebrow. Most riders have never thought about applying wax to their bike. Waxing your car is one thing, but waxing your bike?  Not only does the wax make your ride shine, it also protects the finish from the elements and helps keep dirt, dust and mud off the frame.
If you have a dark colored, glossy frame and have never waxed your bike, you may notice streaking or a cloudiness to the finish. Waxing your bike helps eliminate the streaking and cloudy finish.
Bikes typically come in two types of finishes, glossy and matte.  The different types of finishes require the application of different protectant coatings.

GLOSSY COATINGS

Although most bikes are made from either aluminum or carbon fiber frames, the wax we use comes from the car detailing industry and our friends at Detailed Image. This same wax can be used on your steel or titanium frame as well.
IMG_9701
Your first step is to apply the Optima No Rinse to the frame. you can do this either through a spray bottle or by applying the No Rinse onto a rag and using the rag to wipe down the frame, using enough to make the frame look wet. With a clean rag, dry the frame completely.
IMG_9704
IMG_9709
Next, apply the Meguiar’s M205 polish to the polishing pad. Dab a small amount of polish onto the various parts of the frame. Then use the pad to work the polish onto the entire frame. Use a circular motion to work the polish in. The polish is fully applied once you no longer see any obtuse coating or streaking from the application. The finish will feel a bit rough and waxy to the touch.
IMG_9723IMG_9733
Now wipe off the polish with another clean cotton rag. Use circular motions again to remove the wax. You have removed all of the wax when the finish is smooth to the touch.
IMG_9756IMG_9757
Although it seems repetitive, the next step is to use the Meguiar’s Final Inspection Spray to remove any missed wax. Again, you can either apply the spray directly to the frame or to a rag. Either way, use a clean rag to apply the Spray to the entire frame. Then wipe it down with another clean, dry rag.
IMG_9771IMG_9779IMG_9783
The last step is to apply the Blackfire Wet Diamond to get the final shine and protection. Apply the Blackfire to another clean rag and wipe down the entire frame. Then use a second rag as a final way to remove any residue from the frame. Finally, use a microfiber cloth to wipe down the entire frame.
IMG_9793IMG_9795IMG_9799
If you take a picture of your frame before and after the waxing, you’ll notice a huge difference in the shine of your bike. You’ll also notice your bike stays cleaner, longer as you continue to ride throughout the season.

MATTE FINISH

Having a bike with a matte finish requires different treatment than a gloss finish.  Matte finishes scratch more easily and tend to trap dirt more readily.  To keep your ride looking its best and get it ready to accept the matte wax, we recommend using Chemical Guys Meticulous Matte from our friends at Detailed Image.
Working with a matte finish requires the softest cloths to ensure you don’t scratch the finish as you clean, wax or dry your bike.  Always use a microfiber cloth to dry or detail your bike.
image2
After your bike is clean, or in-between washes, use Chemical Guy’s Meticulous Matte Detail Spray.
image2
Spray the detail sealant onto a microfiber cloth and wipe the entire bike down.  This gets any remaining dirt and grime off of your bike’s frame and gets it ready to accept the sealant.
image7
Once you’ve wiped down the entire frame, its time to seal the finish.  Sealing the finish keeps the mud and dust from collecting on the finish. To seal the finish, we recommend Chemical Guys Jetseal Matte.
image1
Again, place a dab on a second microfiber cloth and work it into the finish.  Let the wax sit for 20 minutes.  Then use another microfiber cloth to wipe the wax off to finish.
image12
That’s it, you’re done.  It’s now time to get out there and get it dirty again!

WINTER STORAGE

This wash and wax is also a great final wash of the season if you are putting your bike away for winter. When you pull it back out in the spring, all you will need to do is wipe it of with the microfiber cloth and apply a new round of lube to the chain. The T-9 applied above does a great job at protecting your chain from rusting or seizing while in storage.

FINAL WORDS

Whether you just got a new bike, or have been riding the same steed for years, a good wash and wax can make your ride look brand new and sparkle in the sun!