In some ways, a bike is just like a car. When you pull up for a date and your Corvette, Mazda or Prius (no, not Prius*) is dirty, your date considers “if that’s how he treats his toys, how’s he gonna take care of me?” Same thing goes when you arrive at a group ride, race or favorite
bike douche hangout and your ride looks like you keep it in a coal mine, people judge from your ride that you would also get married, and then let yourself go. Don’t be that dirty bastard!
Follow these simple steps to properly wash, lube and even wax your ride and keep it cleaner, longer.
THE WASH AND WAX
Step 1: The Sponge Bath
Since pressure from a water hose or solvents like WD-40 can damage components and even remove the factory lubricant from the chain, it’s best to wash your bike by hand.
This is a bit more of a challenge in an urban environment. We use a corner of a parking structure with a sanitary drain nearby, that way you can dump the water when you are done because direct the solution to a water treatment plant where the grease, oil, and particulate matter can be removed from the water and the cleaned water can then be released. We use Simple Green as our soap, as it can be placed in the sanitary drain with no issues. If you are in a back yard, you can allow the dirty Simple Green solution to fall onto ground, grass or gravel, where it will biodegrade, but be sure to water-in if the rinse hits grass or plants.
You will need the following for the wash: One – two gallon bucket; Simple Green; spray bottle with clean water; a sponge; a rim/tire cleaning brush; a paper bag; some cotton rags and lube. See the items pictured below.
First, mix the Simple Green with hot water. Make the mix so that there are enough bubbles, but not overly sudsy.
Then go to your cleaning area and soak the sponge in the water. Start cleaning your bike by ringing the sponge out over your bike frame.
Next ring your sponge out over the components while running your pedals in reverse. Get the chain, cassette and chainring soapy.
Then sponge down the bike frame to remove all the heavy dirt.
Ring the sponge out over the bike frame one more time to re-wet the bike, then use your spray bottle with clean water to rinse all of the soap off the bike frame and components.
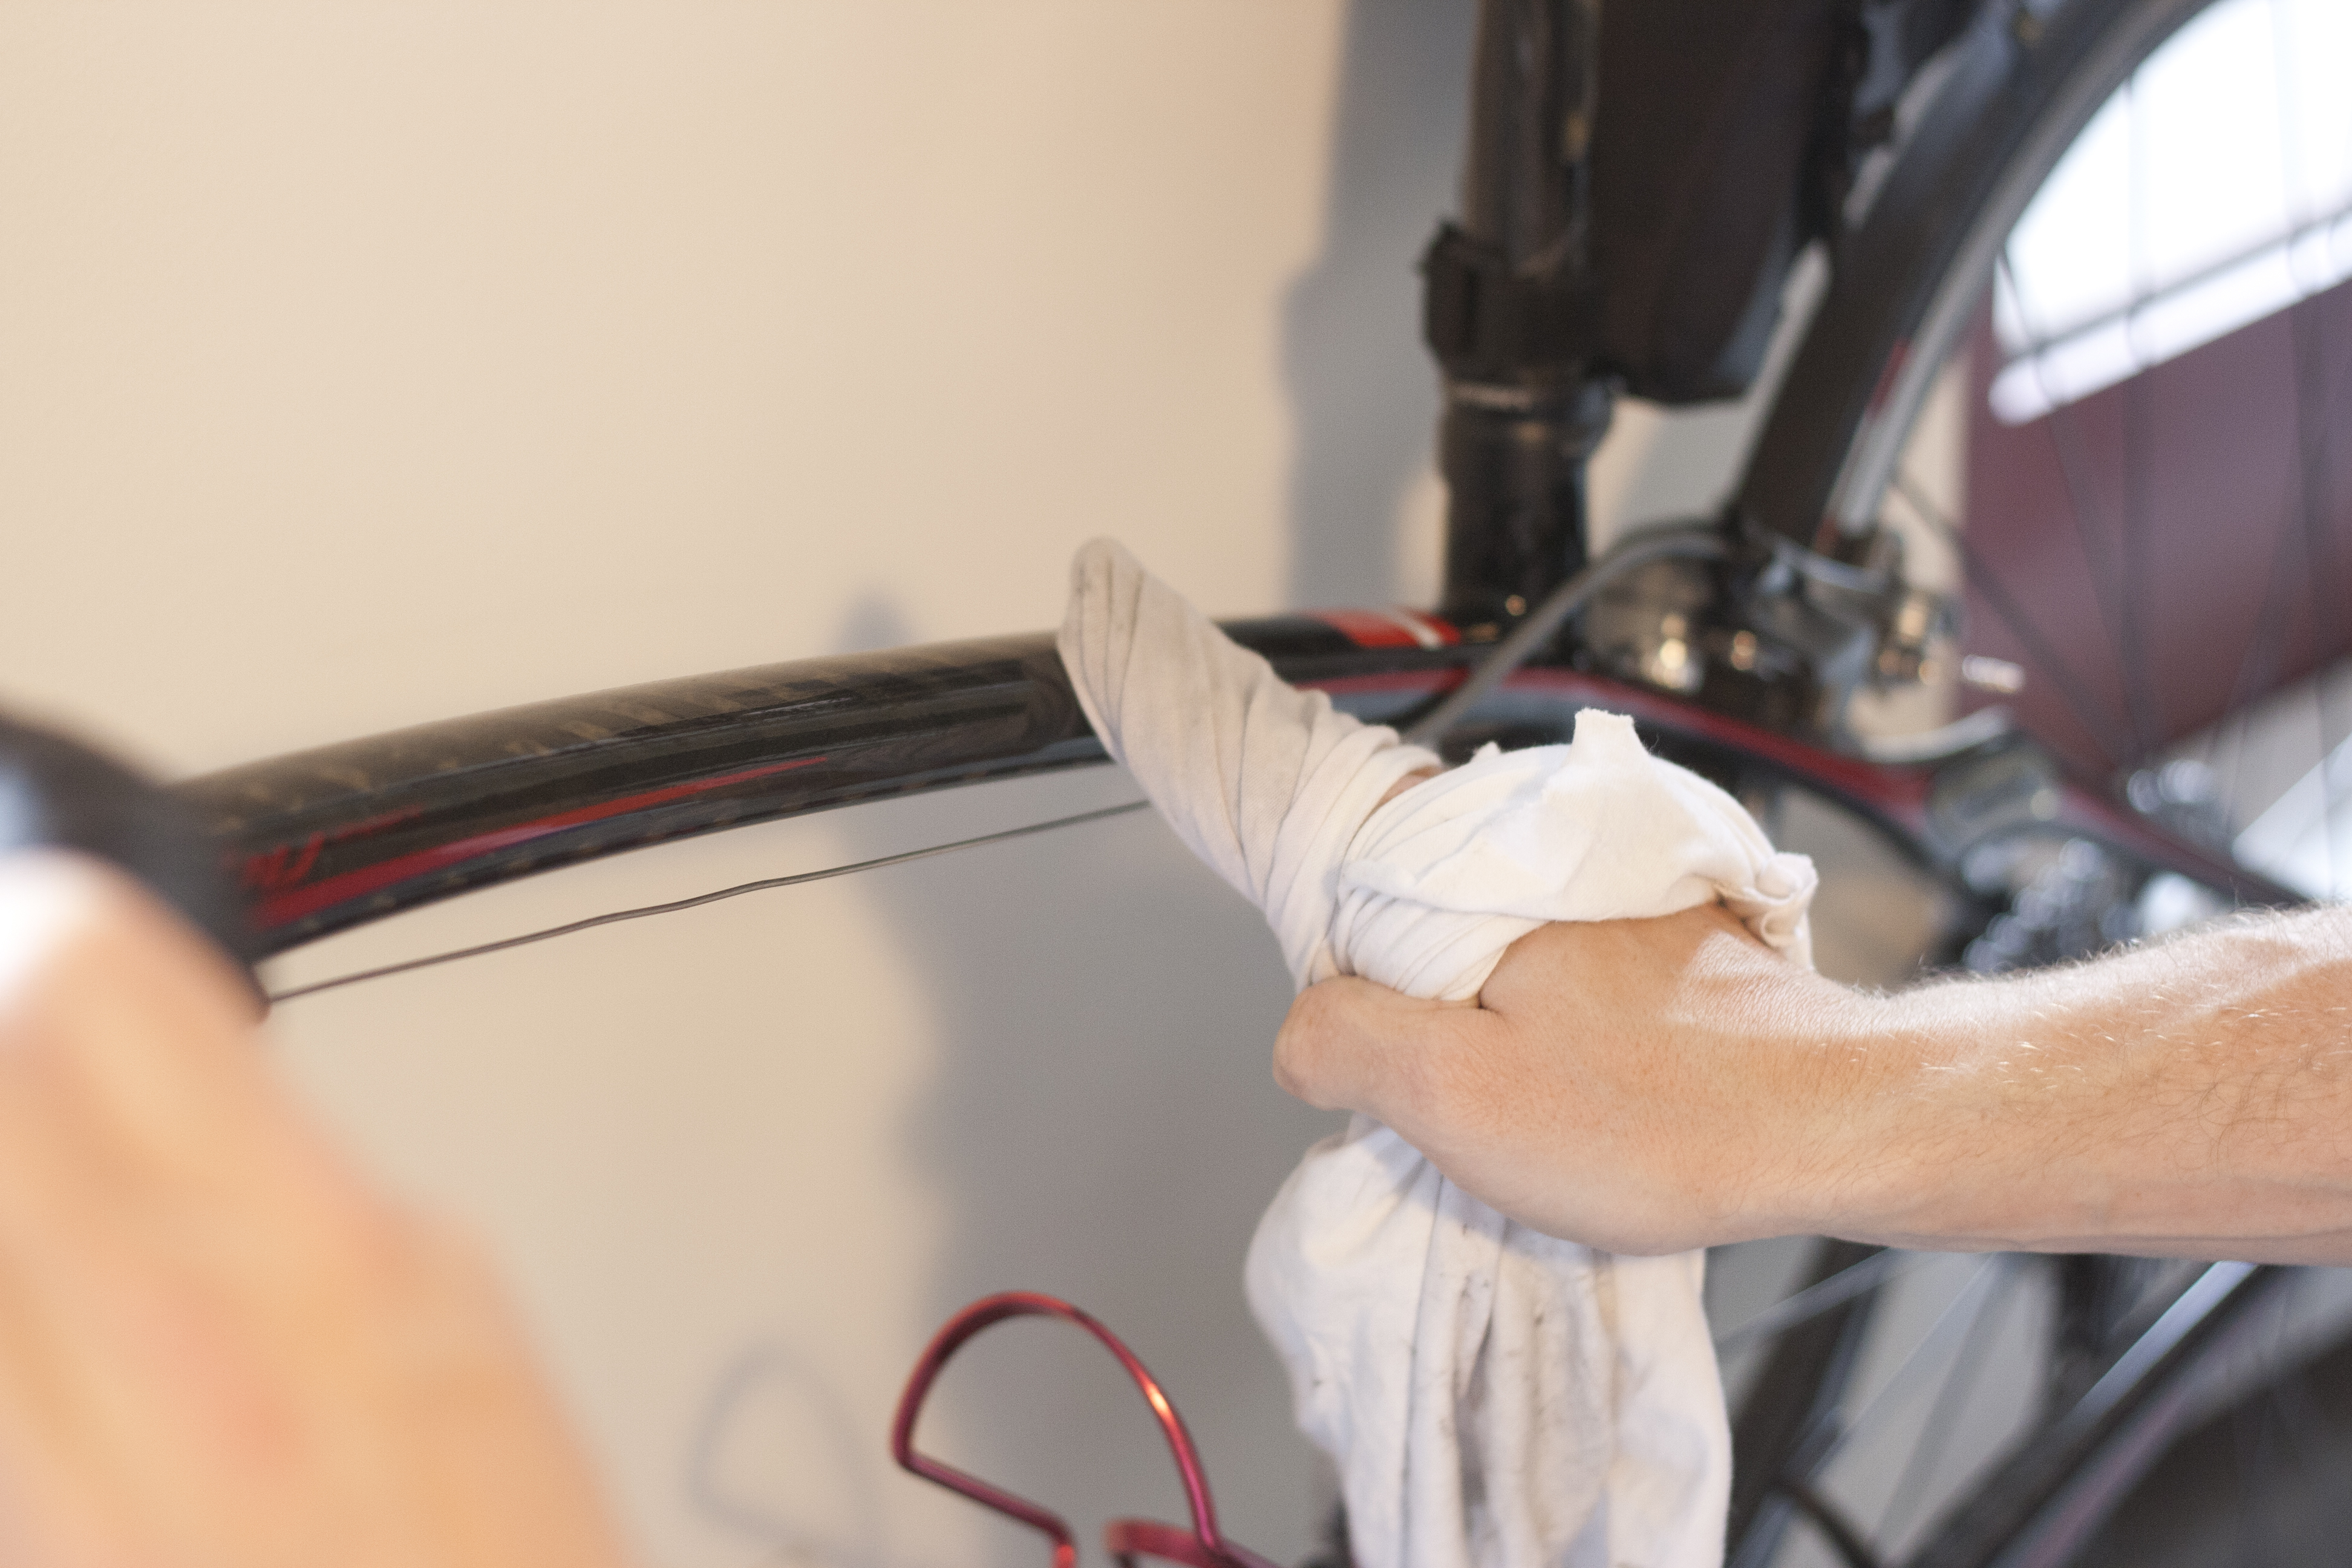
Once you have rinsed off all of the soap, dry off the frame with a clean cotton cloth. Once you have dried off the frame, use a separate cloth to lightly dry off your components by padding the water beads off the cassette, chain and chainring.
Now its time to clean your tires and rims. Start by soaking your rim brush in the bucket. Then clean your rims and tire with the rum brush to get off all of the dirt from the tires and brake dust from the rims. Clean both sides of the rims at the same time. Once your are done with the rims, use the clean water bottle to again spray off all of the soap. Then dry the rims with a cotton cloth. Repeat for the the process for your other wheel.
Step 2: The Lube Job
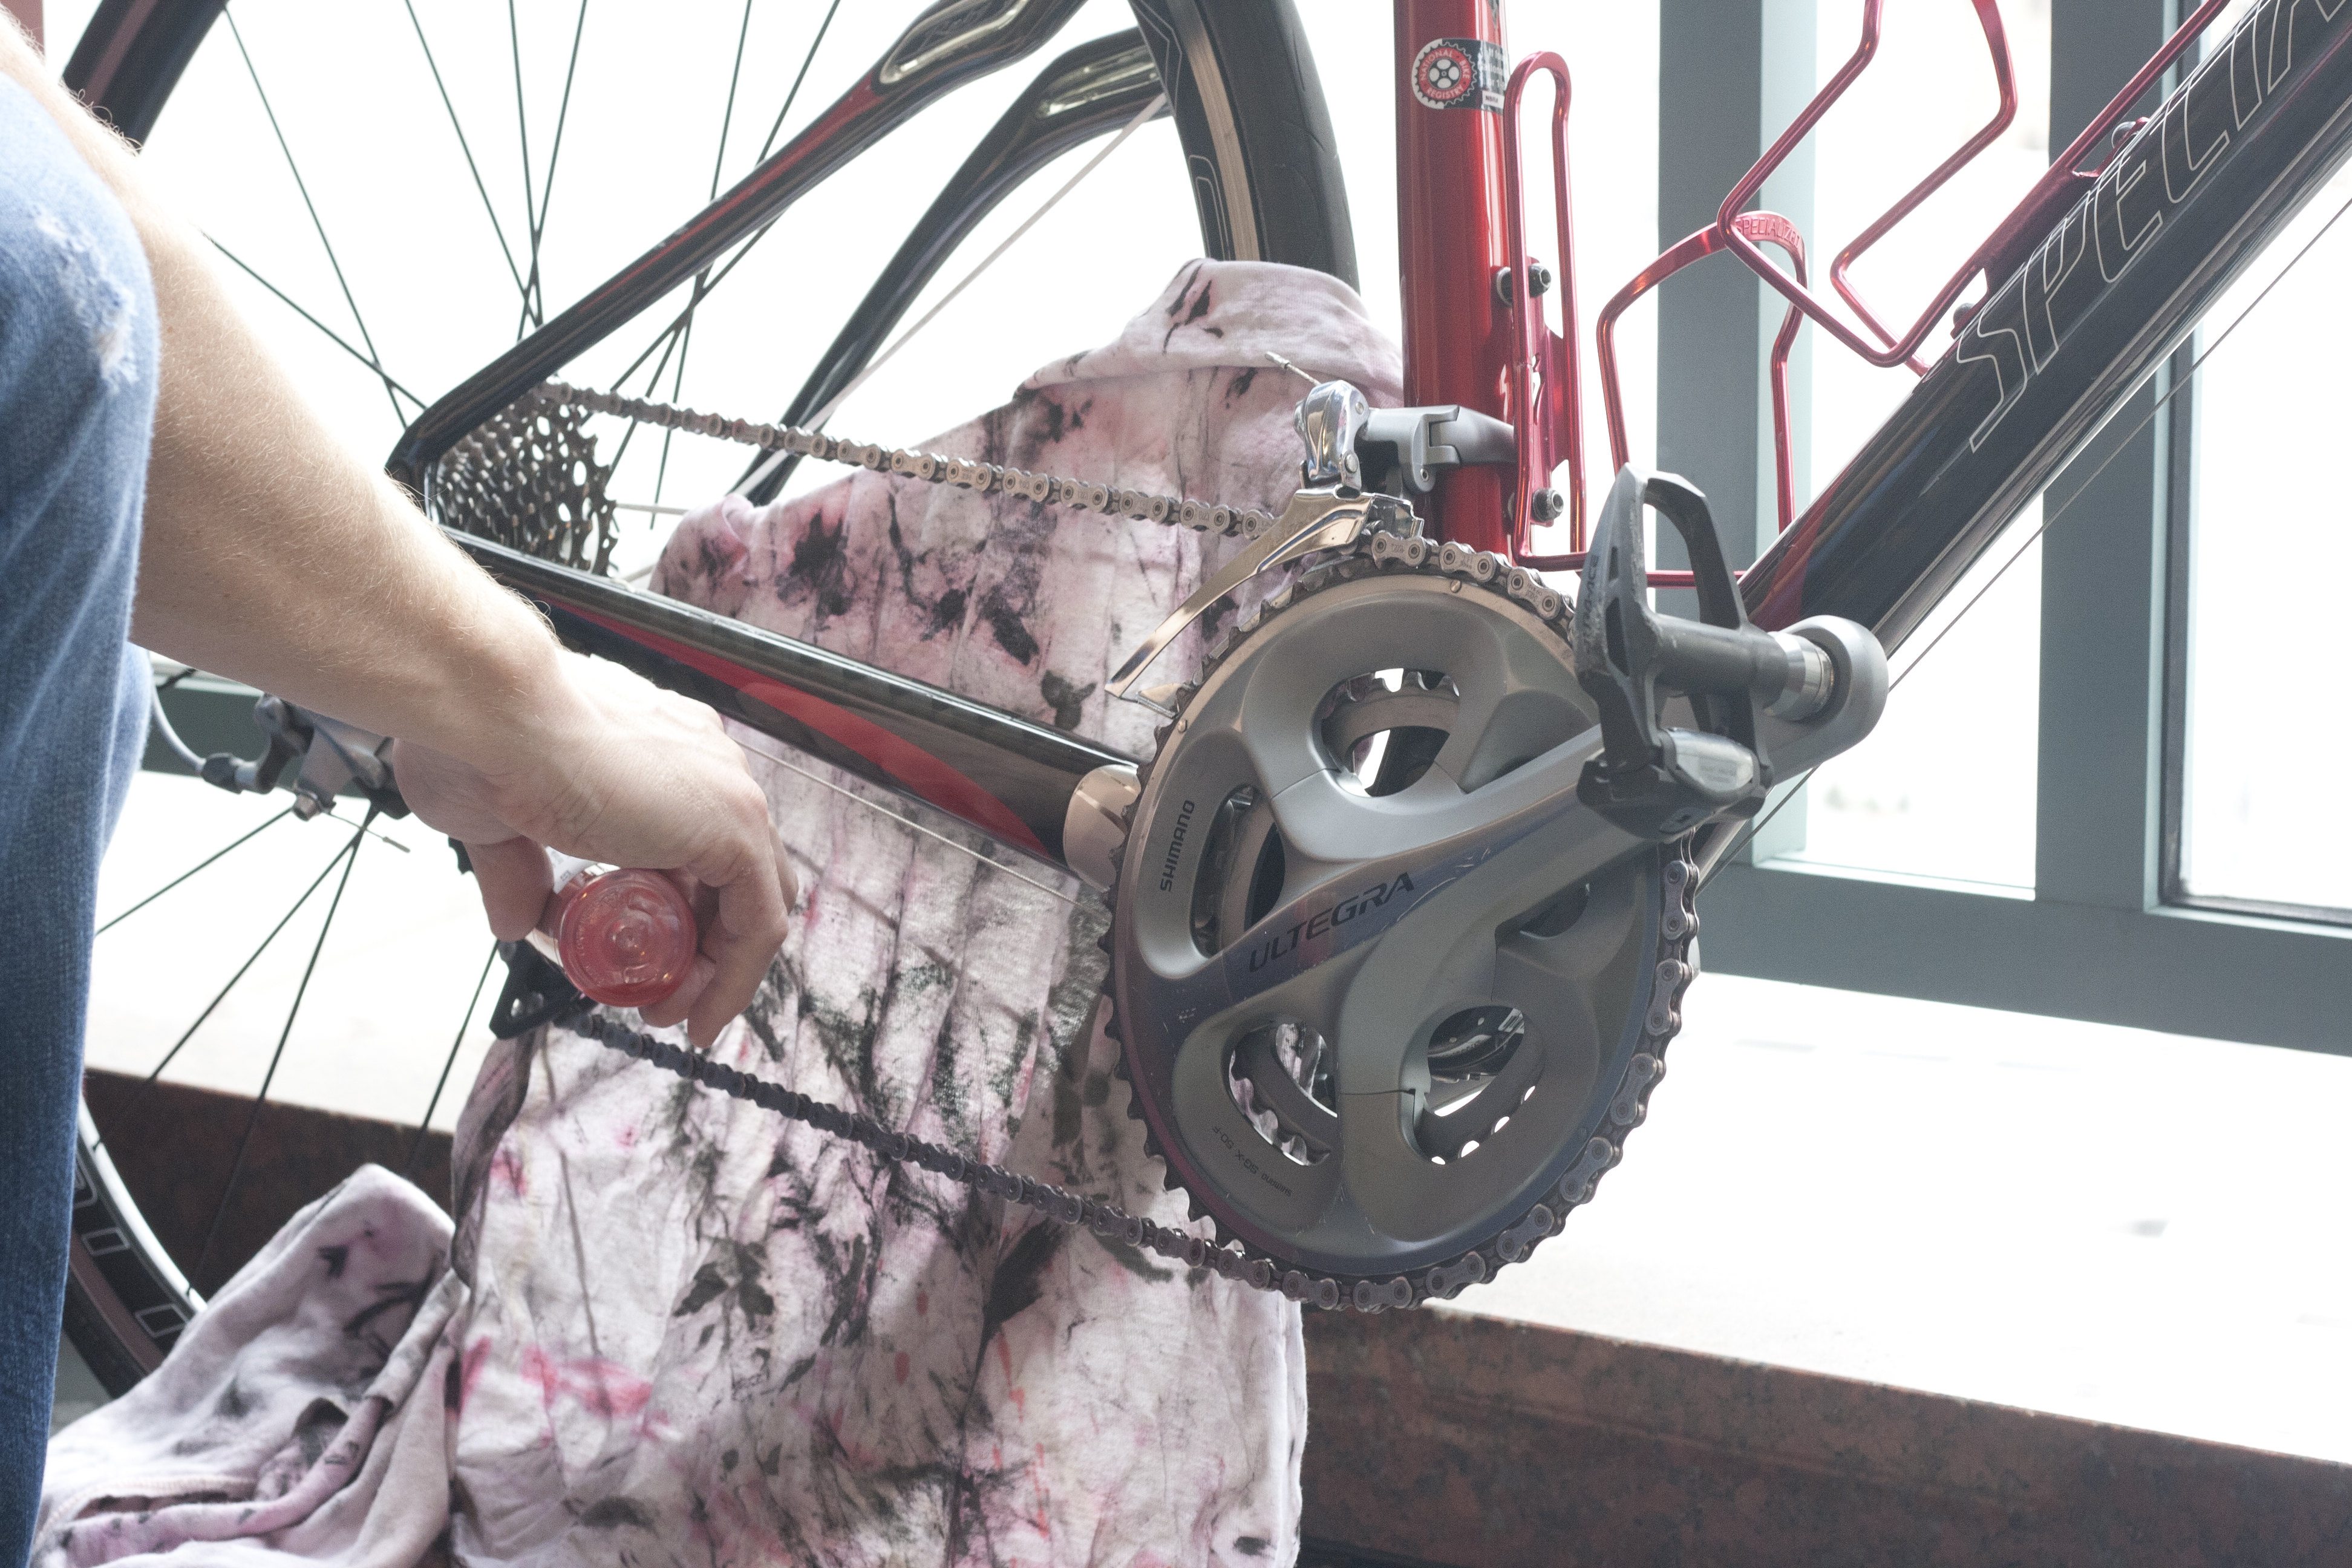
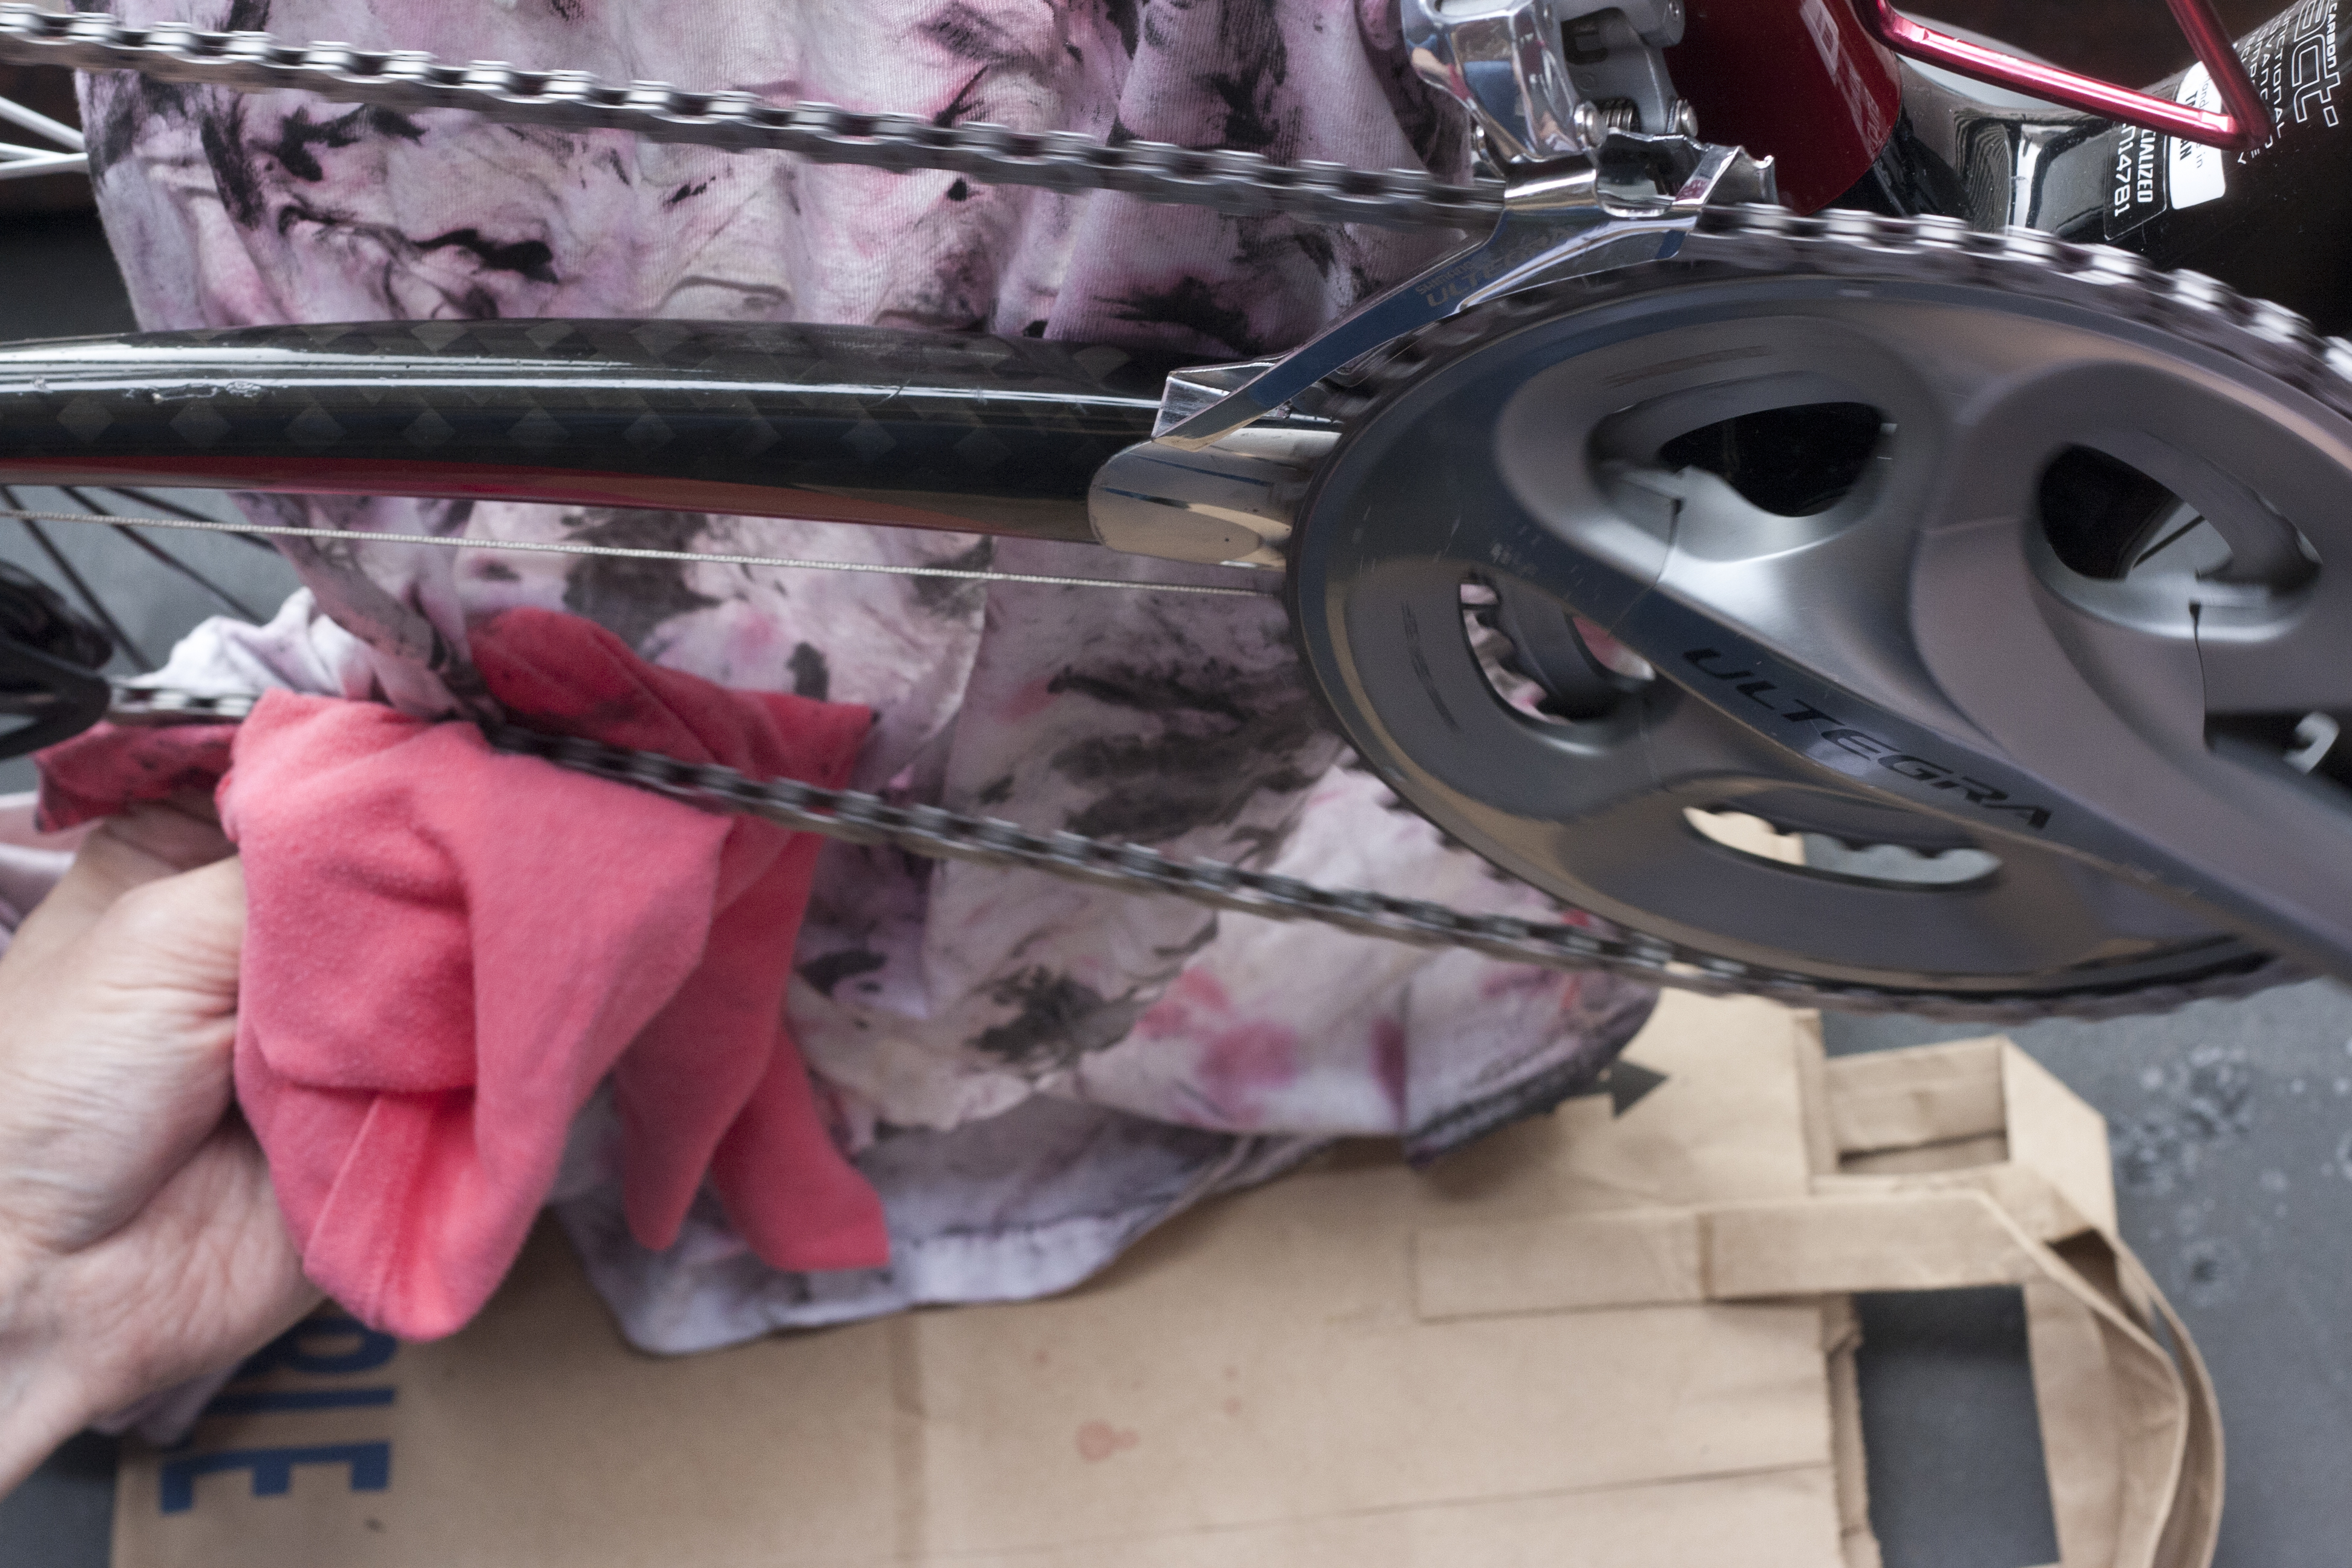
To properly lube your chain, you will need to find a second spot at your cleaning area where the ground is dry. Post your bike so you can rotate the pedals in reverse. Then place either the paper bag or a rag behind your chain in order to protect your frame and rims from the lube.
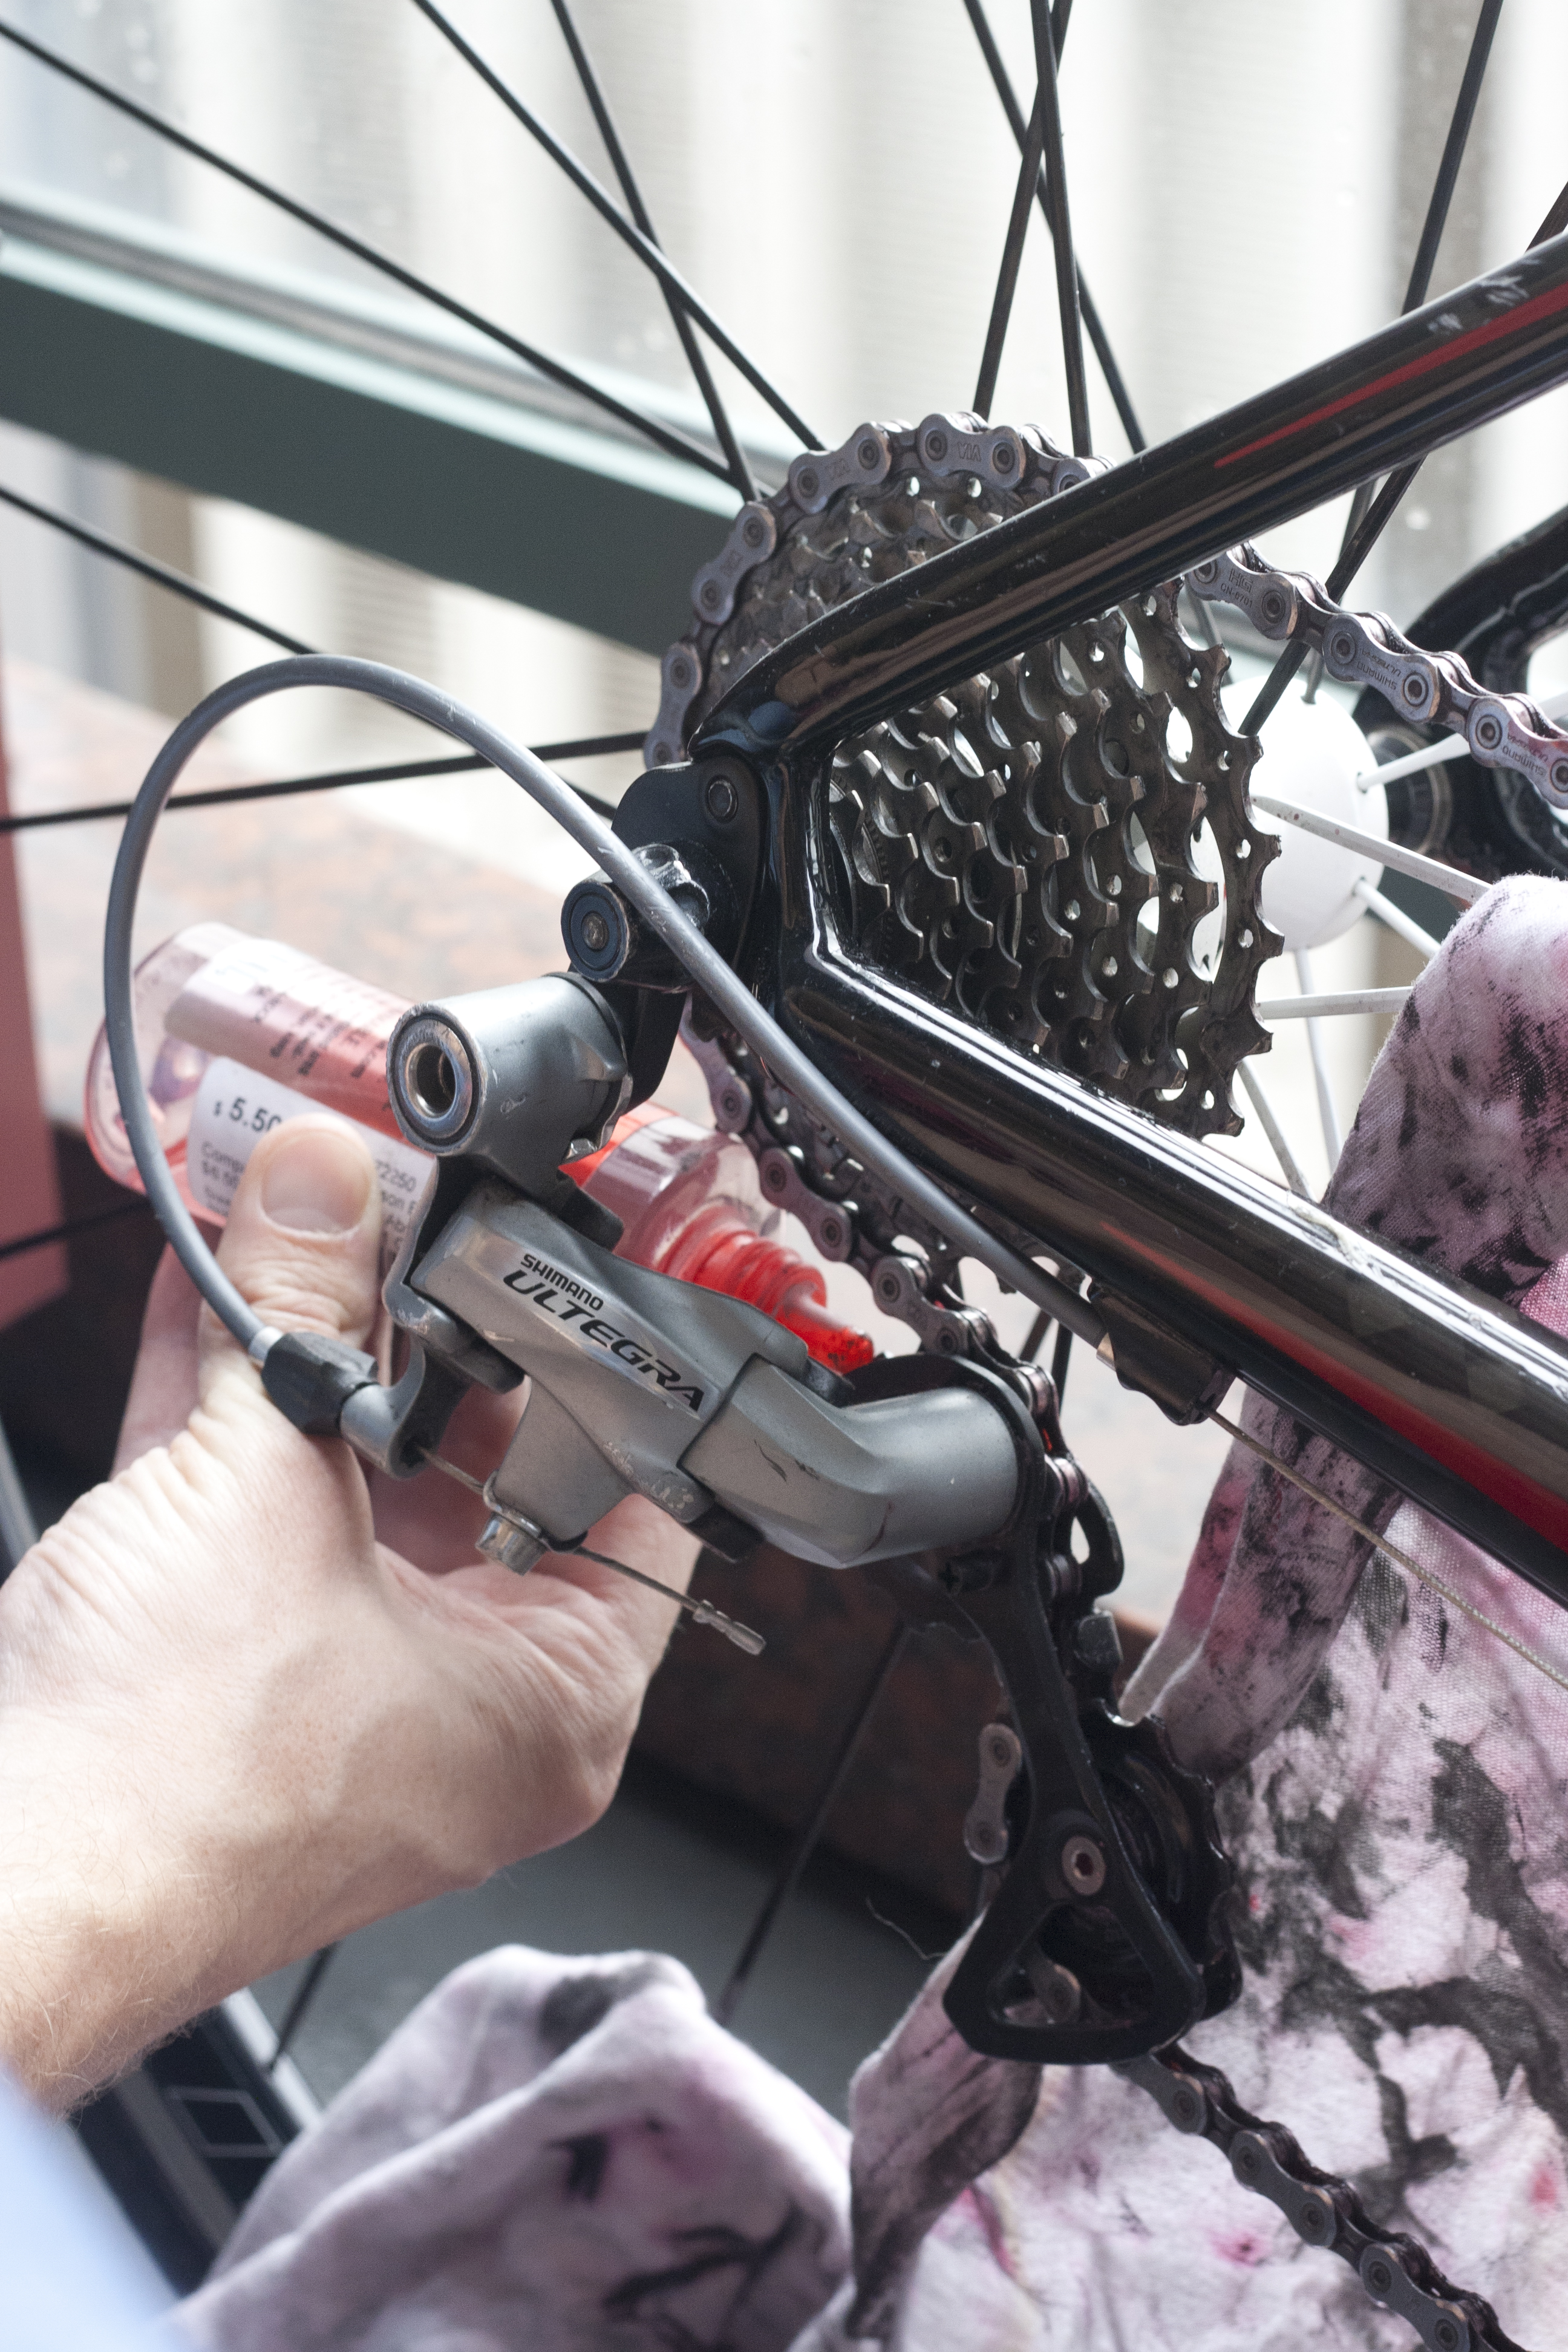
Use a second rag behind your rear derailleur and sprockets to again protect your wheel and rim from the lube, as pictured above.
After washing the bikes, we use
Boeshield T-9 Spray Lube. This lube was developed by The Boeing Company for aircraft parts and is perfectly suited for use on bike chains as it dissolves minor corrosion from the parts and leaves a long-lasting waxy coating that is waterproof. This is perfect for lubricating your chain after washing your bike.
Spray the lube toward the ground directly on the lower rung of the chain, below the chainstay, while rotating the pedals. Rotate the pedals ten times around while continuing to lube the chain. This should provide a sufficient coating.
Then spray a bit of lube on both sides of each the upper and lower rear derailleur sprockets. Then rotate the pedals another ten times to really work the lube into the chain and moving parts.
Now it’s time to wipe the excess lube off the chain and rear derailleur. Press your thumb on one side of the sprocket and your forefinger on the other. Rotate the pedals ten times. Repeat for the other sprocket.
Then place the rag on the chain where it meets the lower sprocket at the rear derailleur and rotate the pedals ten times to remove excess lube. Repeat at the upper sprocket.
Lightly press the top and bottom of the lower section of the chain with the rag between your fingers. Rotate the pedals twenty times to remove the excess lube.
Now lightly press the outside and inside of the chain with the rag between your fingers. Rotate the pedals thirty times to remove the excess lube.
Repeat the process with the top and bottom of the chain and rotate the pedals another ten times. Now wipe off any lube from the chainstay.
With your bike cleaned and lubed, now its time to protect your bike from the elements. The best way to do this is to apply a coat of wax to your bike.
Step 3: Wax On, Wax Off
This tip always raises an eyebrow. Most riders have never thought about applying wax to their bike. Waxing your car is one thing, but waxing your bike?
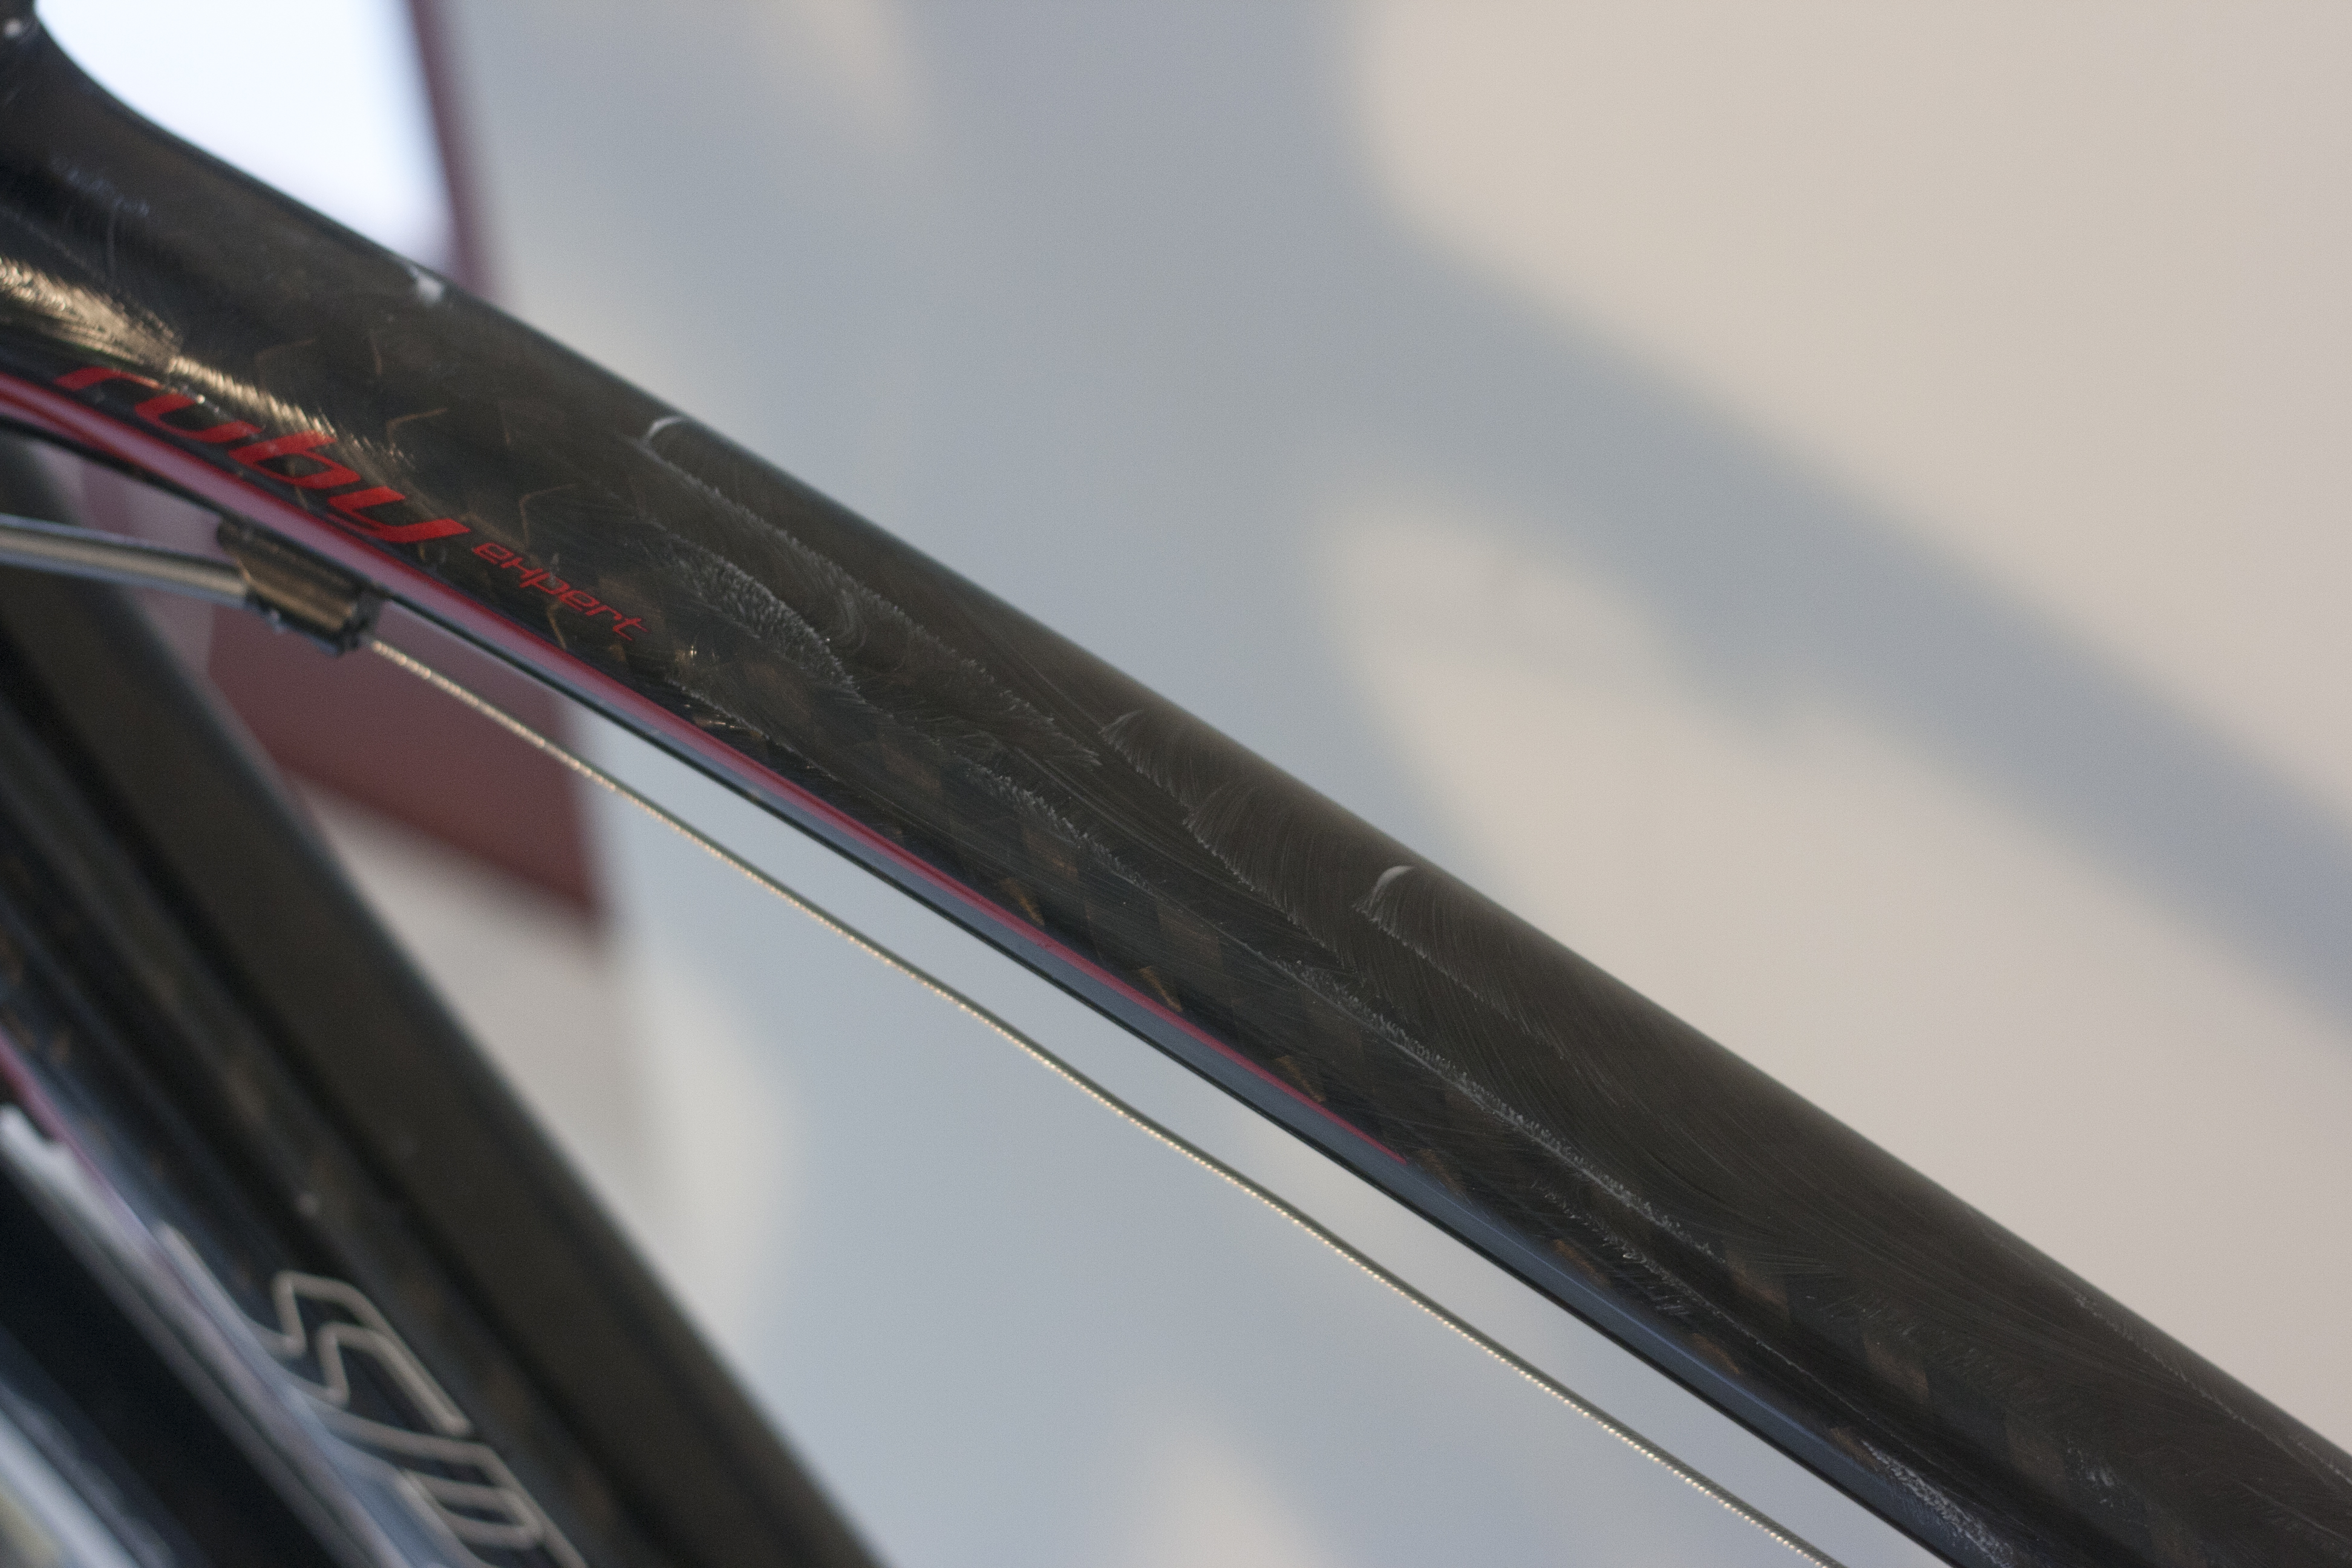
If you have a dark colored frame and have never waxed your bike, you may notice streaking or a cloudiness to the finish. Waxing your bike helps eliminate the streaking and cloudy finish.
Not only does the wax make your ride shine, it also protects the finish from the elements and helps keep dirt, dust and mud off the frame. Although most bikes are made from either aluminum or carbon fiber frames, the wax we use comes from the car detailing industry and our friends at
Detailed Image. This same wax can be used on your steel or titanium frame as well.
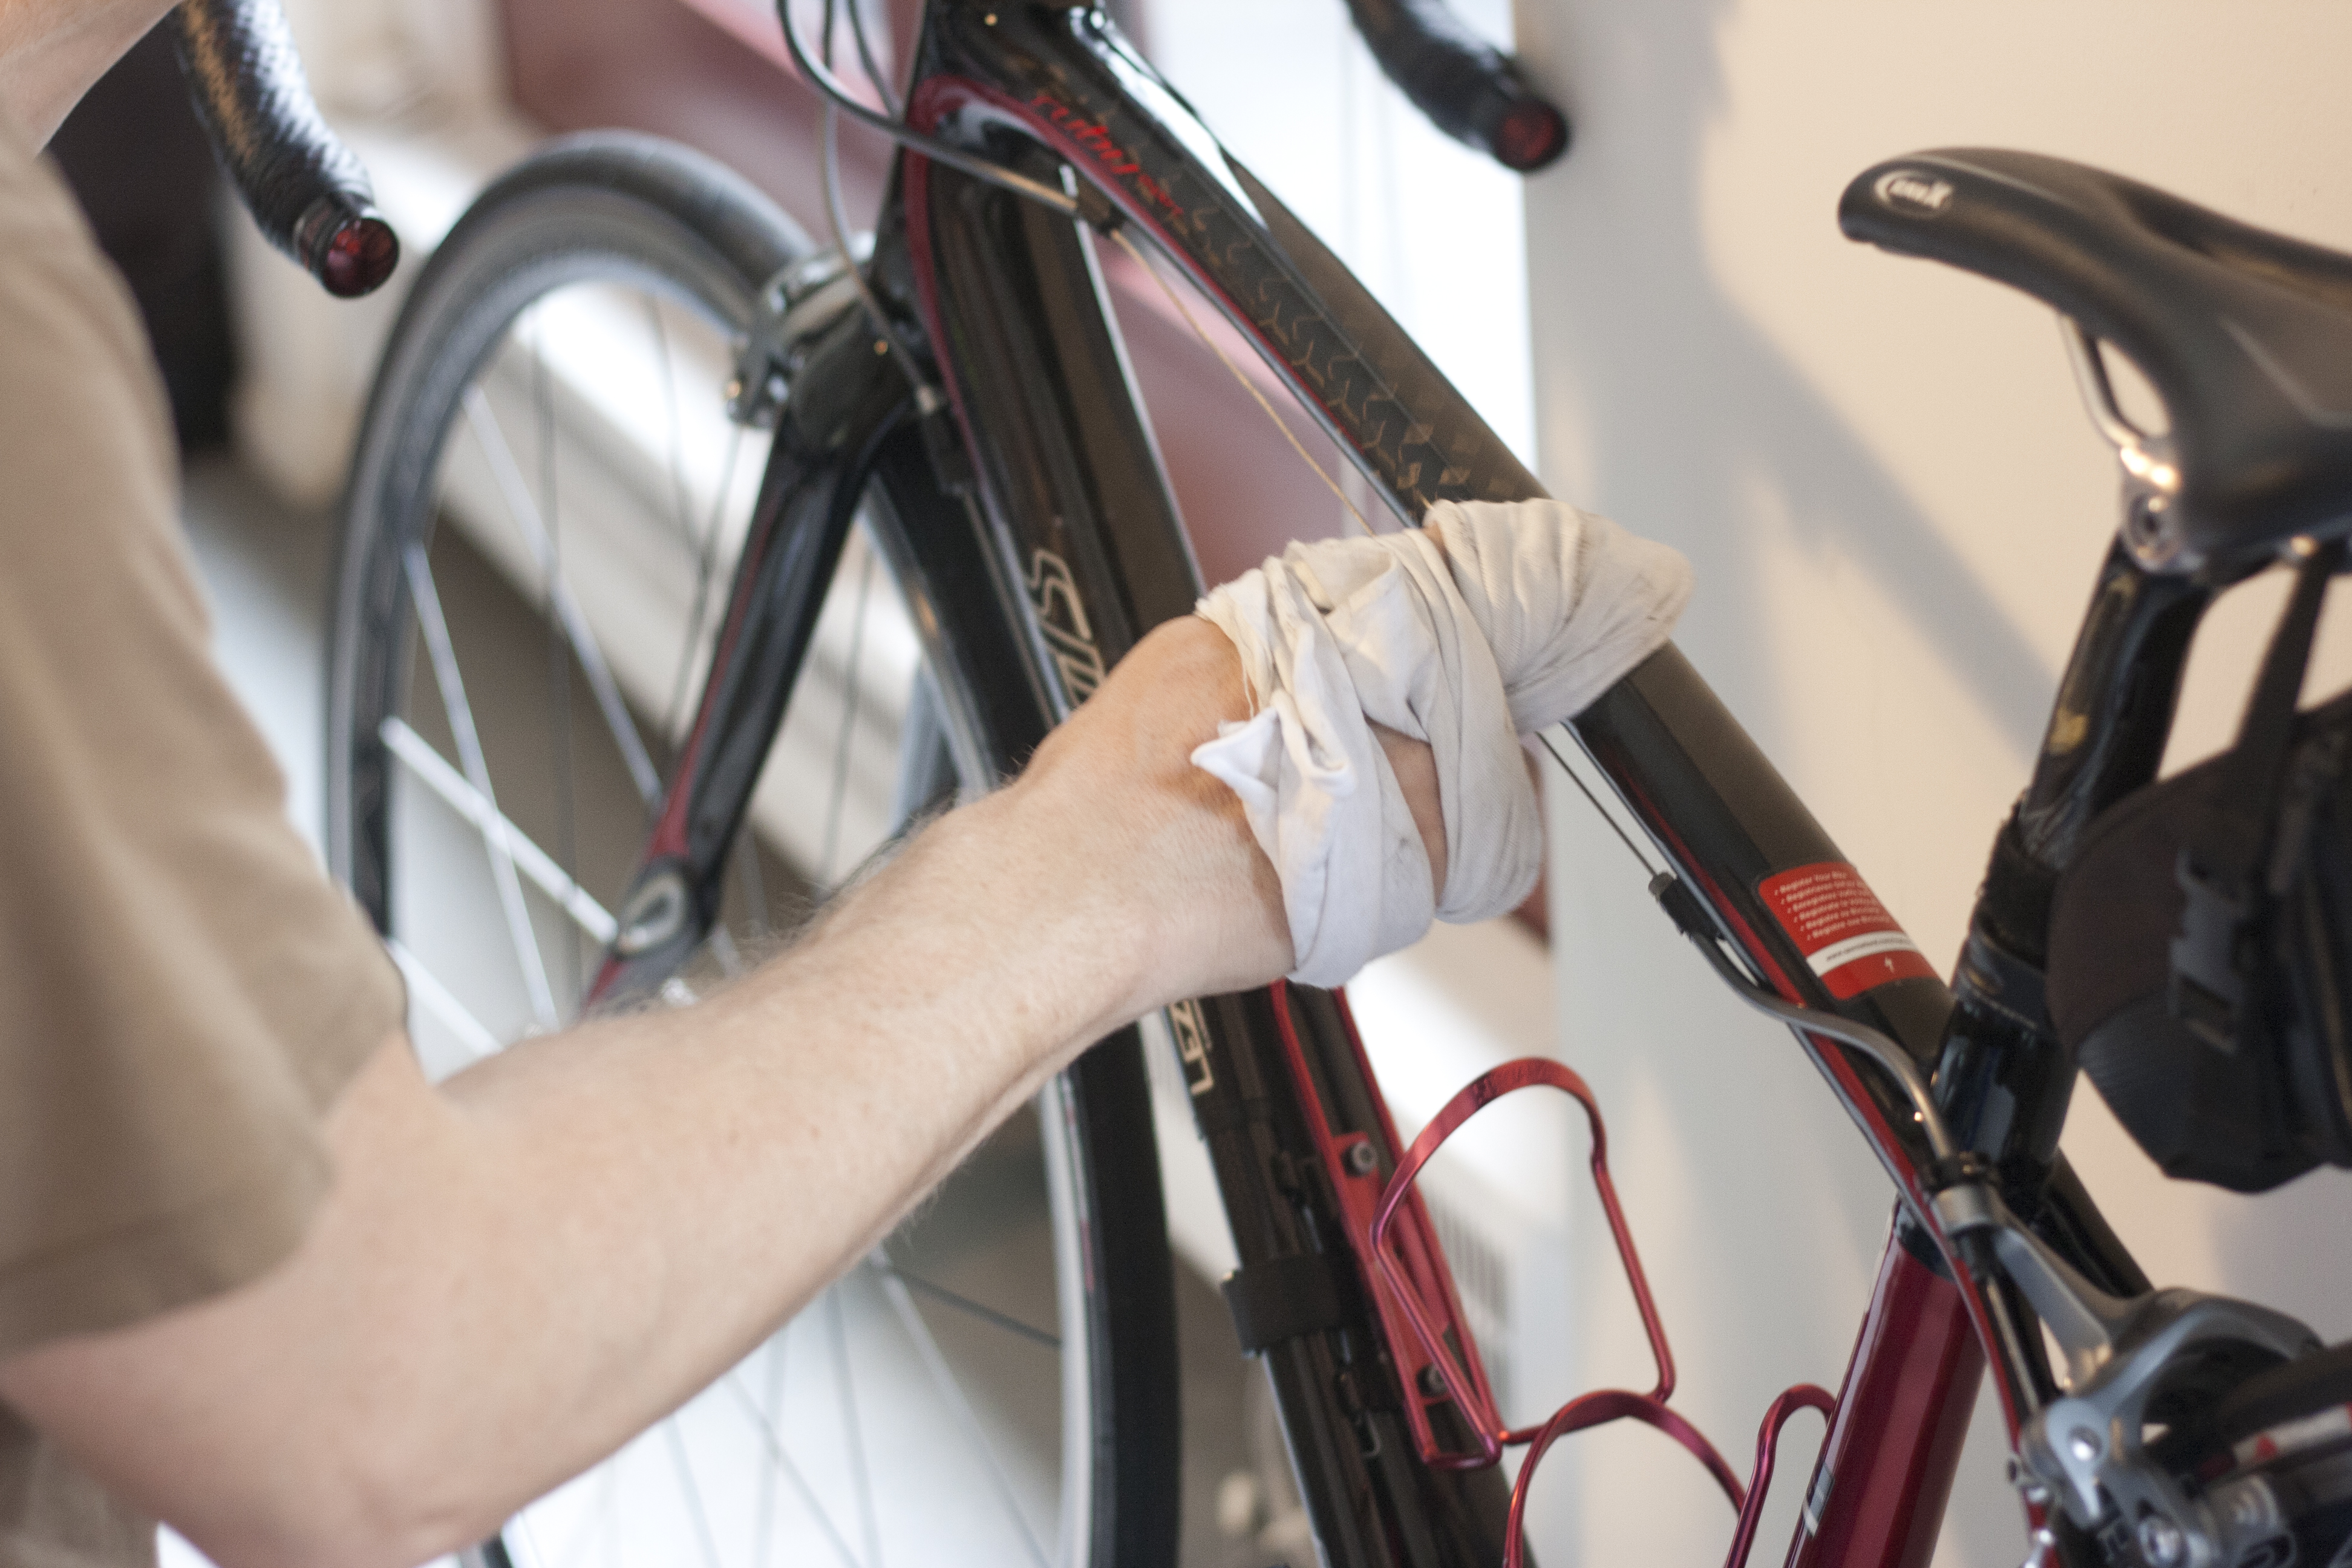
Your first step is to apply the Optima No Rinse to the frame. you can do this either through a spray bottle or by applying the No Rinse onto a rag and using the rag to wipe down the frame, using enough to make the frame look wet. With a clean rag, dry the frame completely.
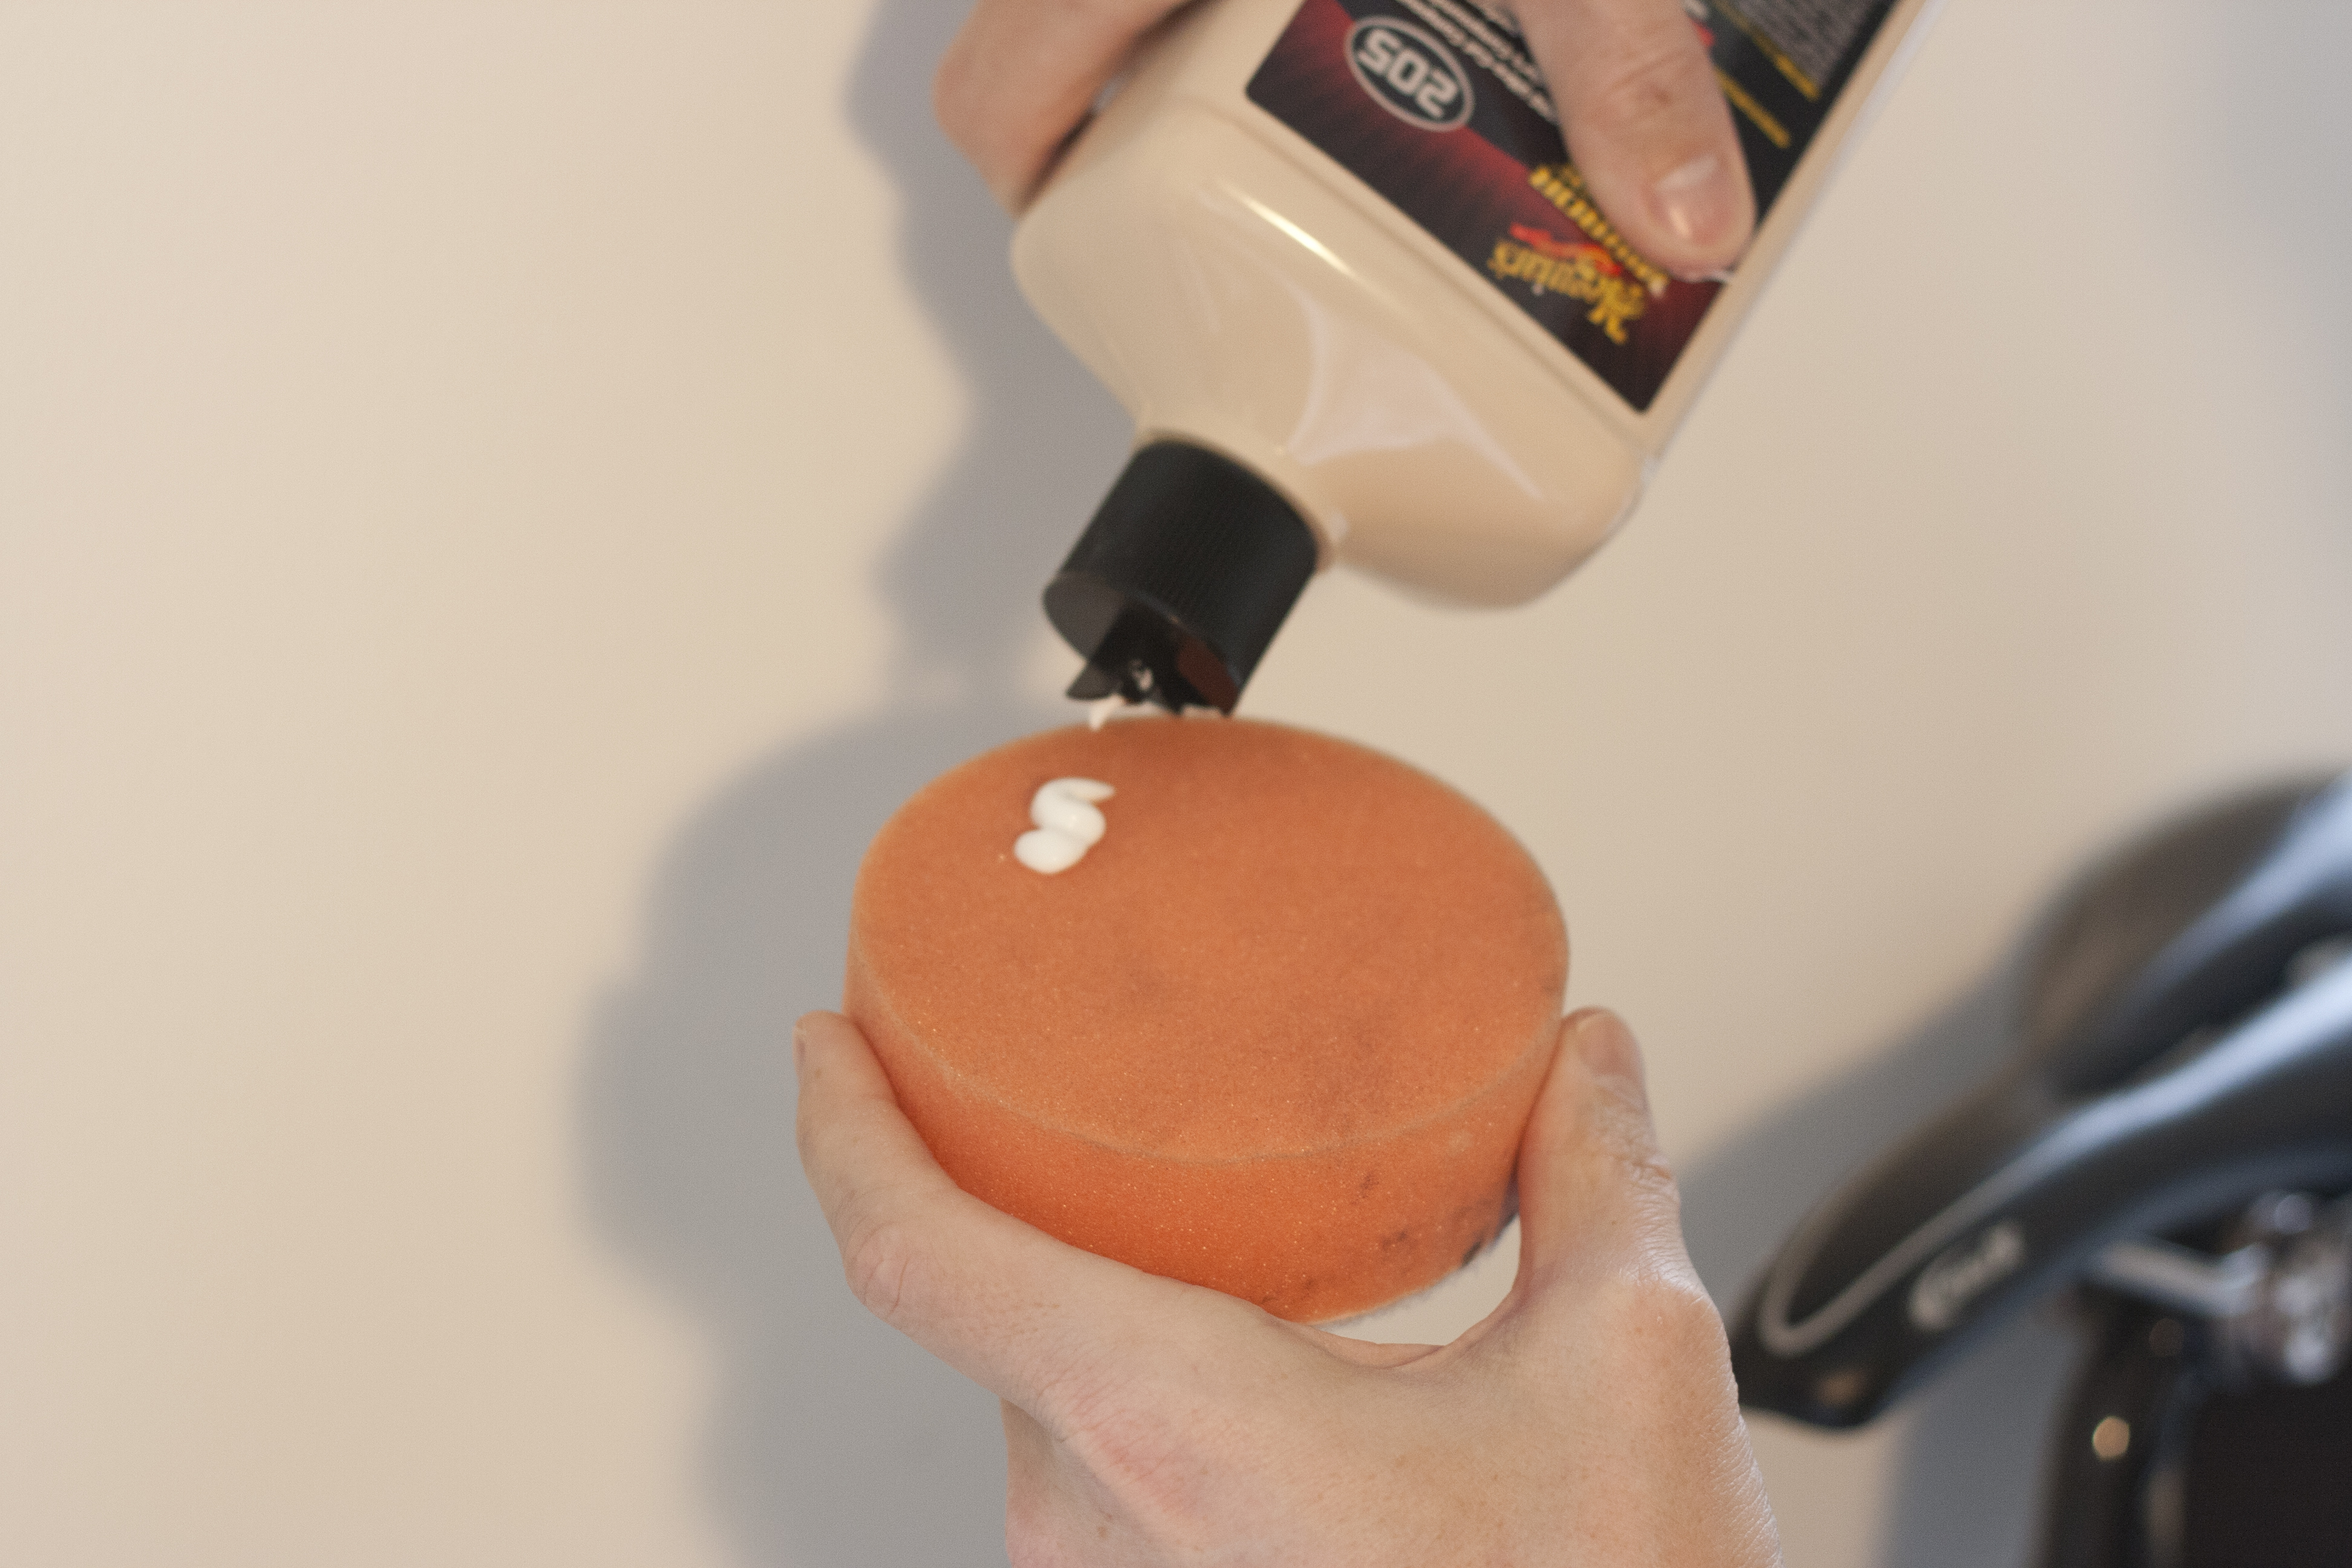
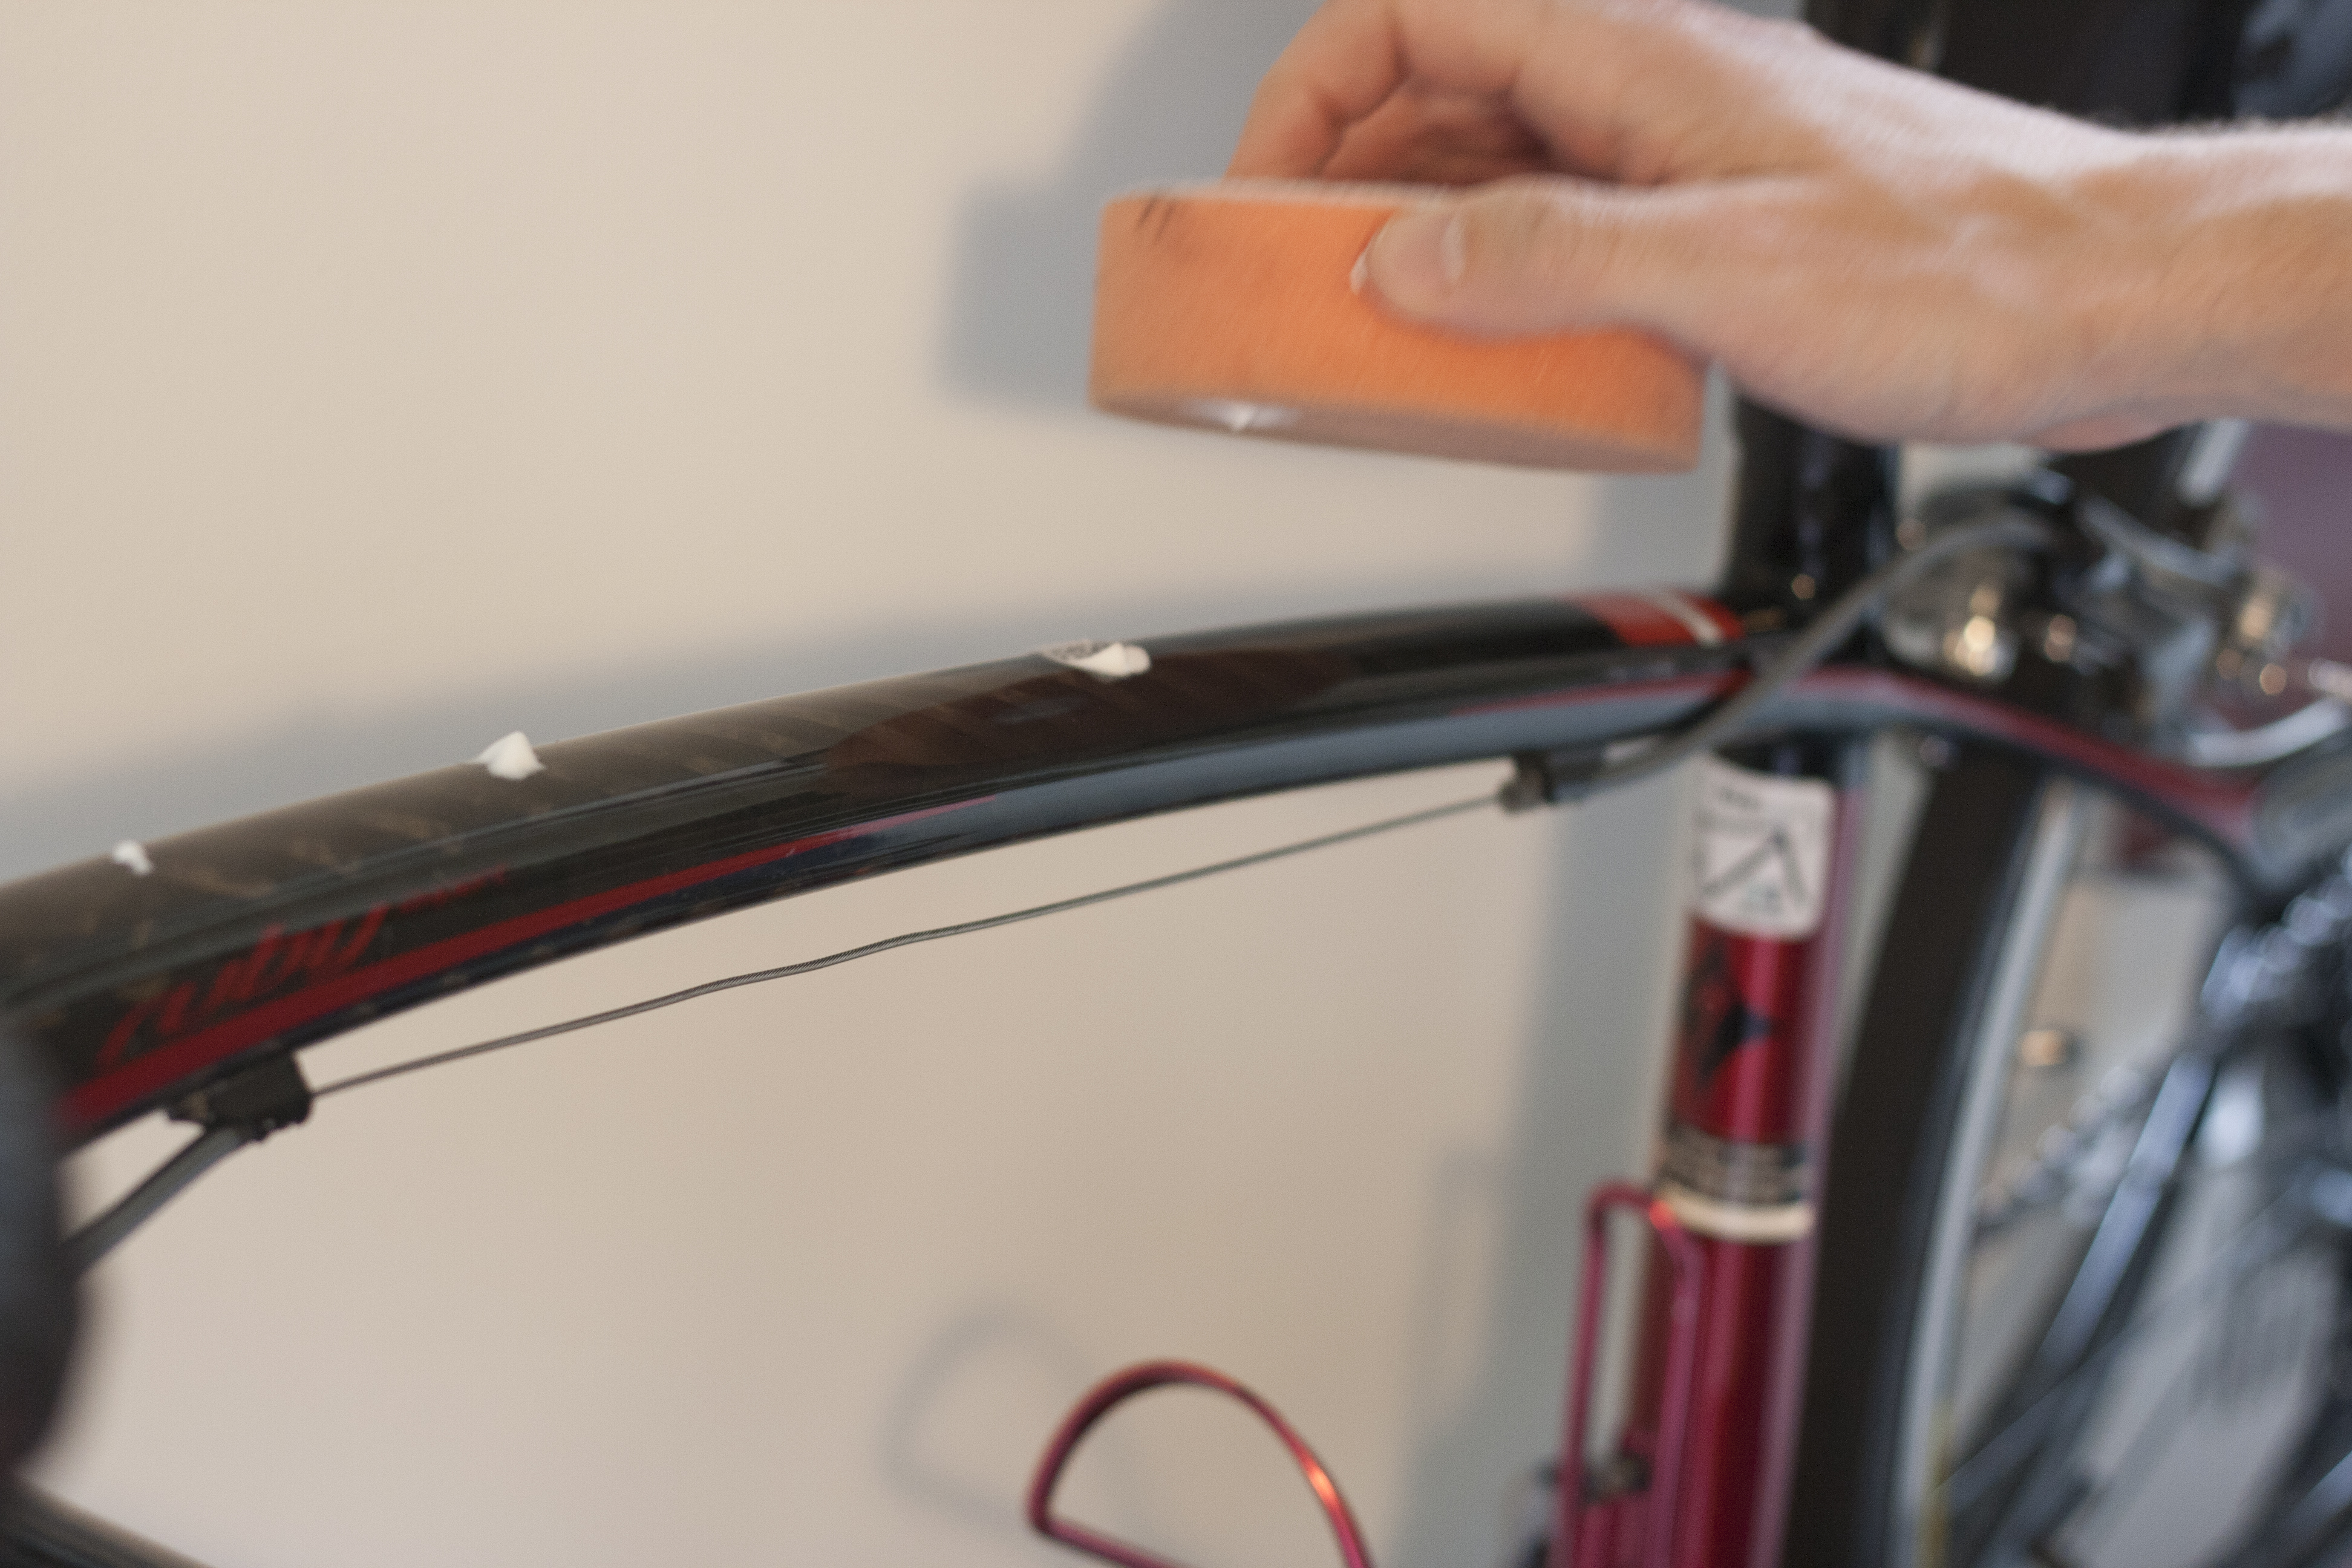
Next, apply the Meguiar’s M205 polish to the polishing pad. Dab a small amount of polish onto the various parts of the frame. Then use the pad to work the polish onto the entire frame. Use a circular motion to work the polish in. The polish is fully applied once you no longer see any obtuse coating or streaking from the application. The finish will feel a bit rough and waxy to the touch.
Now wipe off the polish with another clean cotton rag. Use circular motions again to remove the wax. You have removed all of the wax when the finish is smooth to the touch.
Although it seems repetitive, the next step is to use the Meguiar’s Final Inspection Spray to remove any missed wax. Again, you can either apply the spray directly to the frame or to a rag. Either way, use a clean rag to apply the Spray to the entire frame. Then wipe it down with another clean, dry rag.
The last step is to apply the Blackfire Wet Diamond to get the final shine and protection. Apply the Blackfire to another clean rag and wipe down the entire frame. Then use a second rag as a final way to remove any residue from the frame. Finally, use a microfiber cloth to wipe down the entire frame.
If you take a picture of your frame before and after the waxing, you’ll notice a huge difference in the shine of your bike. You’ll also notice your bike stays cleaner, longer as you continue to ride throughout the season.
WINTER STORAGE
This wash and wax is also a great final wash of the season if you are putting your bike away for winter. When you pull it back out in the spring, all you will need to do is wipe it of with the microfiber cloth and apply a new round of lube to the chain. The T-9 applied above does a great job at protecting your chain from rusting or seizing while in storage.
PRE-RIDE RITUAL
Our pre-ride ritual requires lube, a couple of rags, a paper bag, steel wool and alcohol pads.
Start by lubing the chain with
Rock-n-Roll lube. On days with dry roads, we use the red, Absolute Dry lube. When the roads are wet, or it’s foggy out, we use the Gold lube for a bit more waxiness to keep the chain from getting wet.
Set up the rags behind the the chain and apply the lube to the lower part of the chain behind the chain ring. Rotate the pedals ten times while applying the lube. Next apply the lube to both upper and lower rear derailleur sprockets. Then rotate the pedals another ten times.
With a clean rag, wipe the excess lube off the chain and derailleur sprockets. Start with the lower sprocket and then the upper sprocket. Then the chain where it meets the lower sprocket and repeat where the chain meets the upper sprocket.
Then wipe the excess lube off the top and bottom of the chain by gripping the top and bottom of the lower part of the chain with your thumb and forefingers and rotating the pedals twenty times. Then do the same for the sides of the chain an rotate the pedals thirty times. Finally, repeat wiping the top and bottom of the chain another ten rotations. When you are done, your clean rag will have much of the dirt, grime and excess lube from your chain.
After lubing the chain, we use an isopropyl alcohol pad to wipe off the aluminum breaking surfaces of the rims in order to remove any brake dust and ensure proper breaking.
If you have a nick or other surface imperfection in your braking surface, you can also use steel wool to smooth out the surface. We use copper, as it leaves less residue on the aluminum braking surfaces as your are smoothing it out.
Finally, we pump the tires to the desired pressure. We use 95 – 100 psi for normal rides, or 100 – 110 psi for races. Once the tires are pumped, we are ready to roll with the clean, bright and shiny frames!
Whether you just got a new bike, or have been riding the same steed for years, a good wash and wax can make your ride look brand new and sparkle in the sun!

*Riding in the San Francisco Bay Area, we encounter A LOT of Pariah (Priuses or Pri-i, whatever), none of whom appear to either be cyclists, or even like cyclists as they are your most likely offender to passing too closely! Our theory is the Prius drivers are angry that cyclists have a smaller carbon footprint. Beyond our personal observations, the
National Highway Safety Administration backs up our theory in that it has found bicyclists are 57% more likely to be in an accident with a hybrid, such as the Prius, than an internal combustion engine car (aka cars other than hybrids). Although it is our opinion no serious cyclist would ever drive a Prius and thus, a Prius driver need not read this article. However, just like every other rule, we have been informed there is an exception. So if you are one of the exceptions, please feel free to read and use all of the information in this article.

")