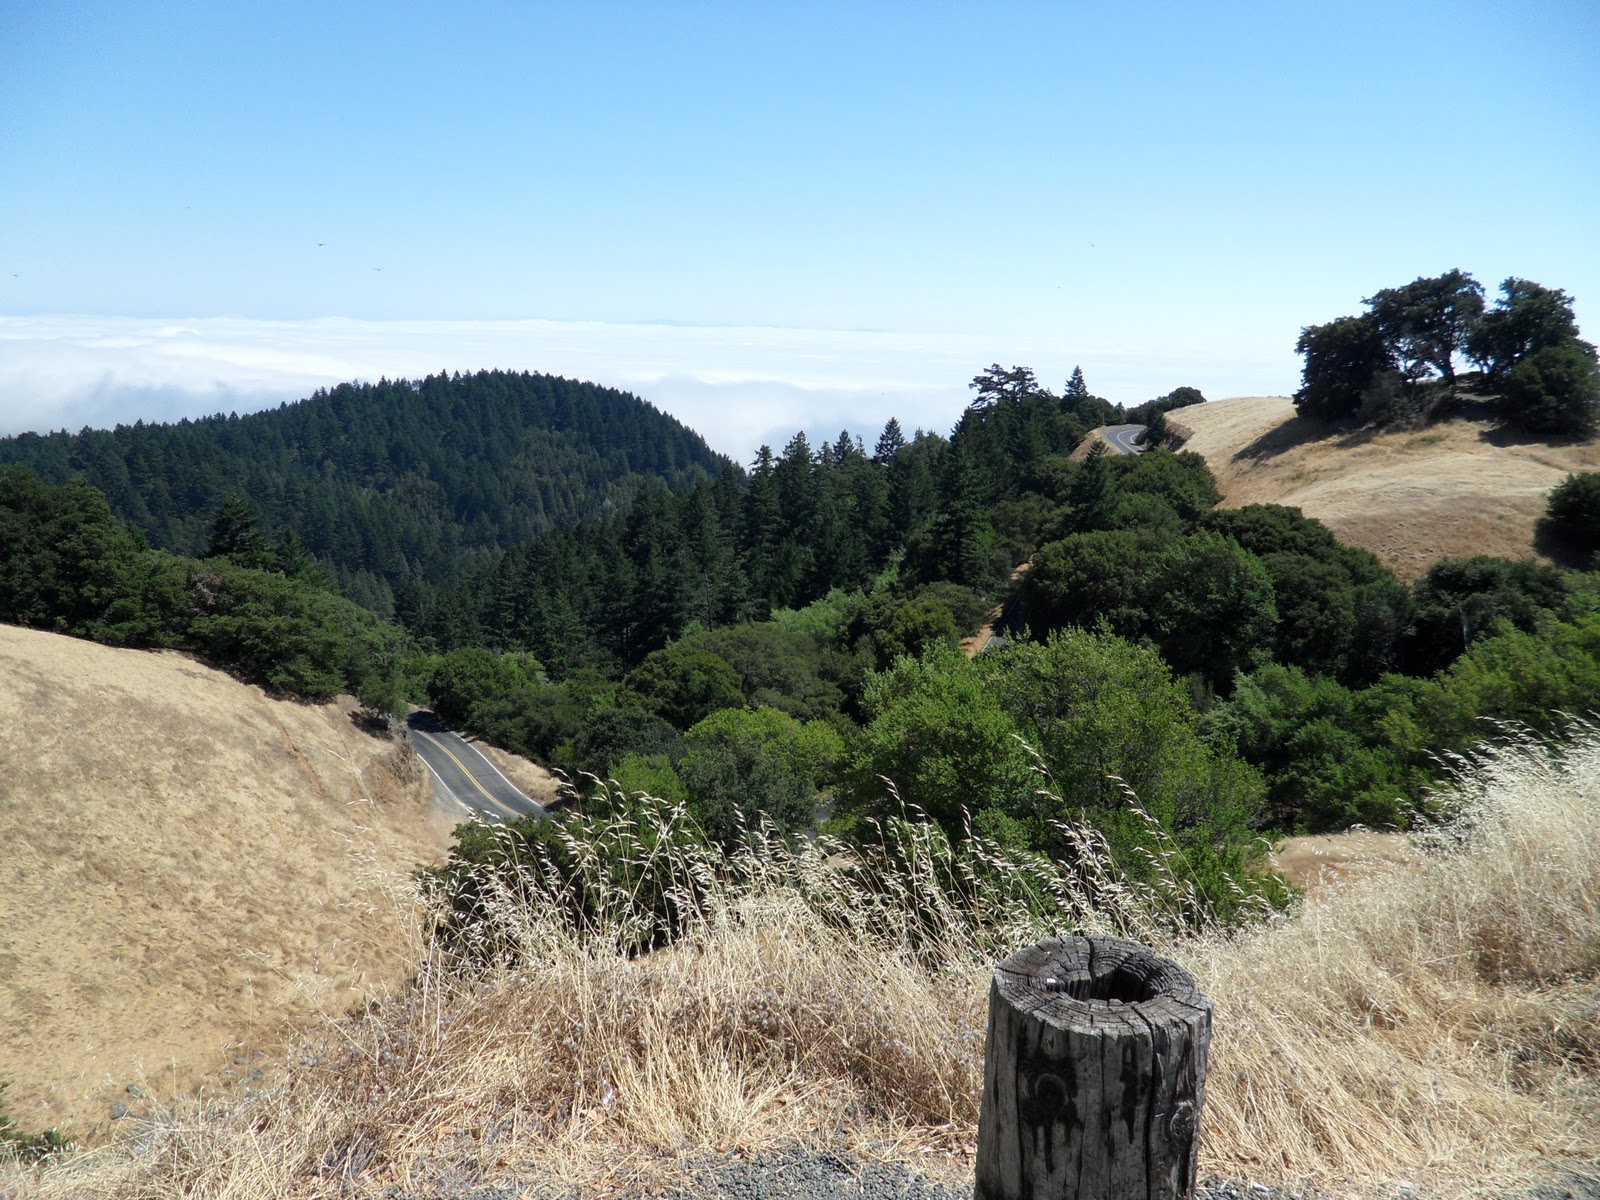
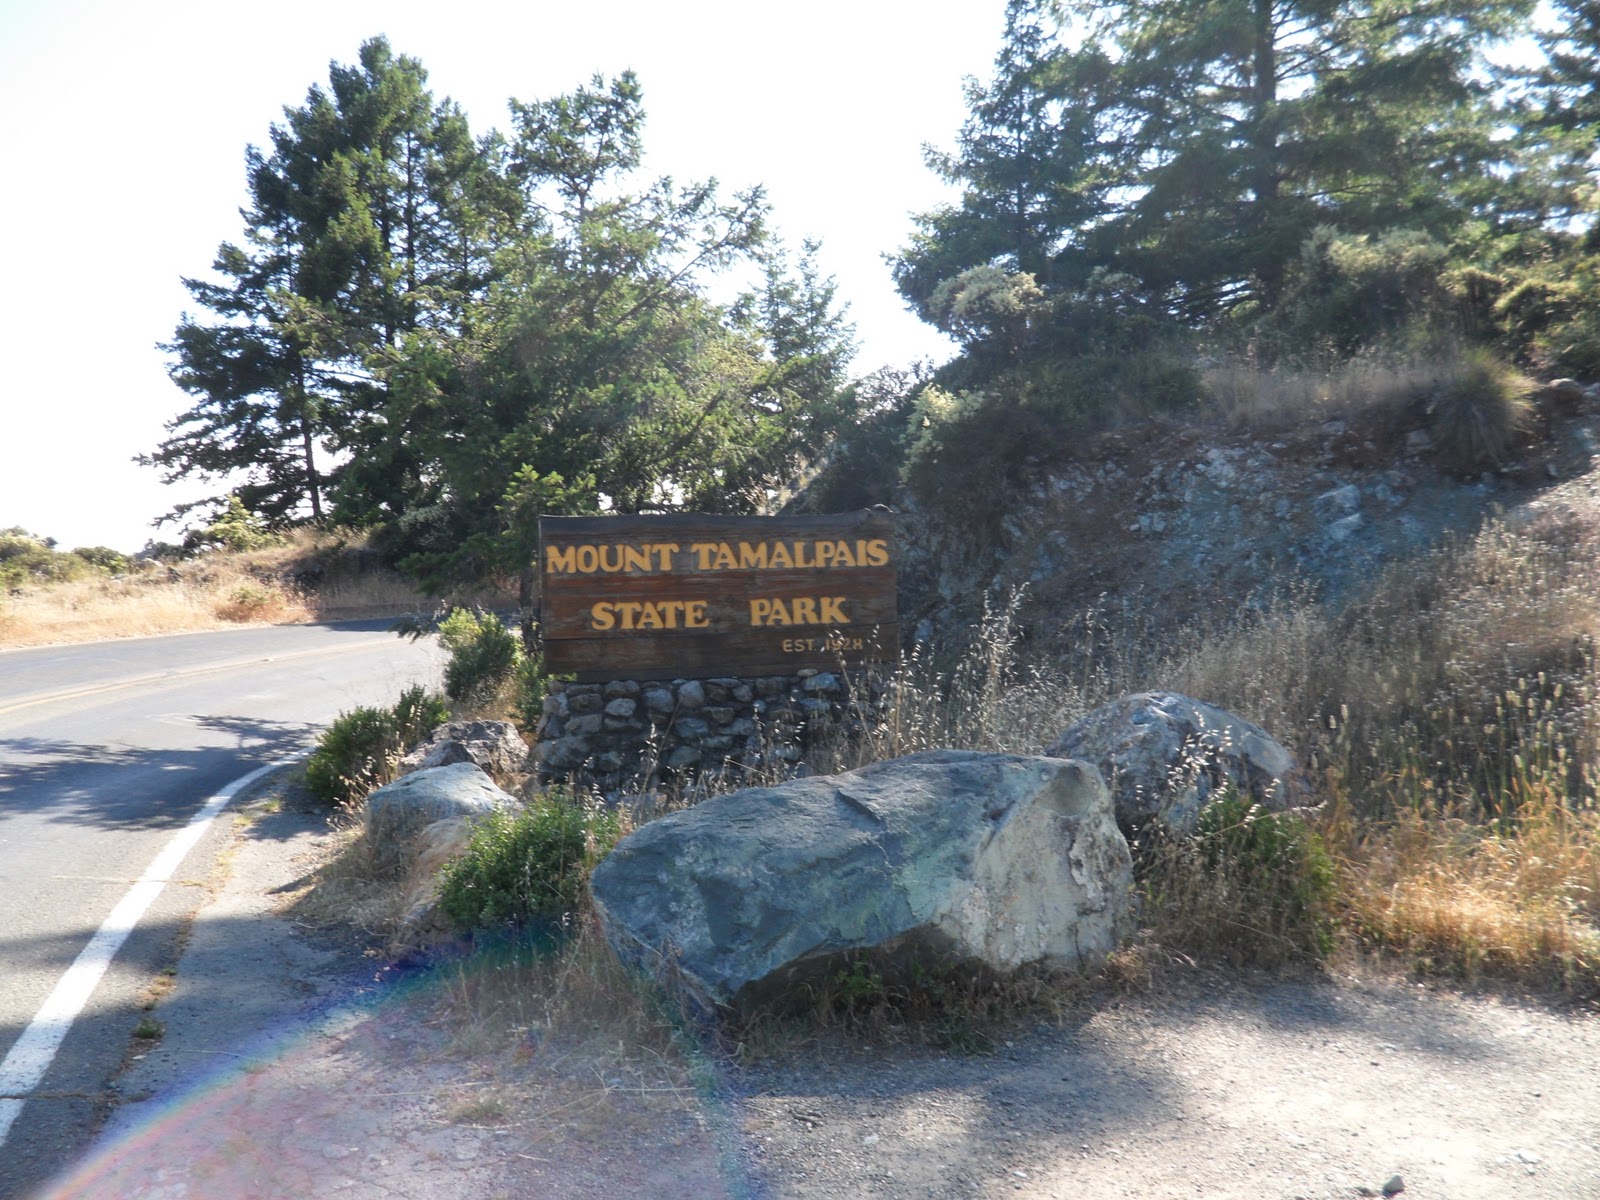
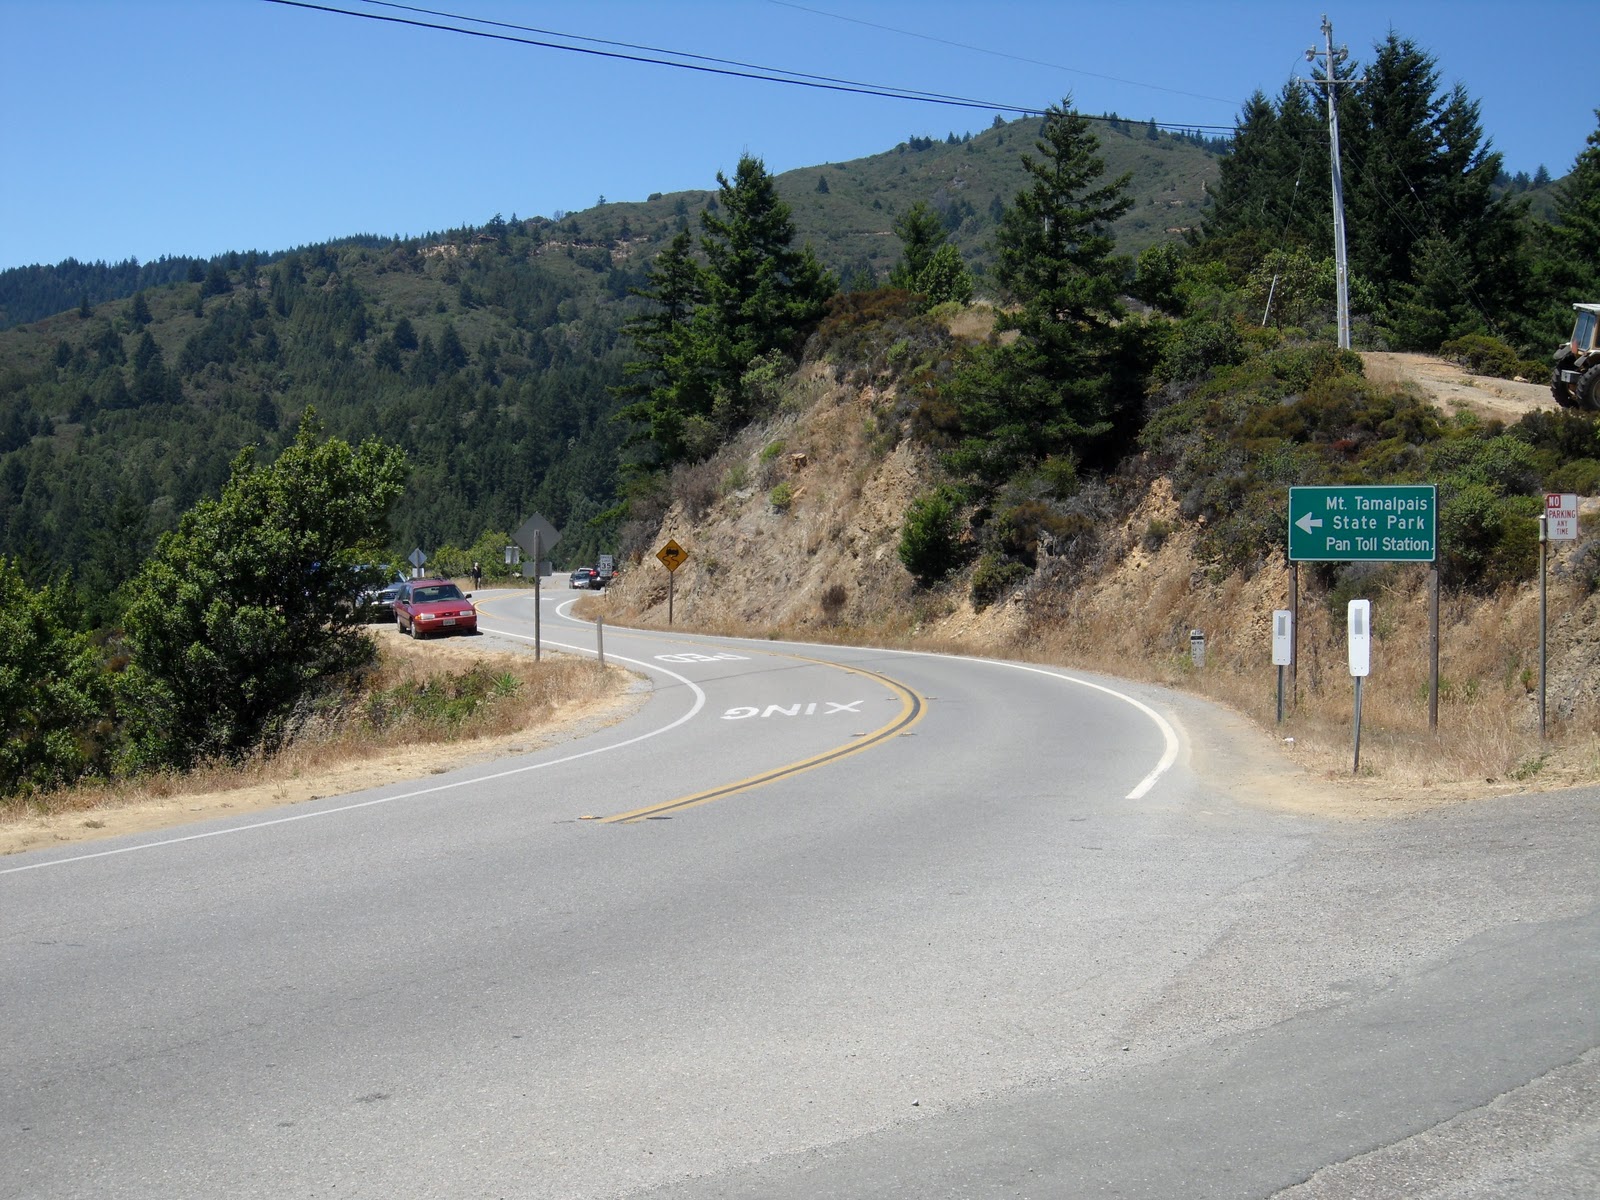
At the end of The Jaws of Life you have a few choices, follow Paradise Drive to Corte Madera and the Larkspur Ferry Terminal, wait for the ferry in Tiburon or return to Sausalito. “Get A Move On” is a glimpse of what you can expect to see on your ride along The Shark’s Fin – popularly known as ‘Paradise Loop’.
Distance from San Francisco Ferry Building (see Golden Gateway Trail) 33.76 miles; from the Marin Crossroads 19.33 miles; from Tiburon (see The Jaws of Life) 11.55 miles
Difficulty: Those comfort bikes are not longer so comfortable after the 20+ mile ride to Tiburon, so this route is typically only for Bay Area bikers and a good workout with the initial climb and the constant rolling hills.
Climbing on Route: 308 feet (94 meters)
Download your route sheet here: Directions – Shark’s Fin

FOR A MORE DETAILED LOOK click here for the full Geoped Map provided by g-map-pedometer.com.
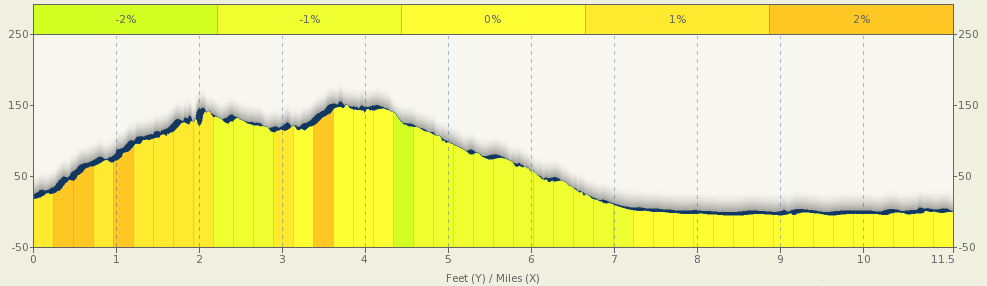
Elevation Map for the Route provided by MapMyRide.com
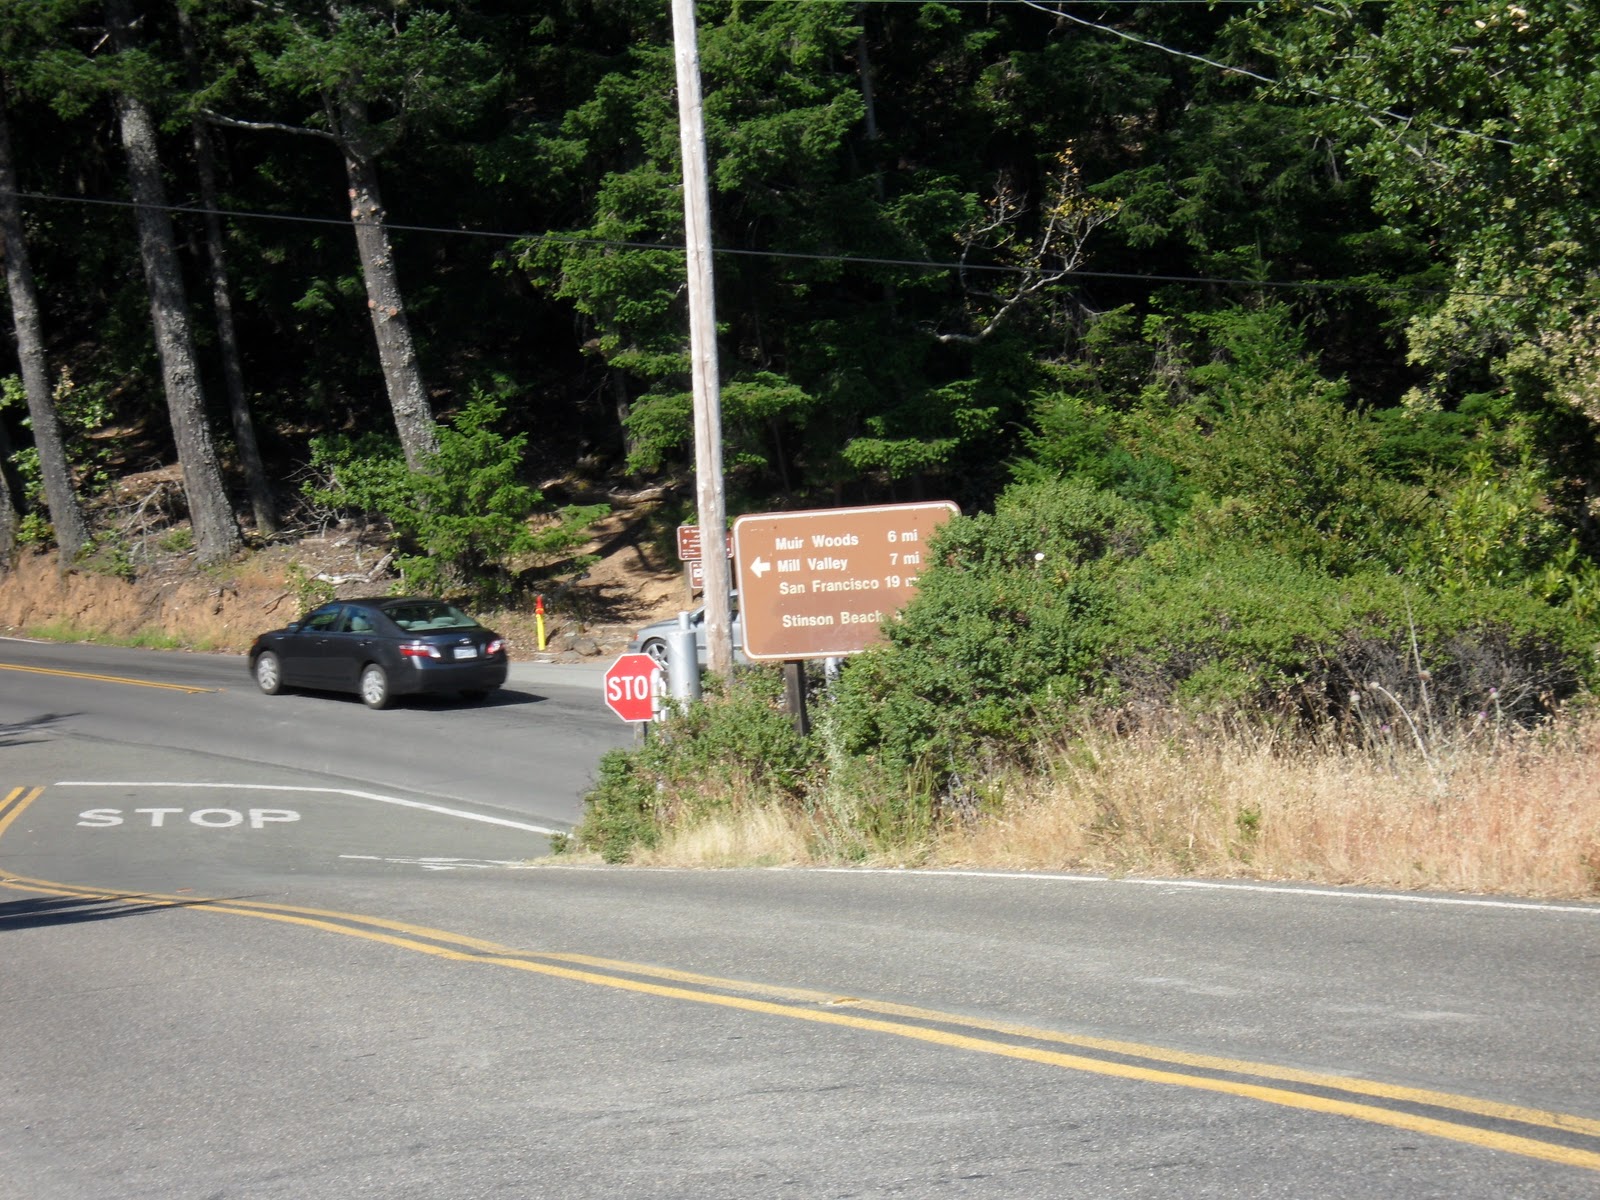
It is just over eight miles from Tiburon to the Corte Madera Bike Path, but being able to gauge how far you’ve ridden along the Shark’s Fin and how far you have to go is key when attempting to catch the Larkspur Ferry on the weekends. Below are the intersections along Paradise Drive as you ride from Tiburon to Larkspur.

Print out a copy to carry along for the ride.
At the intersection of Wornum Drive, cross Redwood Highway and under the US-101 overpass until you reach the intersection with Tamal Vista Boulevard.
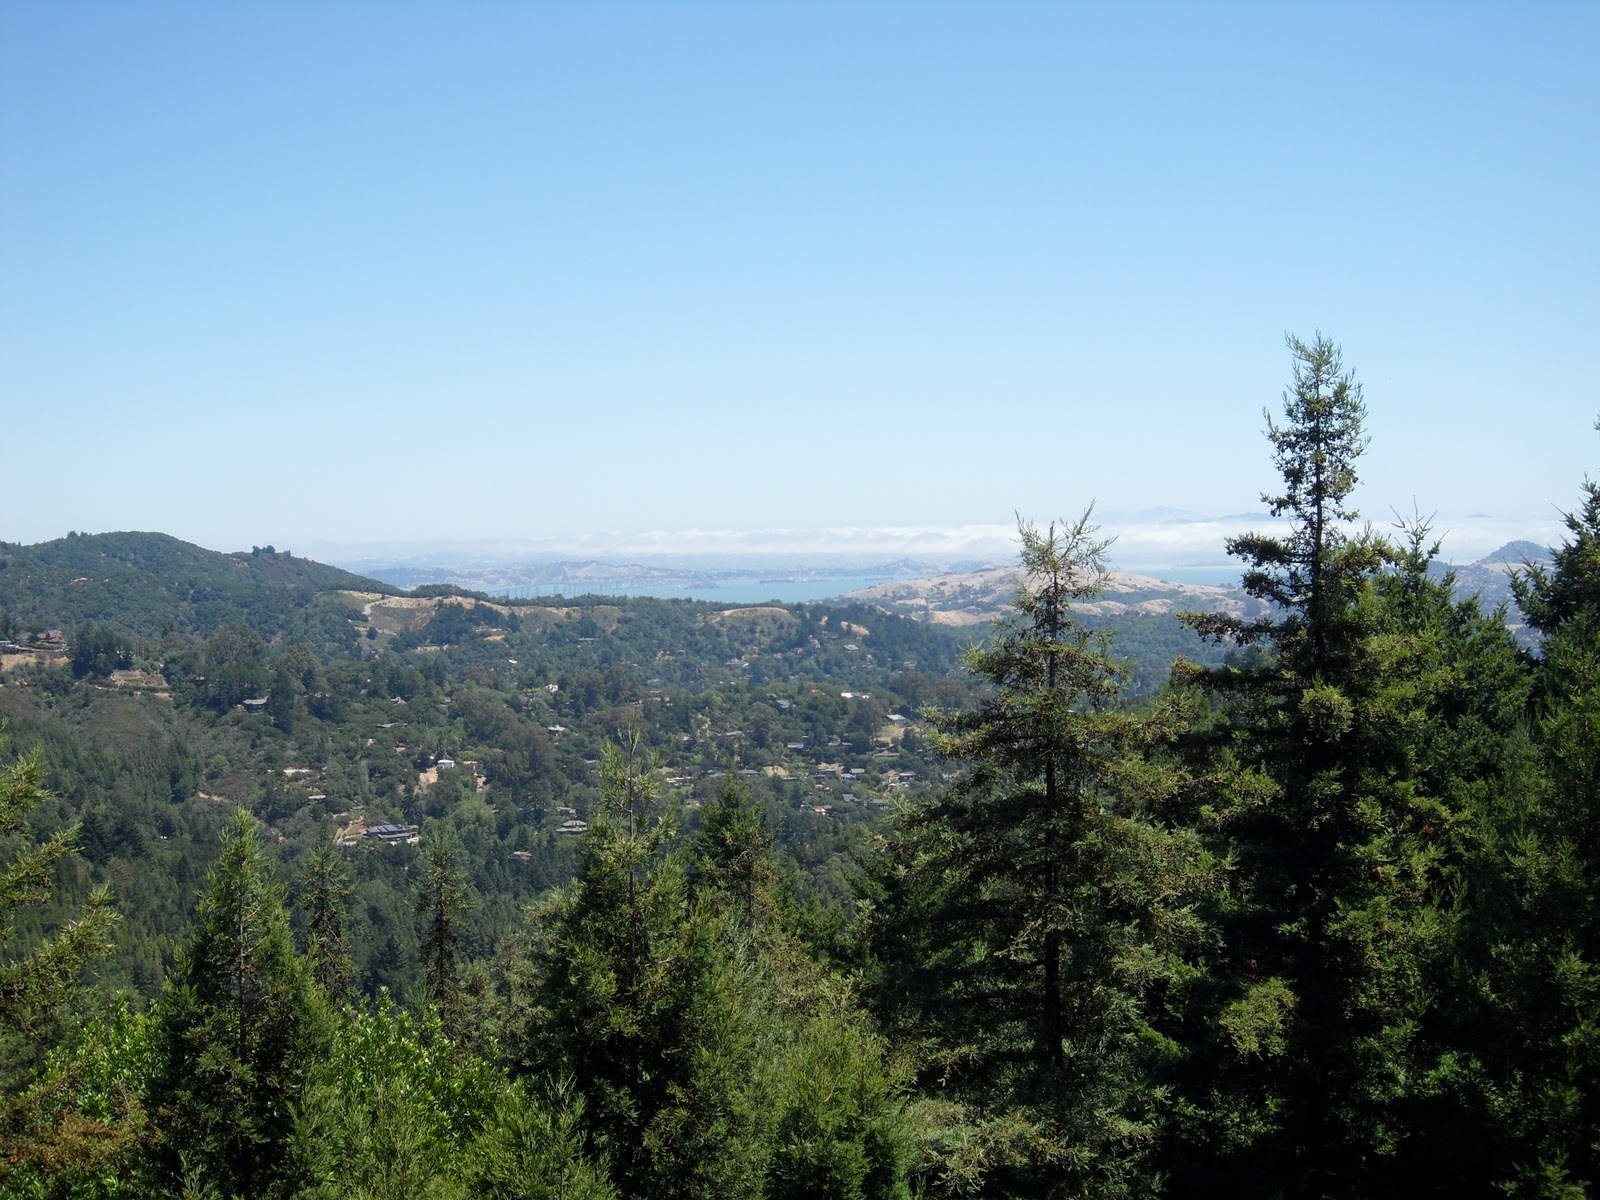
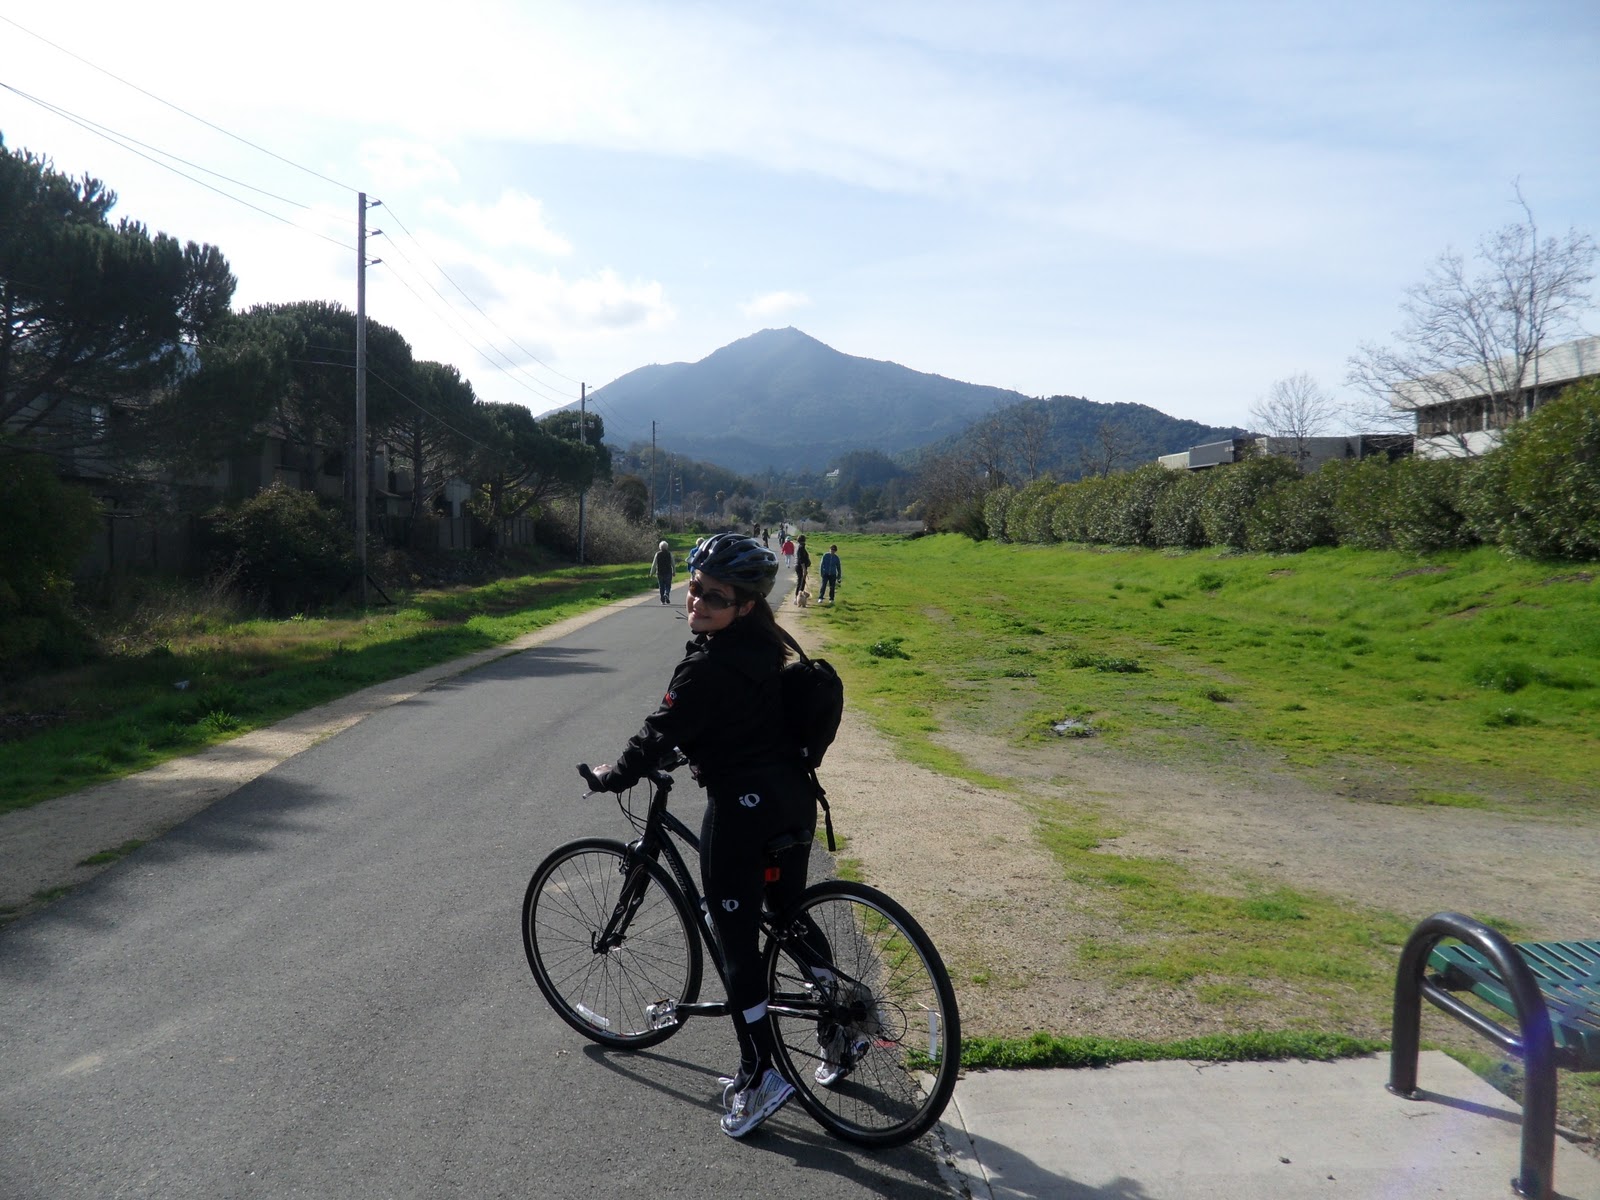
Cross the street and you will be on Bike Route 16, the Larkspur-Corte Madera Bike Path. You will recognize Mount Tamalpais in the background.
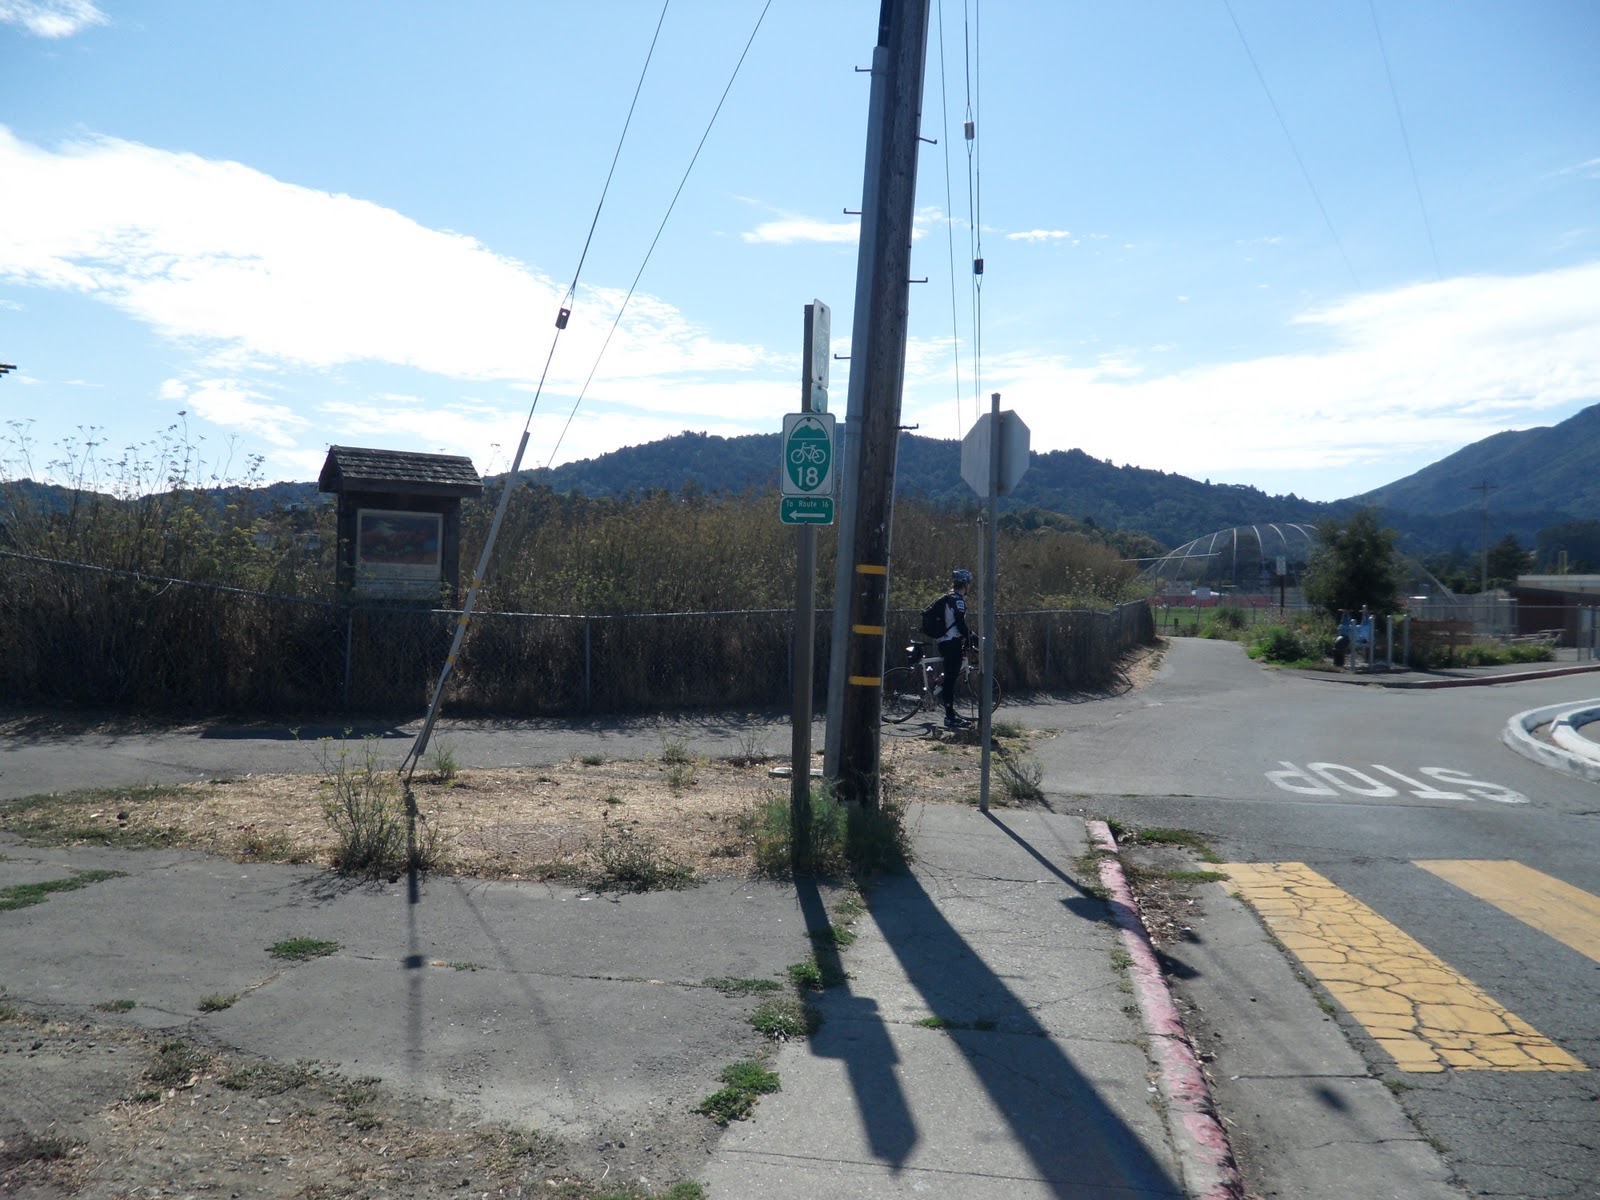
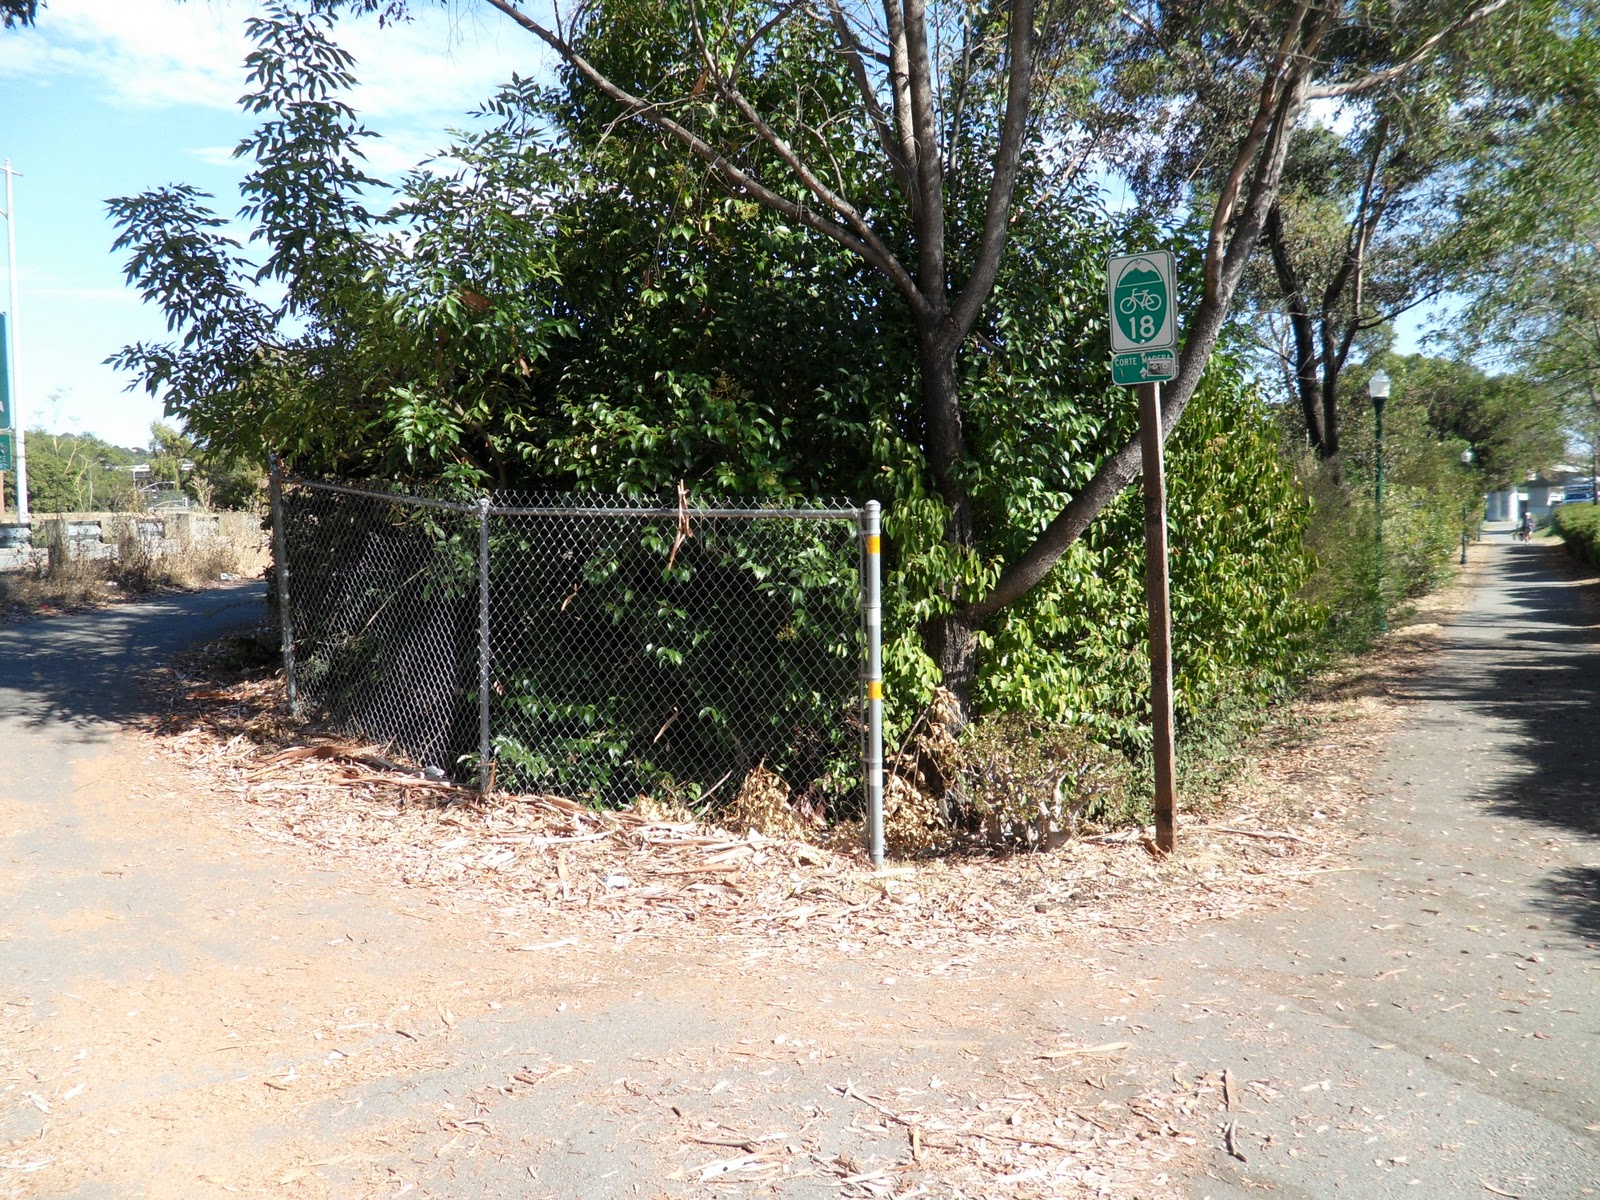
Follow the Route 16 over the bridge and make a right onto Route 18 at the path just over the bridge.


Follow the path to Lucky Drive, where Route 18 makes a right.


Follow Lucky Drive until you reach the “Bike Boneyard”.


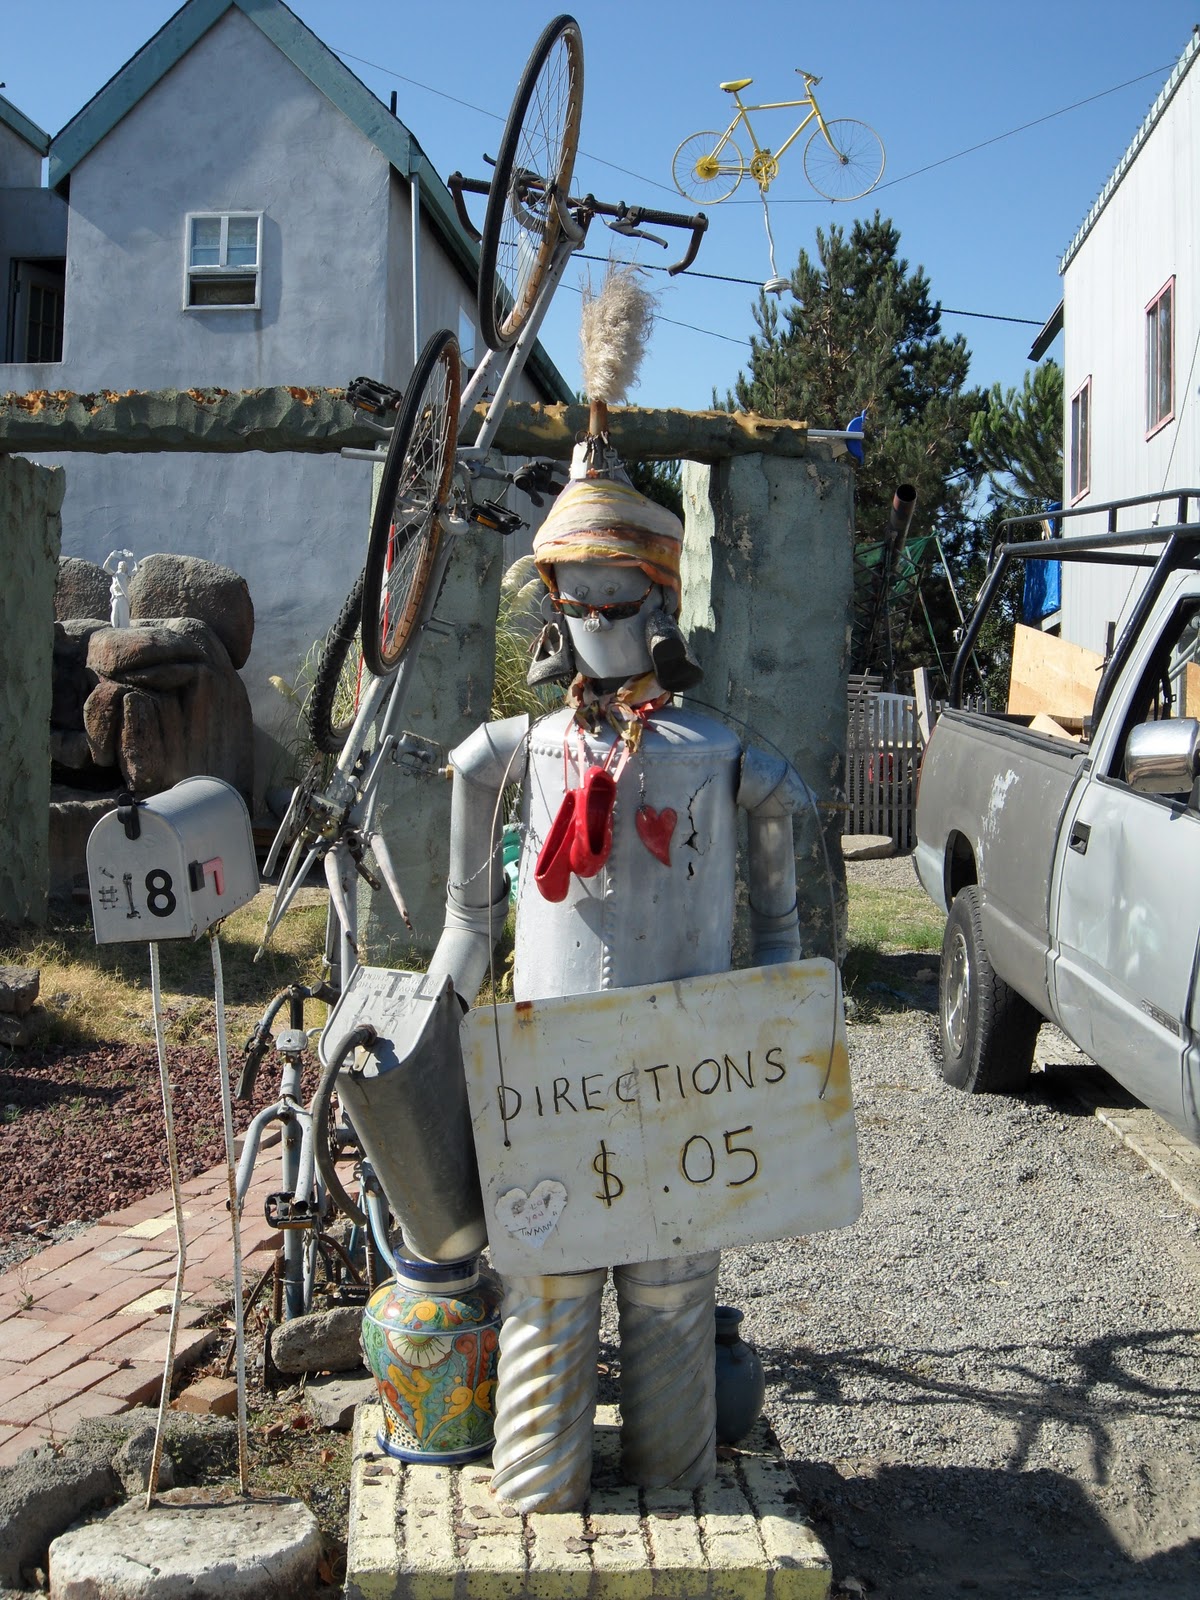

If you deposit $0.05 with the Tin Man, he will let you know to keep going past the end of the culdesac and up the path to the bridge over the river.


Don’t worry, the pavement doesn’t end for bikes, it keeps going over along the bike path over the bridge. At the end of the bridge, make a hard, almost 180 degree, left-hand-turn and keep on Route 18.

At the end of the path, make a left on to Route 20 towards the Larkspur Ferry Terminal.

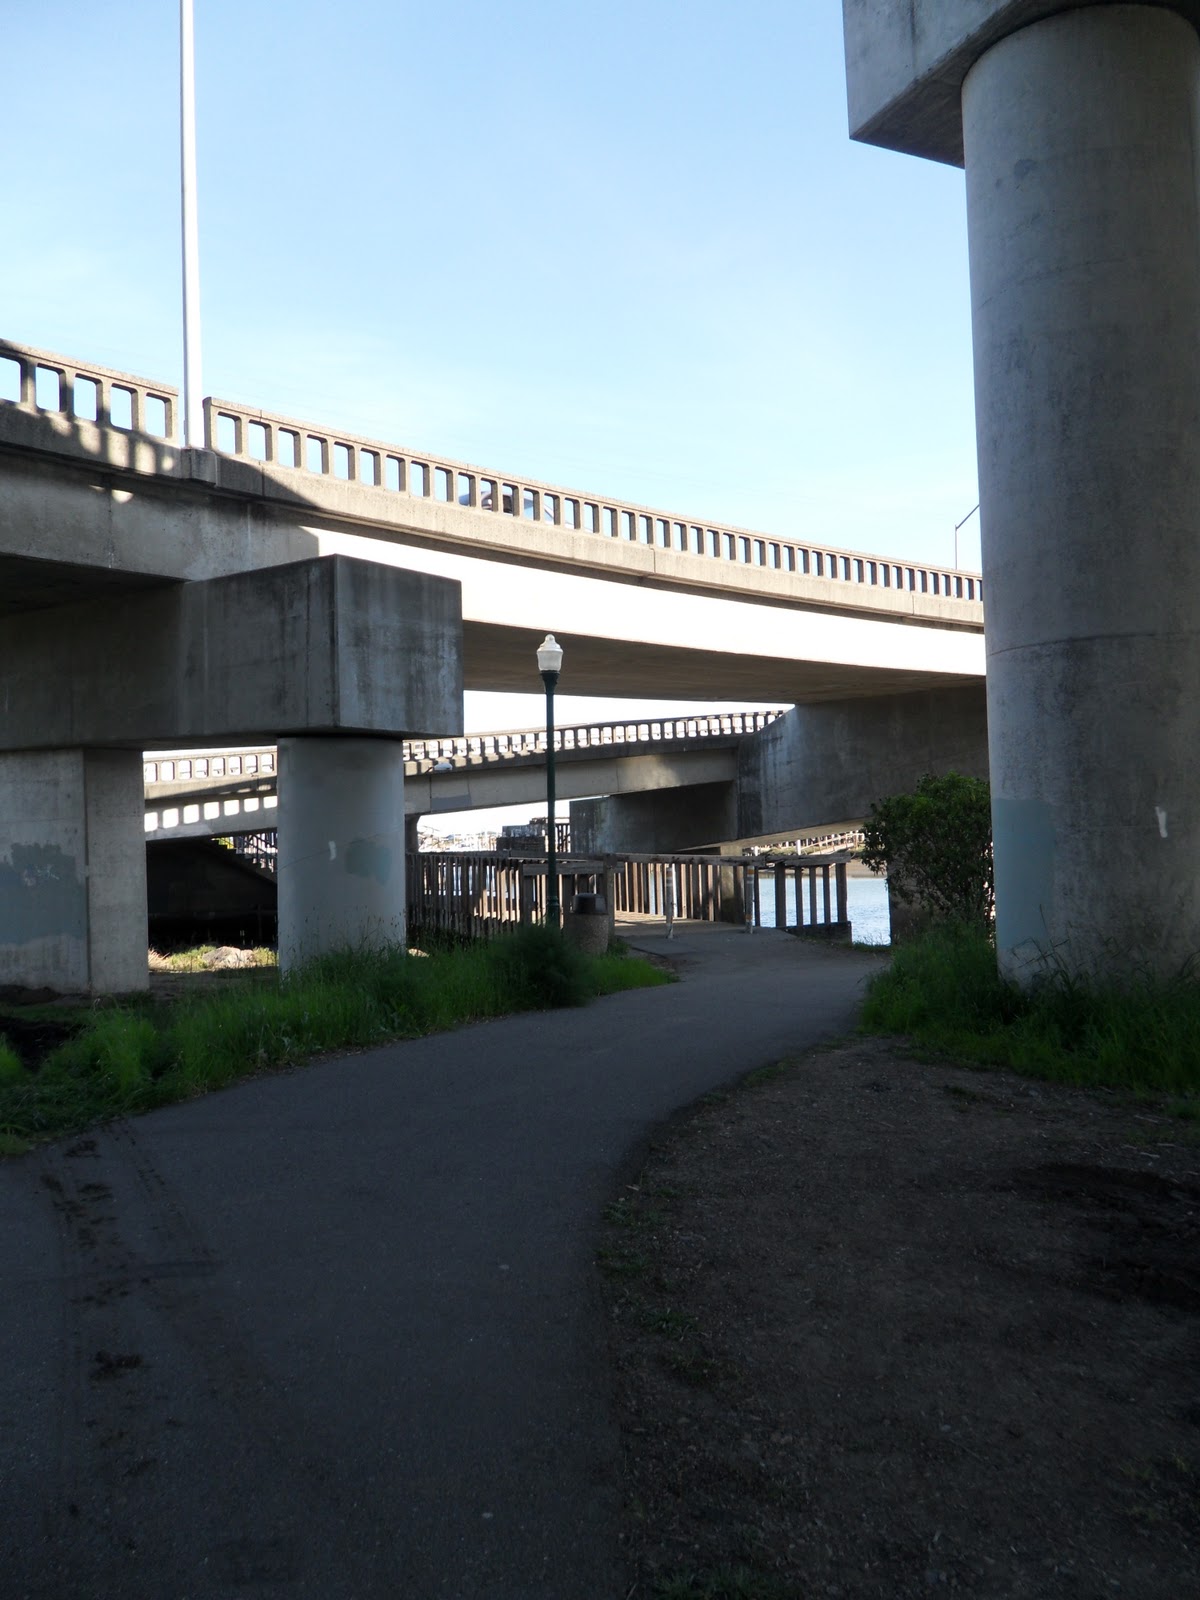
Follow Route 20 under the bridge.

Under the bridge, you’ll follow Route 20 over the wooden bridge.

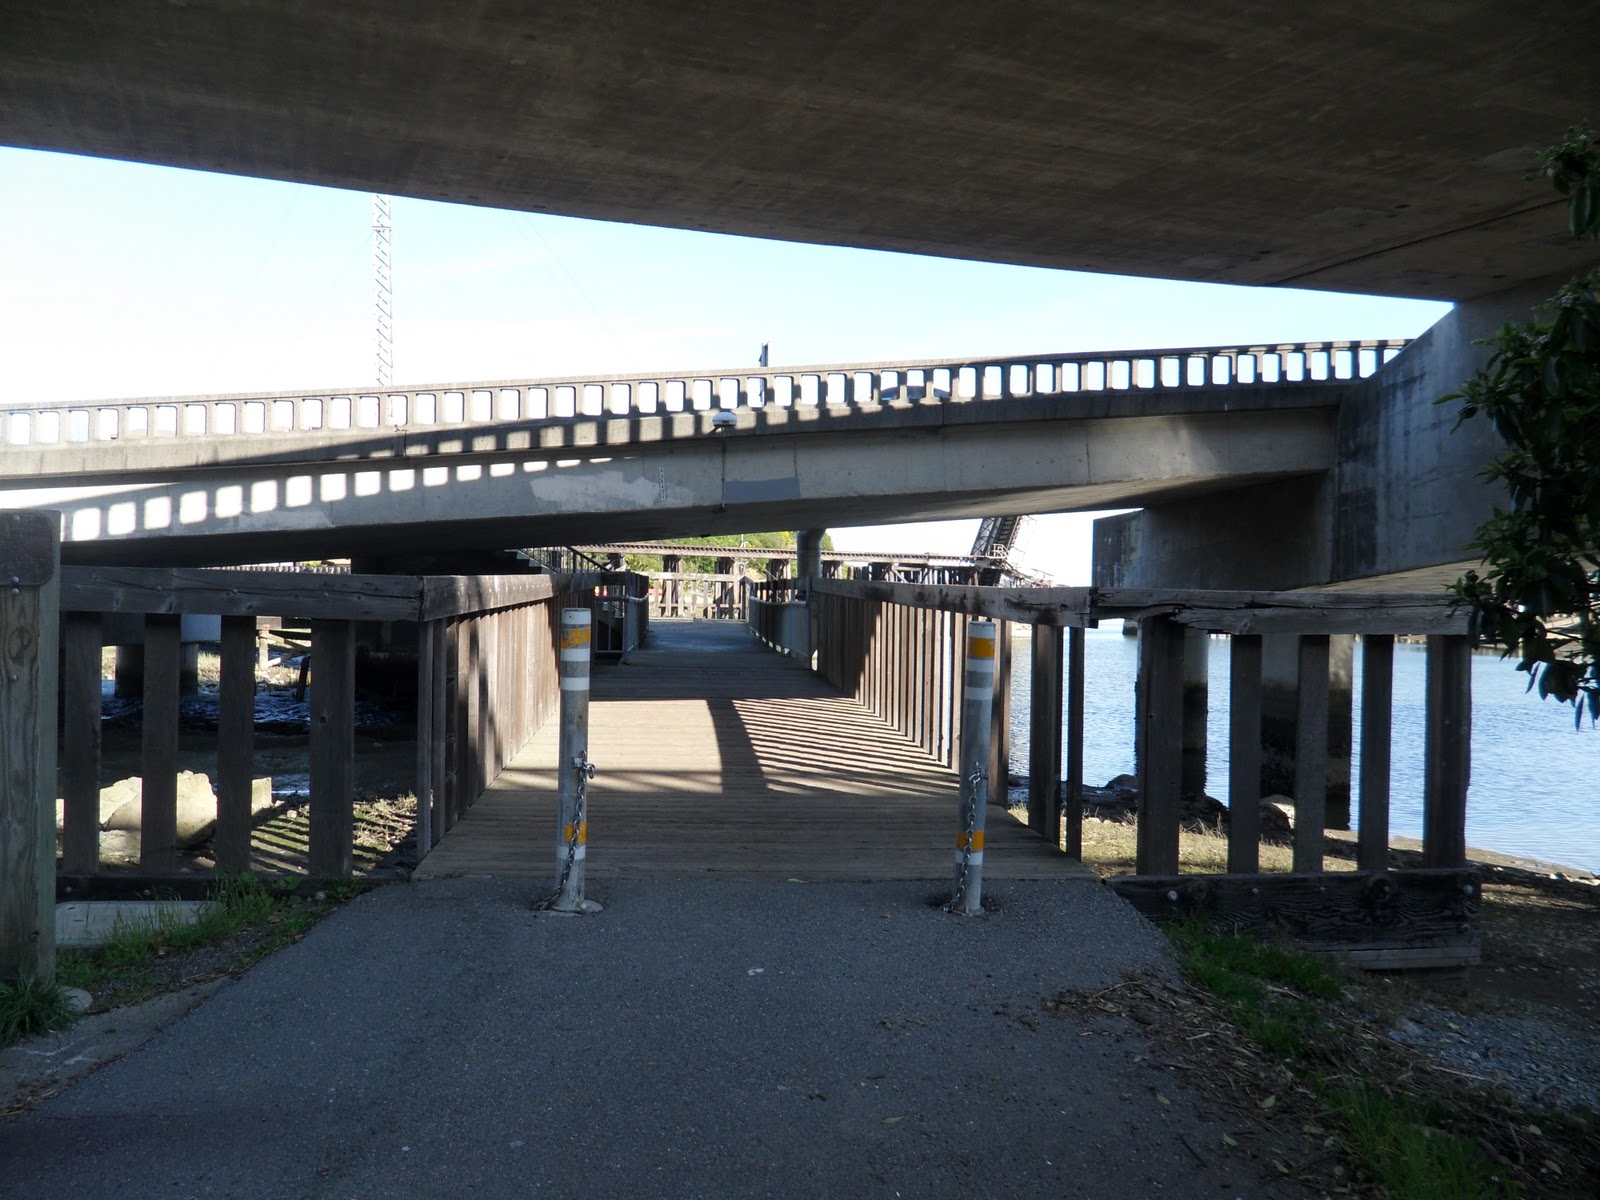
At the end of the bridge, make a right towards the ferry terminal.

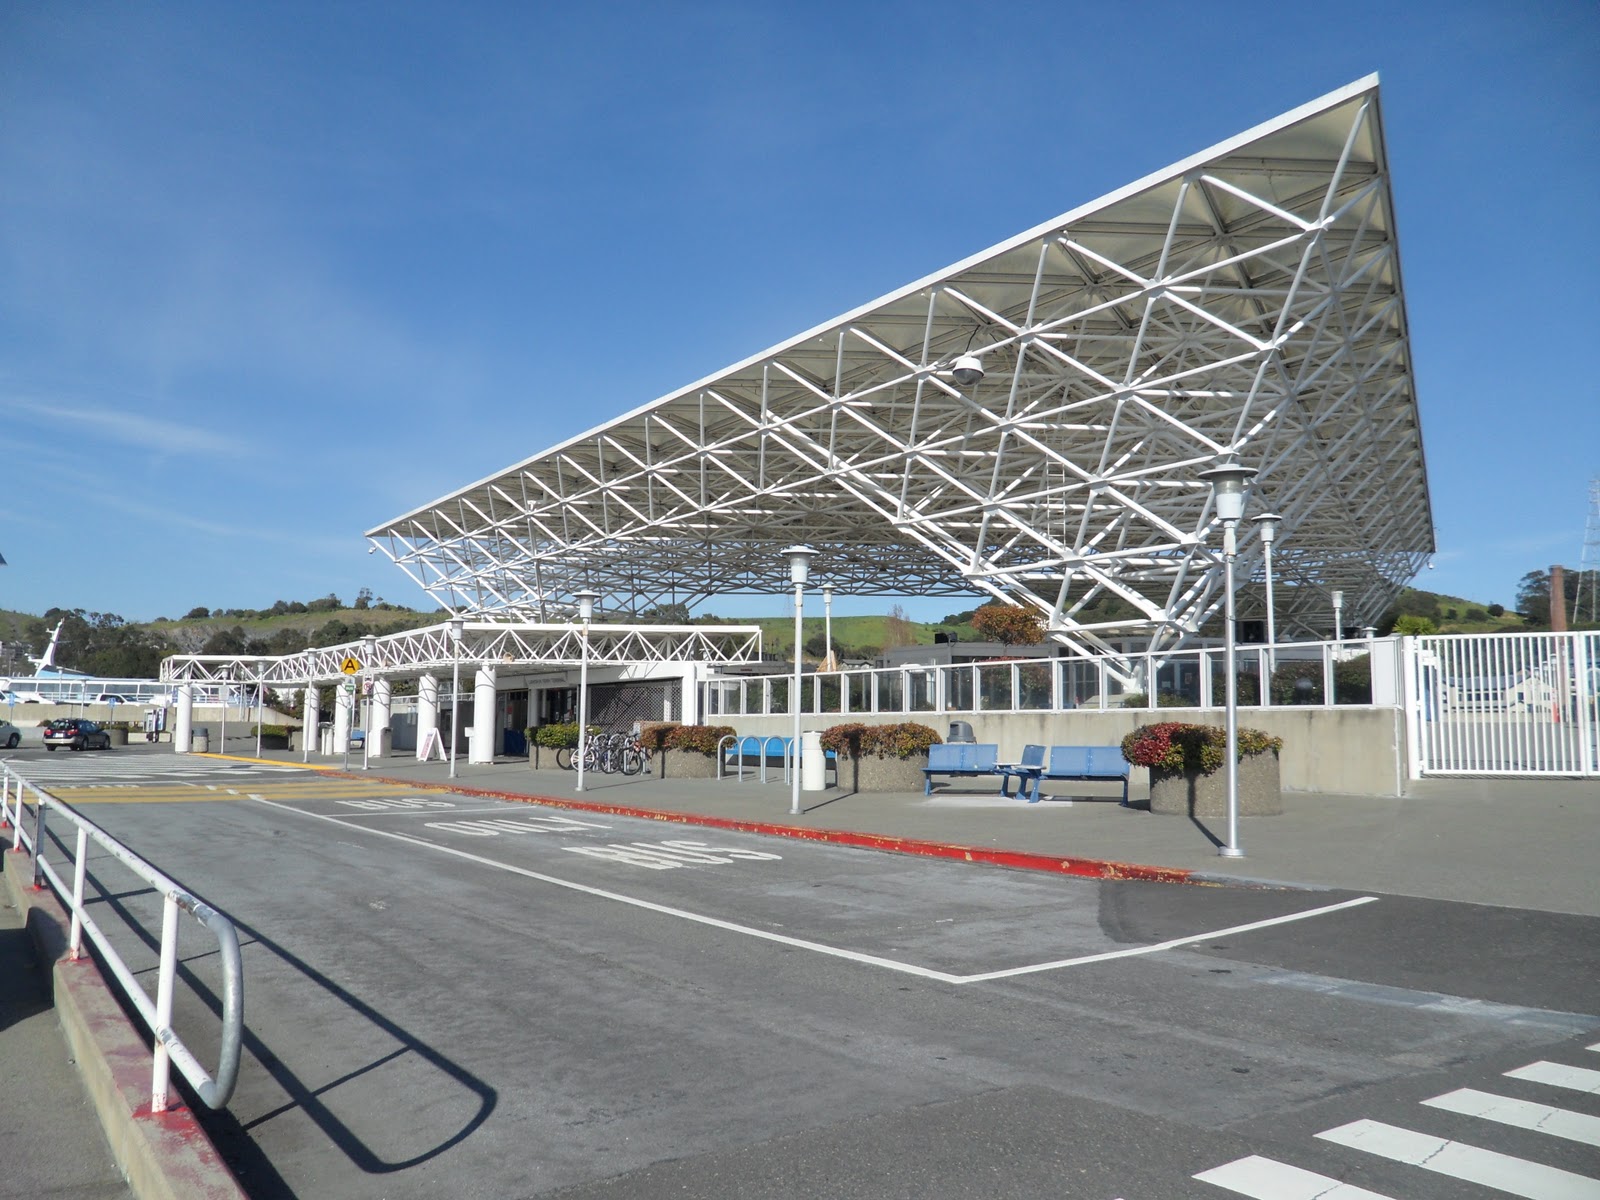
A little ways down the path you’ll see the bike turn in for the Larkspur Ferry Terminal, make a right and follow the path to the terminal ticket booth.
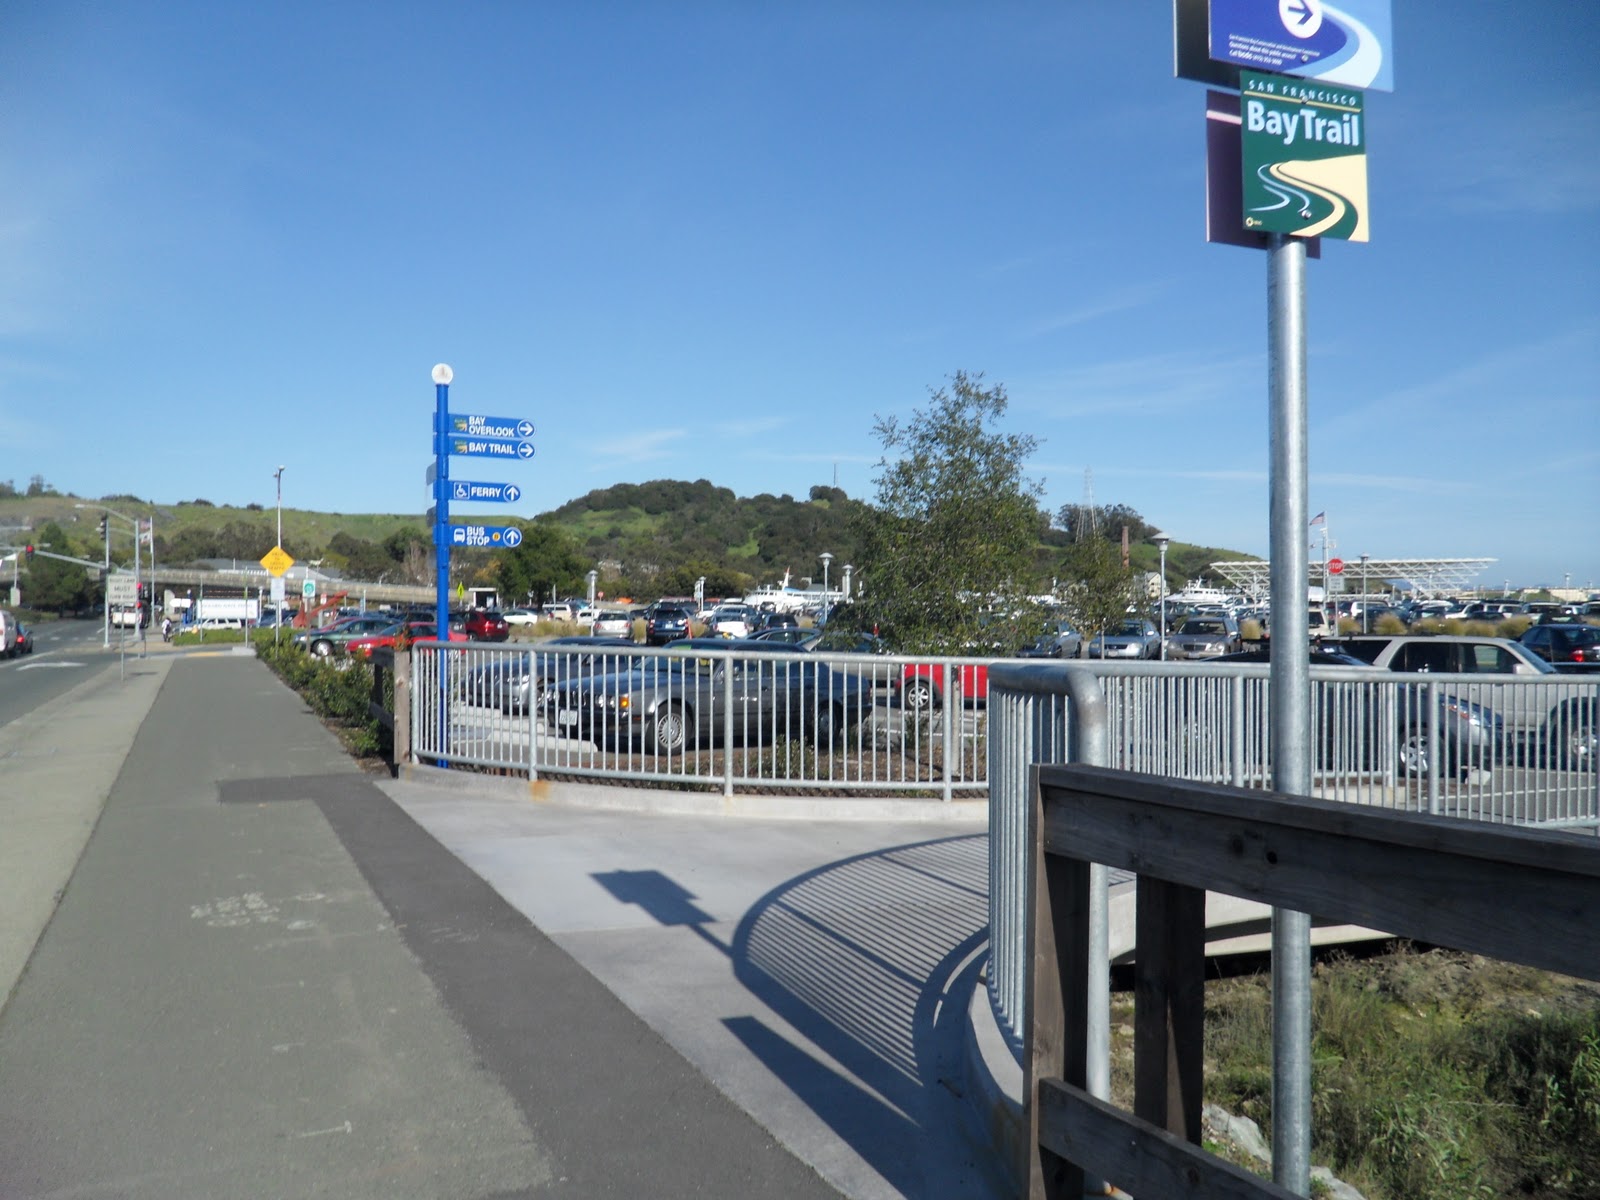

Once at the Larkspur Ferry Terminal, wait on the next ferry back to the San Francisco Ferry Building. The 5:30p.m. ferry on weekends goes through Sausalito, so make sure you check out our article on the Hat Trick.
After completing the Shark’s Fin, relax and enjoy an adult beverage on the ferry ride back to San Francisco. Whether your decide to go back to San Francisco or keep going beyond Larkspur, have a great ride and a wonderful ride back to San Francisco.