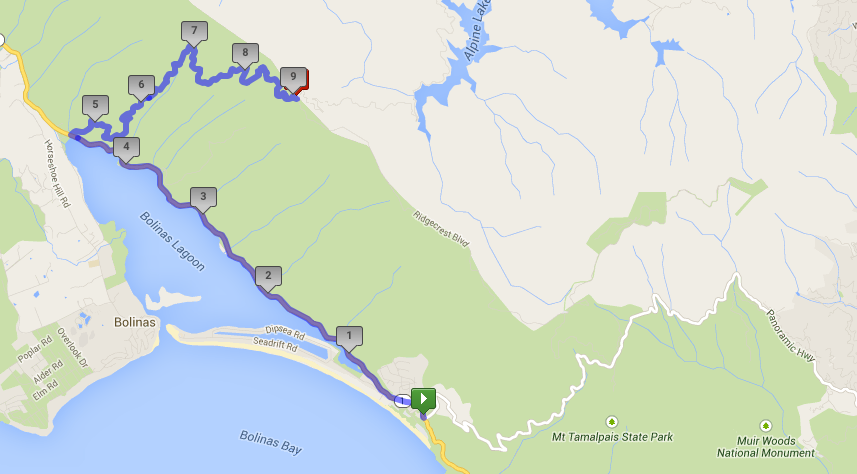
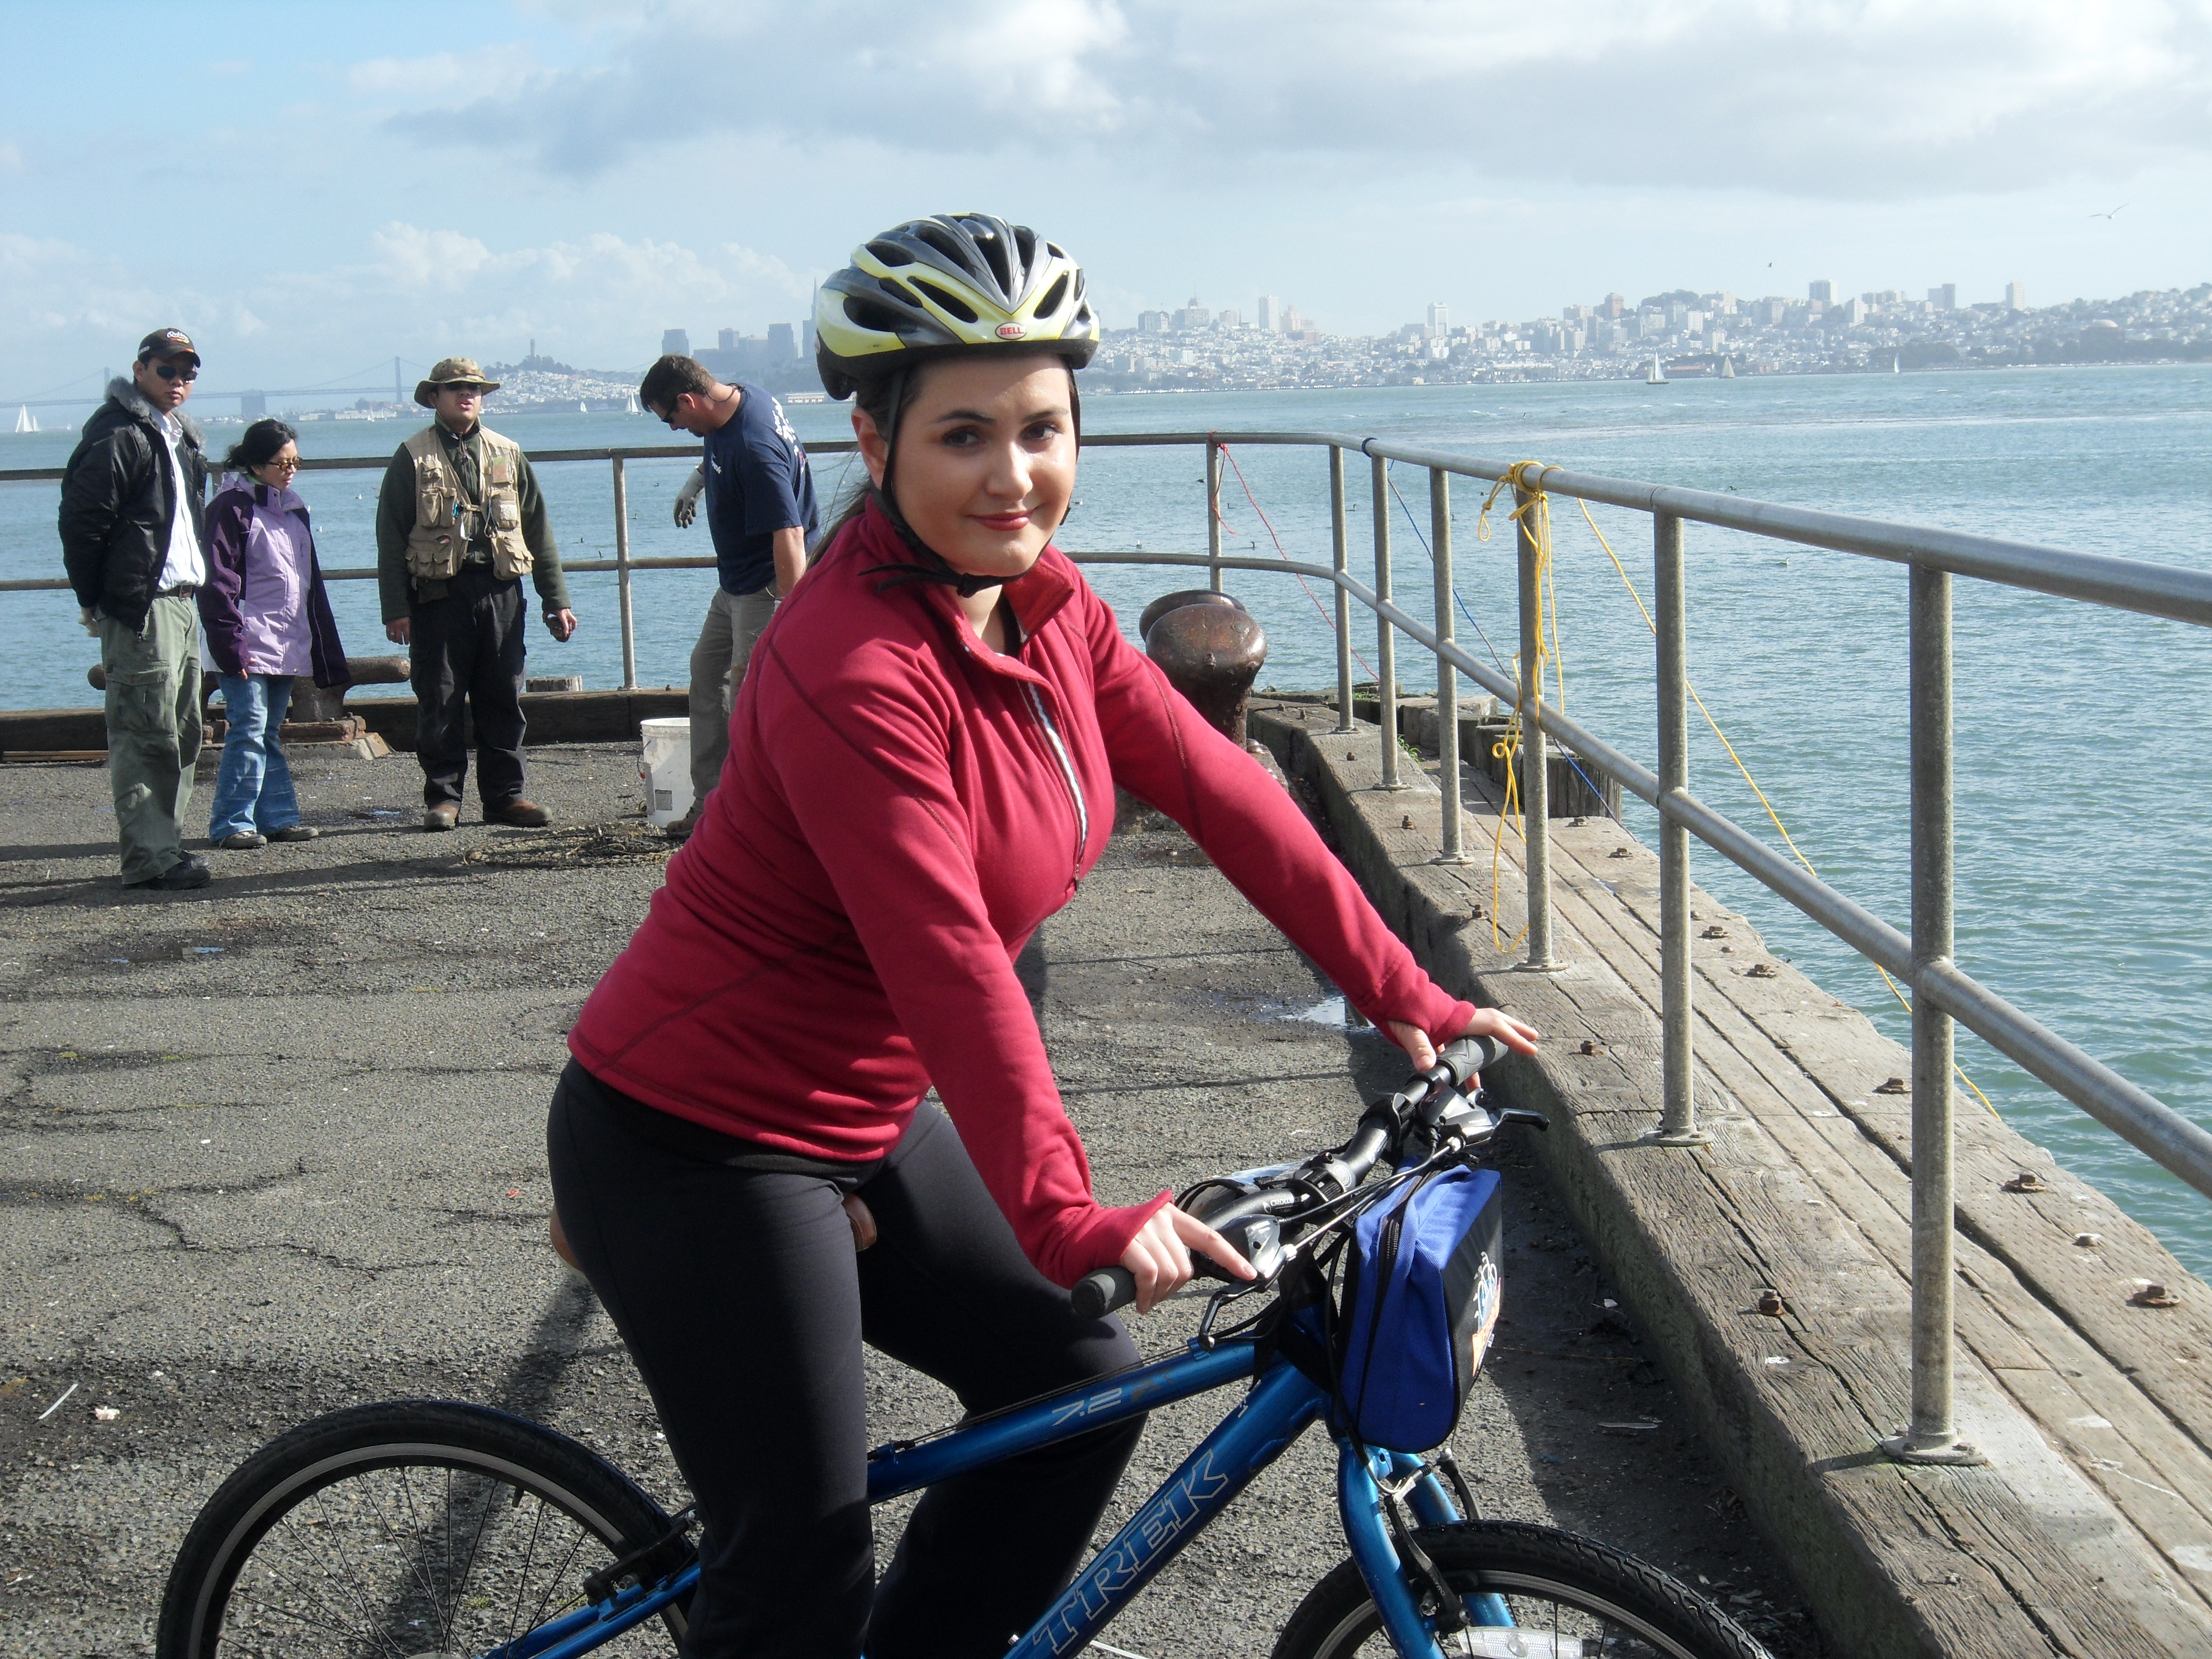
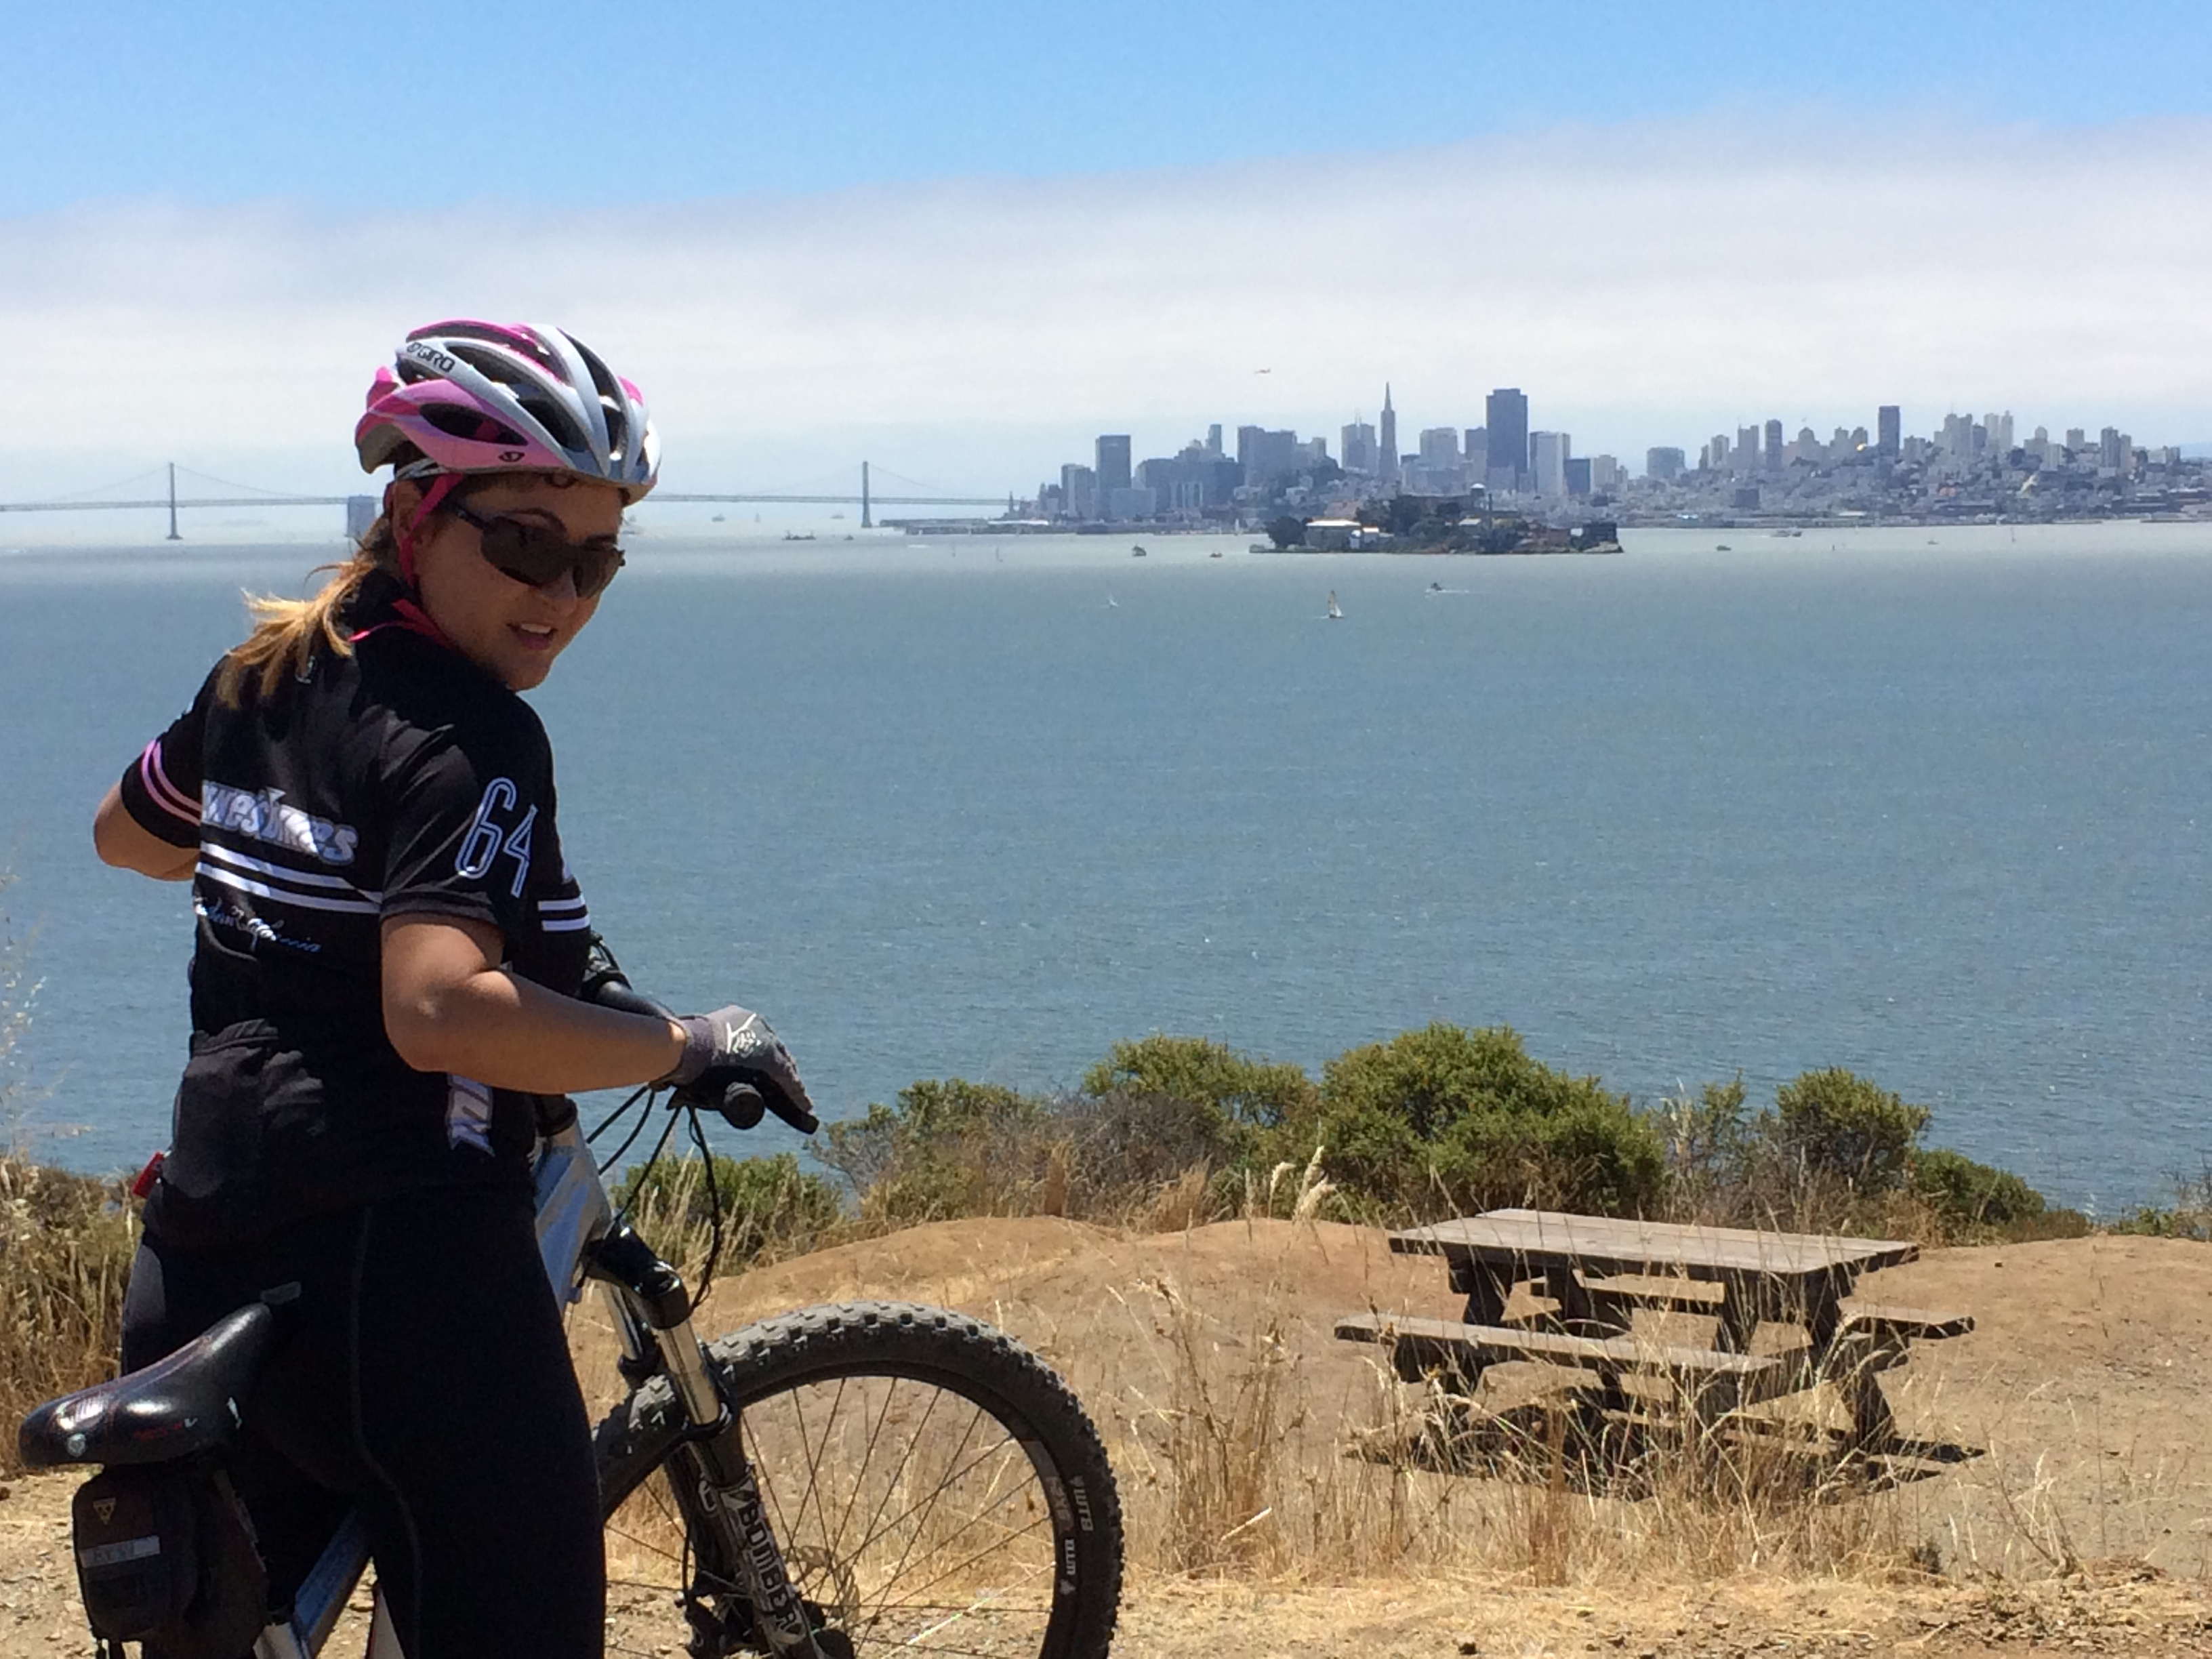
Miko on Angel Island with her rental mountain bike.
Cycling runs deep in the San Francisco Bay Area culture. It has been in the blood of Bay Area residents since the 1960’s. The first mountain bikes were even designed and rode in Marin County, on Mt. Tam by Gary Fisher and other mountain bike pioneers in the 1970’s.
With all this cycling fever, it makes sense the first bicycle rentals for tourists have been available in San Francisco since the mid-80’s. However, it wasn’t until the closing of the Presidio Army Base and takeover of the land by the National Park Service in 1998 that tourist cycling took off.
Once the Presidio bike trails opened in 1998, riding across the Golden Gate Bridge by bike not only became easier, but accessible to almost anyone. Since then, biking has become an integral part of the San Francisco tourist experience.
Not everyone has a folding bike, or wants the hassle of bring their own when on vacation. We sympathize. We’ve brought a bike on the plane to various triathlons, we’ve rented bikes while on vacation, and even done the whole “borrow a bike” from a hotel. Some of these were good experiences, others, not much.
The only question is, which rental company do you choose?
That question is answered by determining what type of bike you want to rent: Hybrid comfort bike? Mountain bike? Road bike? Electric bike? City bike?

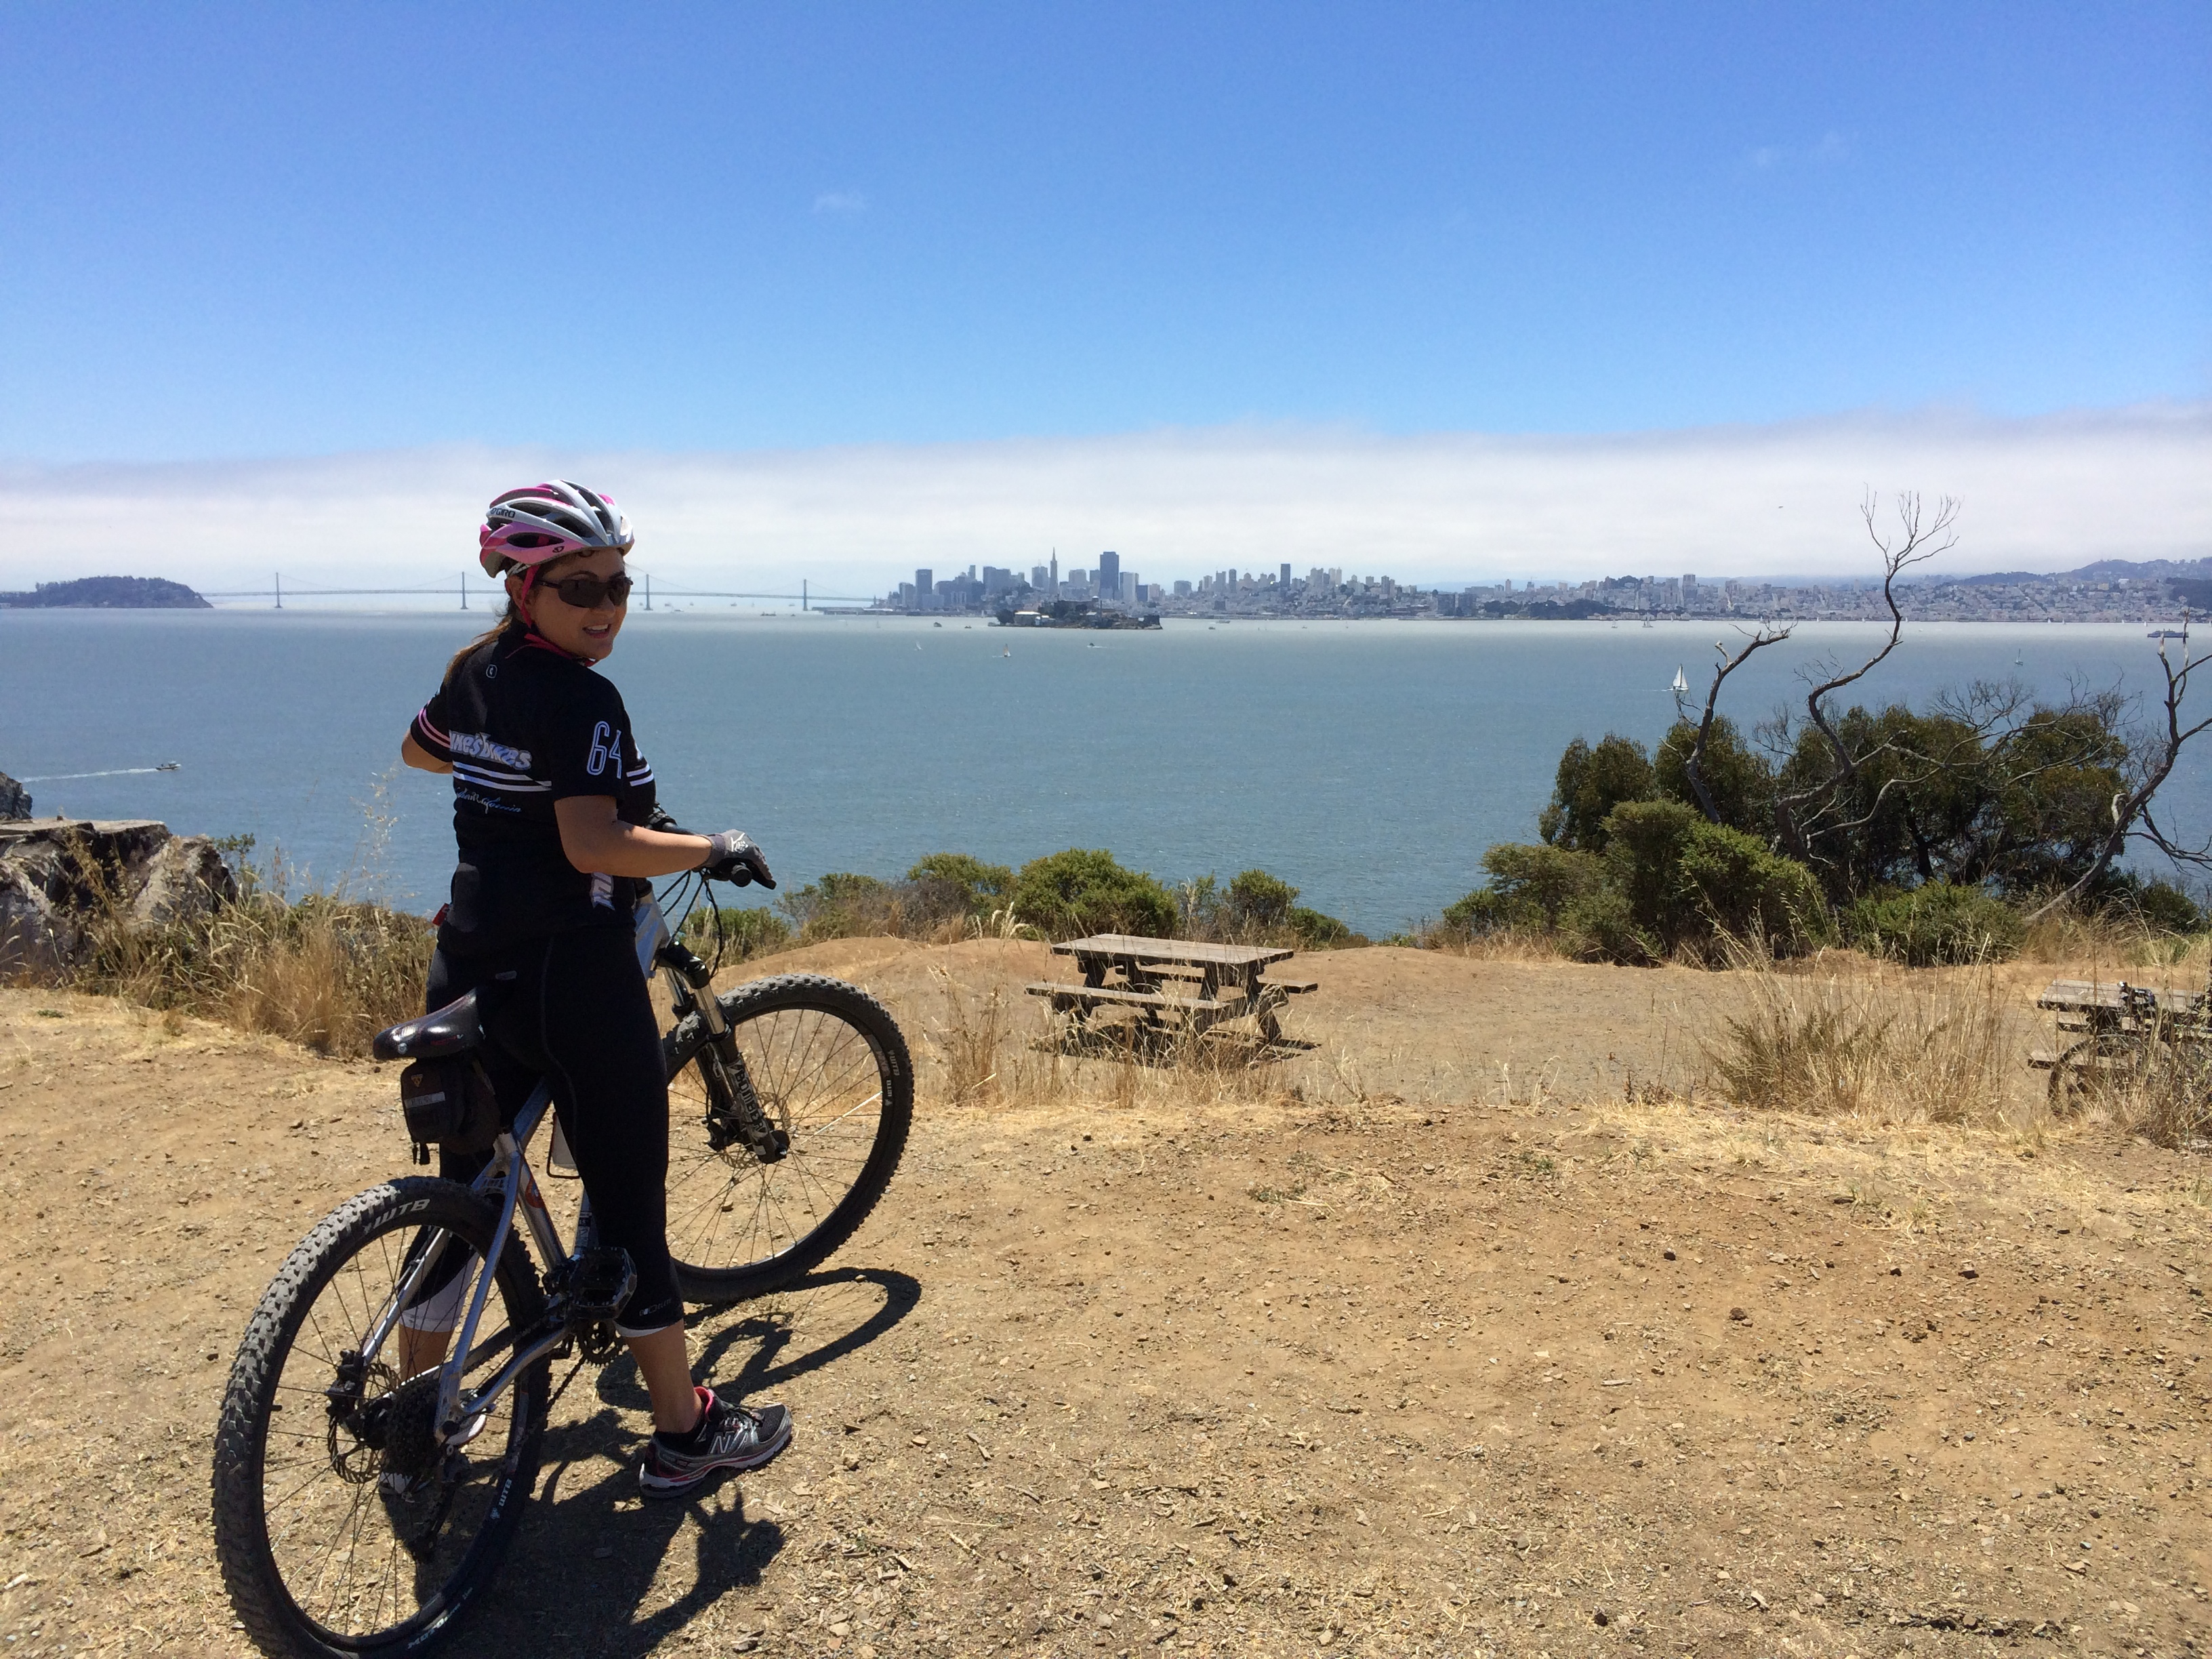
Miko’s rental hybrid bike on our first ride to Sausalito.
Hybrid Bike
The most popular option when renting is the hybrid comfort bike. These bikes typically have flat pedals, larger tires, larger saddles, flat handlebars, disk brakes and can even come with front shocks. The hybrid is your general purpose bike good for the road, paved trail or even a smooth dirt road. The bikes typically feature 27 gears with a triple chainring up front and a 9-speed cassette in the rear for maximum flexibility while one a ride. Shifting is done by rotating the handles forward or backwards.
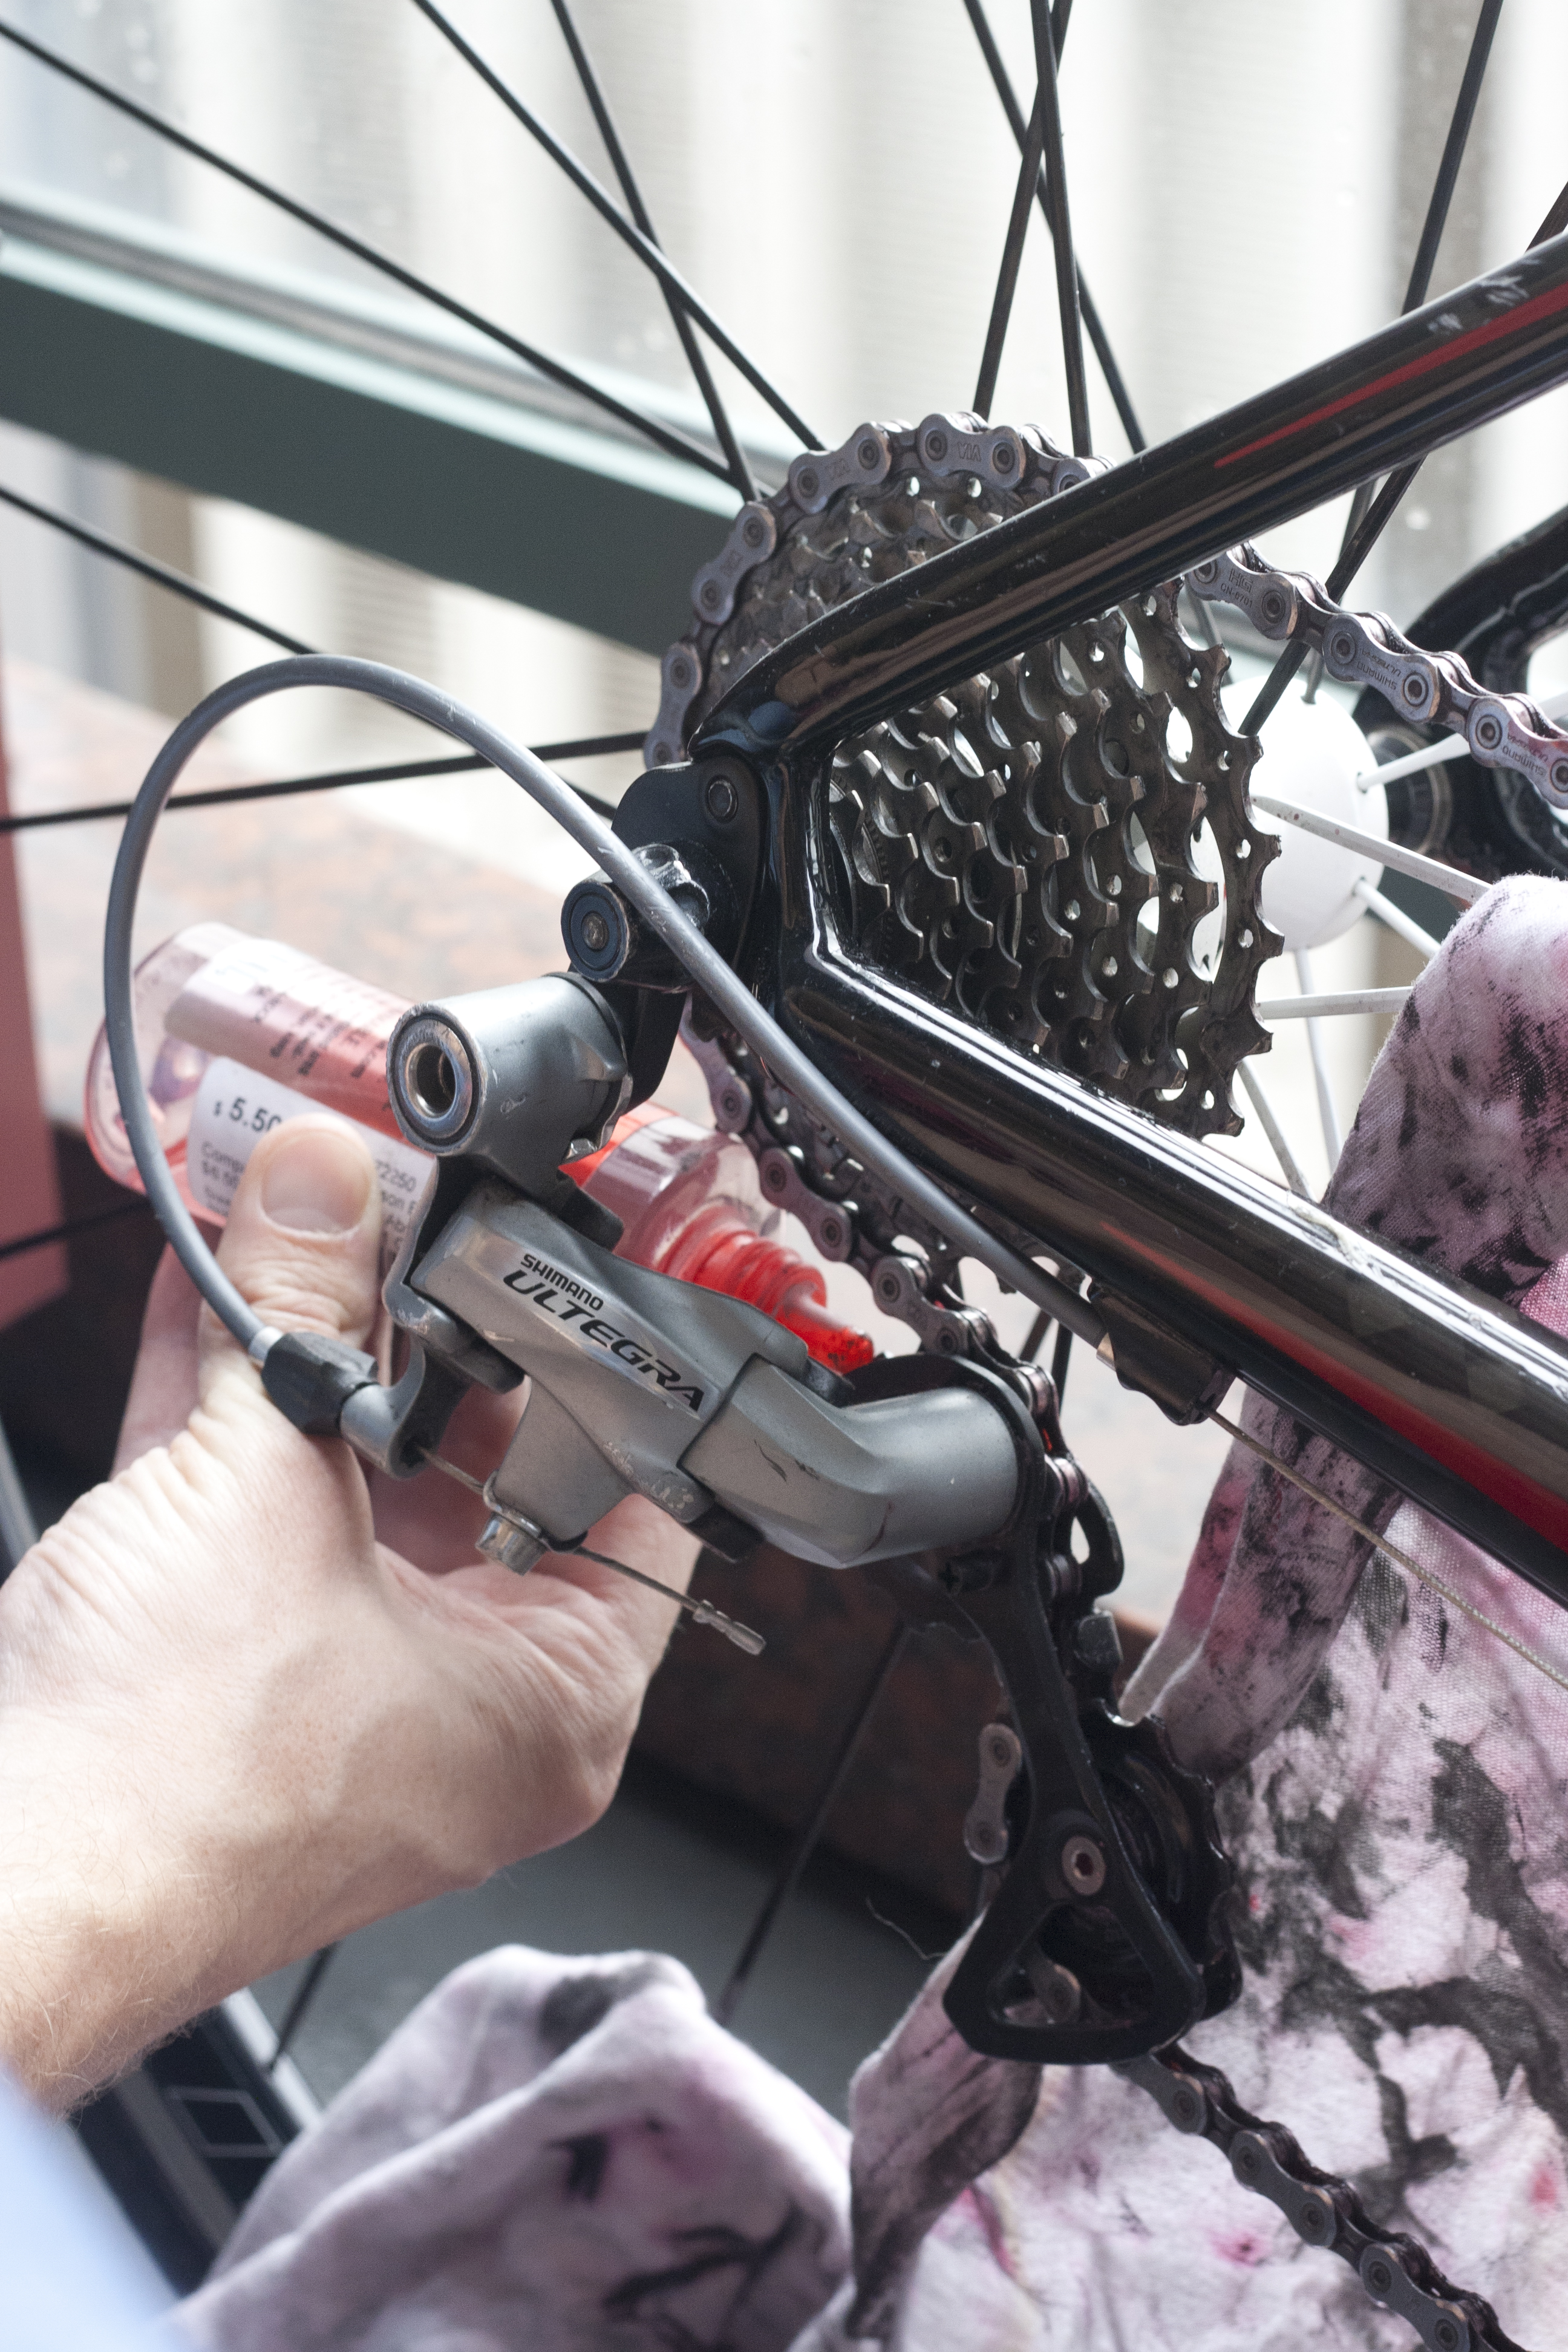
One of the drawbacks of these bikes is their weight. Hybrid comfort bikes tend to be very heavy, weighing from 27 to 35 pounds. You will see people pushing hybrid comfort bikes up some of the hills on your way to Sausalito. As they are the most popular bikes, they are also the most used, so maintenance is not always the best. This can result in a bike where the gears do not change easily, the chain can come off the chainring while riding and squeaks in either the chain or frame can be heard.
An advantage of hybrid bikes is that they can be taken on any of the ferries back from Marin County, so no worries about having to pedal back to the city if you are tired by the time you reach Sausalito or Tiburon.
Hybrids are available from most of the bike rental companies in San Francisco. Typically, there will be at least one rental company with hybrid bikes available with a location close to where you are staying or wandering around the city. Just make sure you know what time you have to return the bike by and whether or not the company you rent from has a separate “after hours” return location.
Hybrid bikes range from $24 – $40 dollars per day to rent.

Miko’s rental mountain bike.
Mountain Bike
Mountain bikes are similar to hybrids in that they have wide tires, shocks and flat handlebars. Mountain bikes can either be “hard tails” or “dual suspension” bikes. A hard tail mountain bike has a front fork shock and a solid frame. Dual suspension mountain bikes have both a front fork shock and a rear shock which allows the seat tube and rear assembly to flex while riding.
Mountain bikes have either flat pedals or can be fitted with clips, disk brakes, thumb shifters and 16 to 20 gears. Rental mountain bikes have a double chainring up front with a medium size (~34 tooth) chainring and a smaller (~22 tooth) chainring for climbing. They also have an 8 to 10 speed cassette. Mountain bikes have tire sizes which range from the smaller 26-inch tires, to 27.5-inch to the big 29ers. These bikes are meant for use on unpaved trails, dirt roads and can even be used to climb Mt. Tam or go exploring on Angel Island.
While mountain bikes are not rented as often as hybrids, the nature of a mountain bike will lead to some of the same shifting and squeaking issues if the bikes are not constantly maintained.
Mountain bikes are available from many of the same companies that offer hybrid rentals, however, they are not available at every rental location. Mountain bikes are also ferry-friendly.
Mountain bikes range from $25/day for a low-end aluminum hard tail to $175/day for a dual suspension, carbon-fiber frame bike. There’s a lot of variety between these two extremes, so it’s best to check out all your options before renting.

Miko loved this rental road bike so much, she bought the exact same bike!
Road Bike
Road bikes are your skinny-tire, bent-handlebar, rim break, lever-shift Tour de France-style bikes. They are light, fast and can cost as much as a new car. A few of the bike rental companies are offering high-end aluminum and carbon fiber road and time trial bikes for rent. These bikes are meant for a specific market segment. These are renters which typically own, or are looking to own, their own road bike, but did not want to deal with bringing the bike with them on vacation. As a result, these bikes are the best-maintained rental bikes available. You can either get flat pedals or bring your own clips and shoes to use while riding. These bikes require some experience with skinny-tire bikes just for your own safety and comfort. The road bikes can be used on any road trail and are great for really exploring the Bay Area, from San Francisco to Paradise Loop, Marin Headlands, Muir Woods, Mt. Tam or Stinson Beach and beyond!
These bikes are also ferry-friendly and the friendliest on you when carrying them up the stairs when exiting the ferry.
Road bikes are not available at all rental locations and range from $40/day for an aluminum frame to $175/day for a carbon fiber frame. Again, there is a wide-range in the rental prices depending on the components and bikes available. Because road bikes are very size-dependent, it’s best to make sure you know your size, or go to a company with a large range of sizes for rent.
Electric Bike
Electric bikes are similar in design to hybrid bikes. The major difference is that the electric bikes have an electric motor which powers the rear hub. While these are not as powerful as a motor scooter, they will assist you in getting up hills and going along a flat path. The battery is an “assistance” to your pedaling. Pedaling is still required to make these bikes move and they have governor to limit their top speed.
The major drawback to electric bikes are that they are NOT ferry-friendly. The Golden Gate Ferry system does not allow these bikes on their boats. If you ride your electric bike across the Golden Gate Bridge, you’ll be riding back as well! However, the Blue & Gold Fleet will allow electric bikes on its ferries back to Pier 41 from Sausalito or Tiburon.
Electric bikes are also not available at all rental locations and range from $25/day to $88/day.
City Bike
City bikes are the latest development in bike rentals. Although these bikes were originally meant to be “shared” bikes for city residents, they are quickly becoming another popular rental options for tourists. The city bikes have frames which are able to be stepped through and a seven-speed internal rear hub. These bikes are heavy and best used for trips that are dead pan flat, although some people are able to make it across the Bridge.
These bikes are not electric, so they are allowed on the ferry.
City bike rentals require a membership, which starts at $9 for 24 hours and then a rental fee of $4 for the first hour and $7 per 1/2 hour thereafter.
Renting a Bike
If you are looking for a hybrid, city bike or electric bike, simply walking out of your hotel or a search of the internet will show you where to rent.
However, we’d like to concentrate on where you can rent high-end road and mountain bikes.
Bike Rental Companies
1. Blazing Saddles – San Francisco
Blazing Saddles is one of the oldest bike rental companies in San Francisco. It offers a wide variety of bikes and a number of locations throughout San Francisco including their high-end rental located at 1095 Columbus Avenue.

We have rented both high-end road bikes and high-end mountain bikes from the Columbus Street location. Don’t forget your pedals and shoes if you want something other than flat pedals.
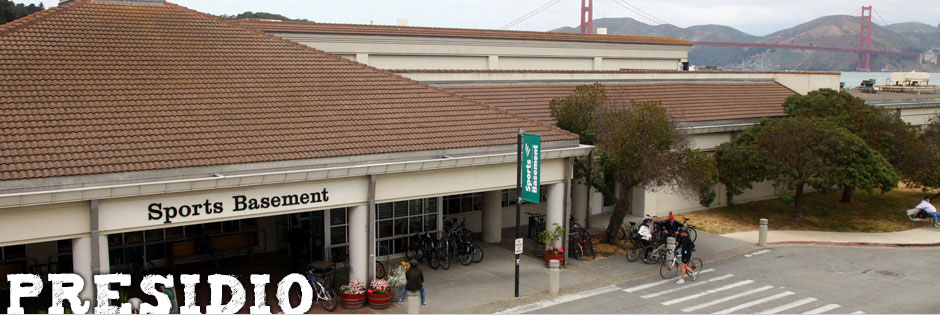
2. Sports Basement – San Francisco

Sports Basement is not only a great place to buy sports equipment, clothing and bikes, it’s also a great place to rent a road bike. Bike rentals are only available at the Presidio location.
3. The Sausalito Bike Company – Sausalito

The Sausalito Bike Company is the sister store of A Bicycle Odyssey, and is located in downtown Sausalito at 1417 Bridgeway. It’s a ten minute walk or less from the Sausalito Ferry Terminal.
This company specializes in renting high-end road, mountain and time-trial/tri bikes.


Although they are located in Sausalito, when you make a reservation you can ask them about brining your bike to your hotel in San Francisco and giving you a top-notch bike fitting. Make sure to bring your own pedals shoes.

")