
WARNING: THIS TRAIL IS CLOSED UNTIL AT LEAST MARCH 2015!
Descents are the reward after climbing to the top of Sequoia Valley Road or Panoramic Highway. The former takes you on a beautiful journey through Muir Woods, the latter takes you on a magnificent 4 mile descent to Stinson Beach. While Stinson Beach requires a series of climbs to make your way along the Pacific Coast Highway to Muir Beach, the second half of the route from Muir Woods is relatively flat. These two routes intersect at the Pelican Inn along CA-1. The pattern of a tough climb being rewarded by a great descent is remains unbroken in The Three Amigos. The return begins with a tough narrow climb along CA-1 with traffic nipping at your heals. If you can time the cars just right, you will experience a fantastic, high-speed return back to the Marin Crossroads. Each path that leads to this return is its own unique adventure. That adventure continues on in The Three Amigos’ journey to Sausalito.
Distance: from San Francisco Ferry Building 35.11 miles; from the Marin Crossroads 16.68 miles; from Somewhere Over the Rainbow 12.60 miles; from Boom Boom Pow 8.49 miles
Download your Ride to Muir Woods and Return to Sausalito Route Sheet here: Directions – Bay to Muir Woods to Ferry
Distance from San Francisco 42.24 miles; from the Marin Crossroads 27.81 miles; from Somewhere Over the Rainbow 25.73 miles; from A Panoramic View 19.24 miles; from Roller Coaster Ride 15.09 miles; from Dog Days Are Over 8.49 miles
Download your Ride to Stinson Beach and Return to Sausalito Route Sheet here: Directions – Bay to Beach to Ferry
Difficulty: A tough climb on a narrow road with no shoulder followed by a fast and fun descent that can be interrupted by “Sunday Drivers”
Elevation Gain on Route: 623 feet (190 meters)
Descent on Route: 676 feet (206 meters)
Download your route sheet solely for Three Amigos here: Directions – Three Amigos
FOR A MORE DETAILED LOOK click here for the full Geoped Map provided by g-map-pedometer.com

Elevation Map for the Route provided by MapMyRide.com
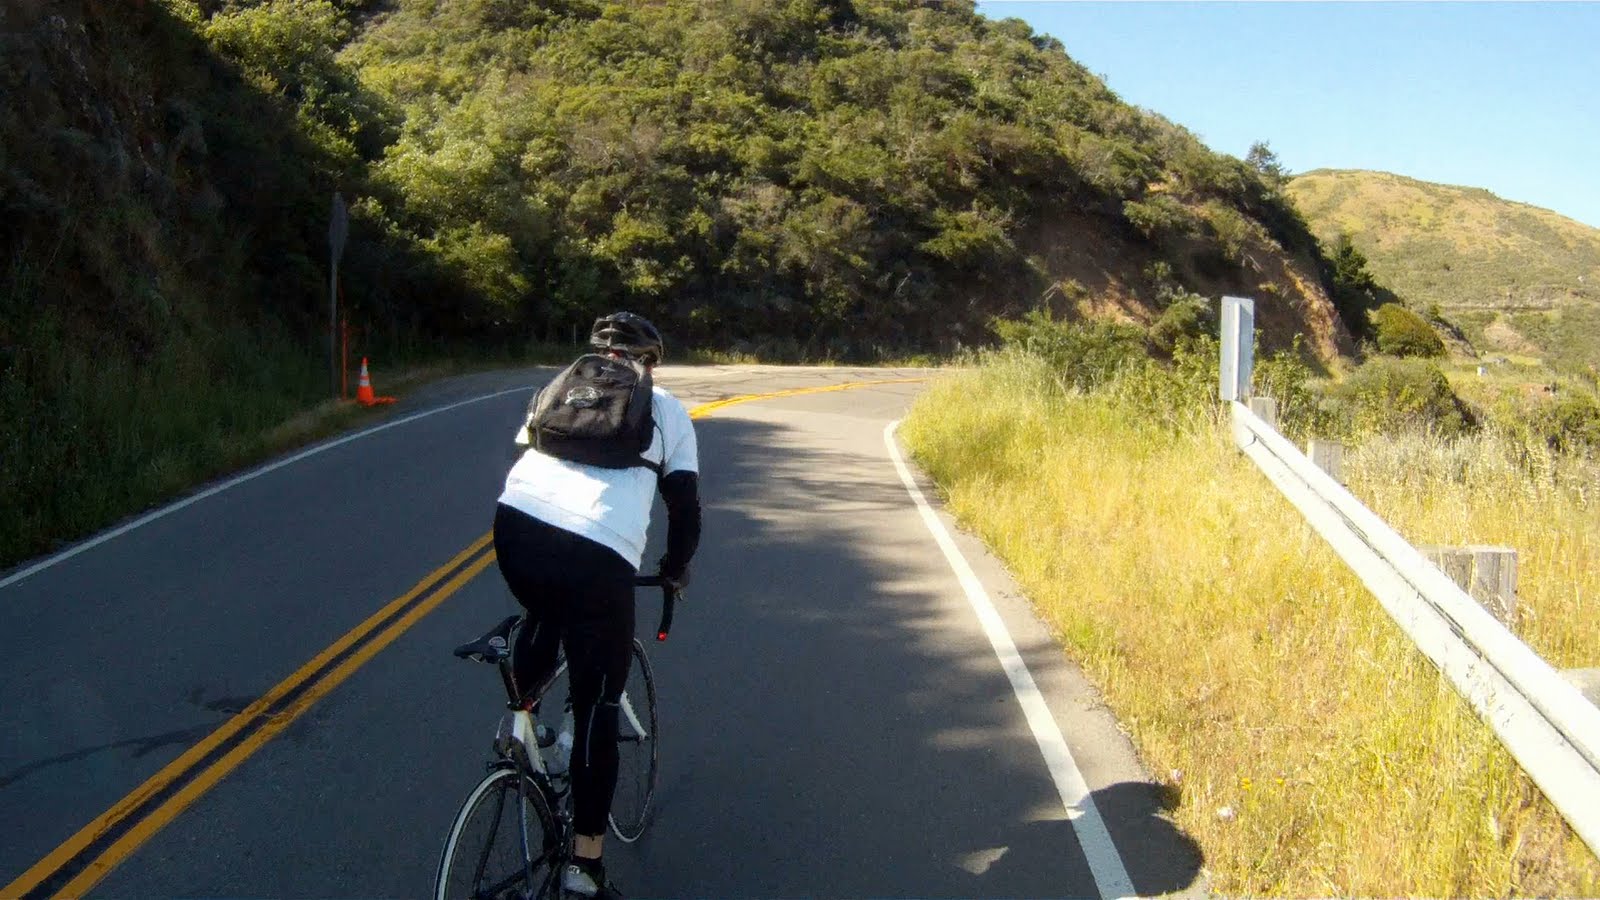
From the Pelican Inn, there is one last hill to conquer before the exciting descent and return to the Marin Crossroads and Sausalito.

Miko stands atop the last hill between you and Sausalito from Muir Beach
Continue heading south on CA-1 from the intersection with Pacific Way.

Head south along CA-1 past Pacific Way

Hopefully the drivers you encounter along the way heed this sign
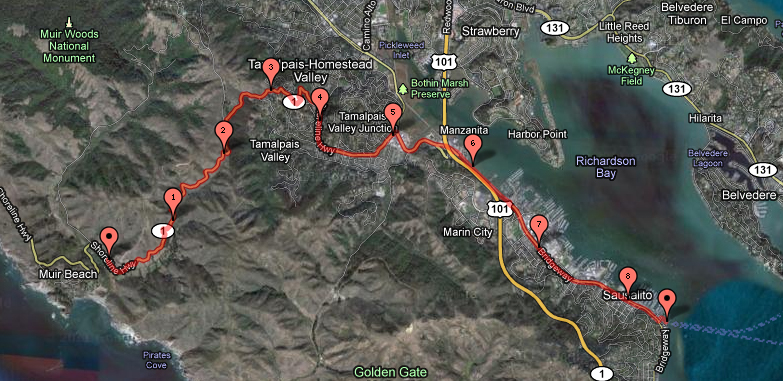
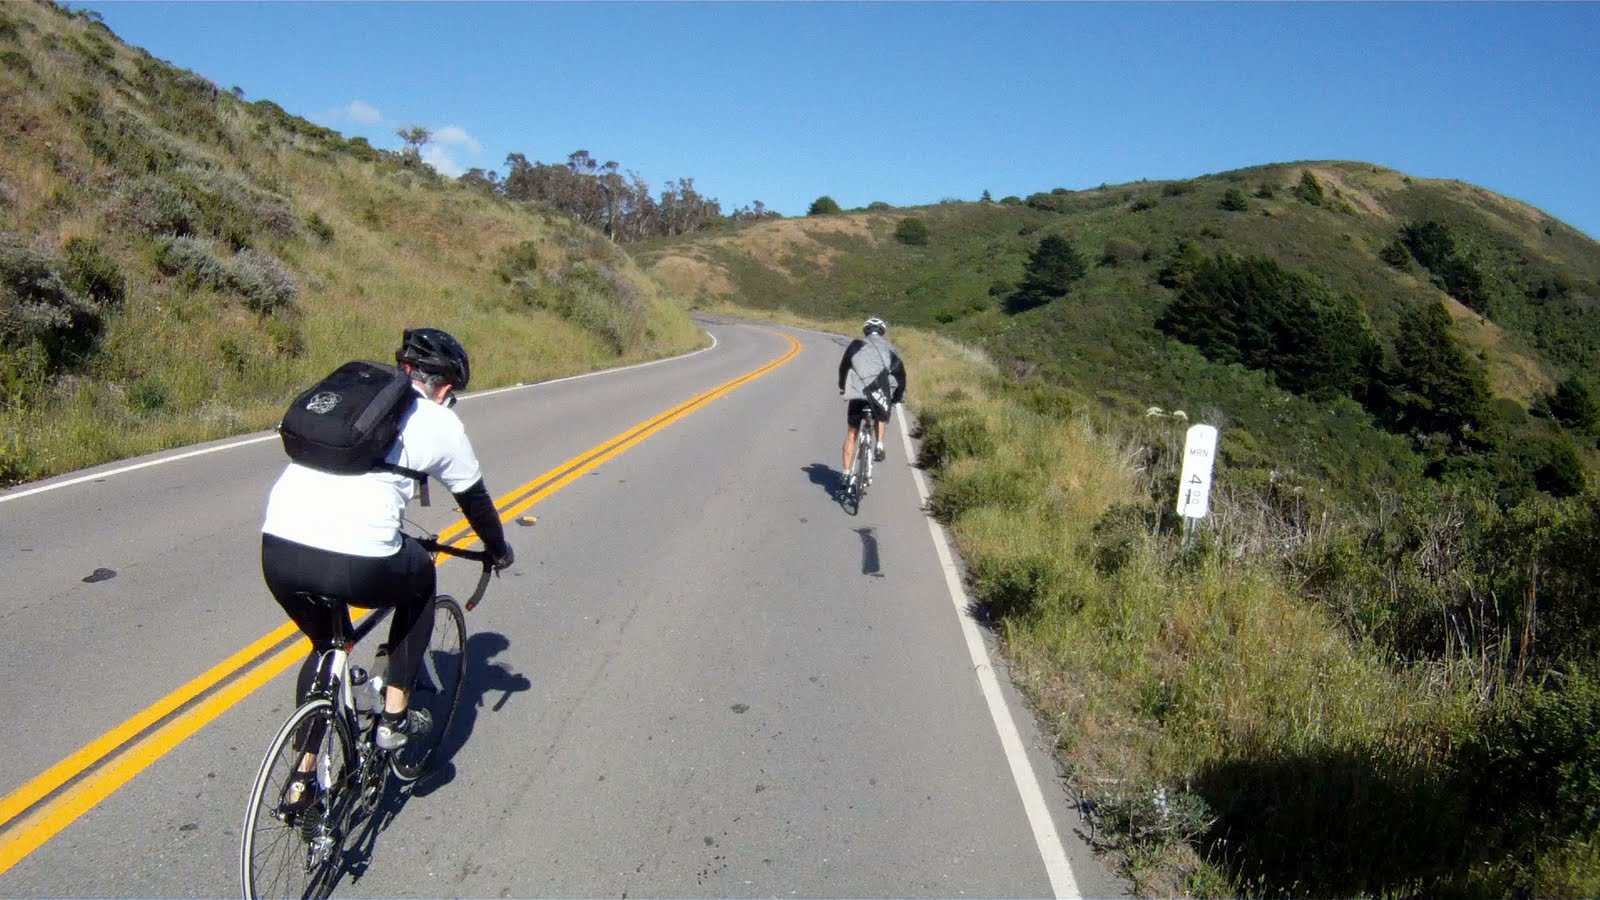
The beginning of the climb is hidden around the first corner.

Ketlon takes point and Miko readies herself for the tough climb ahead
THE WORK:
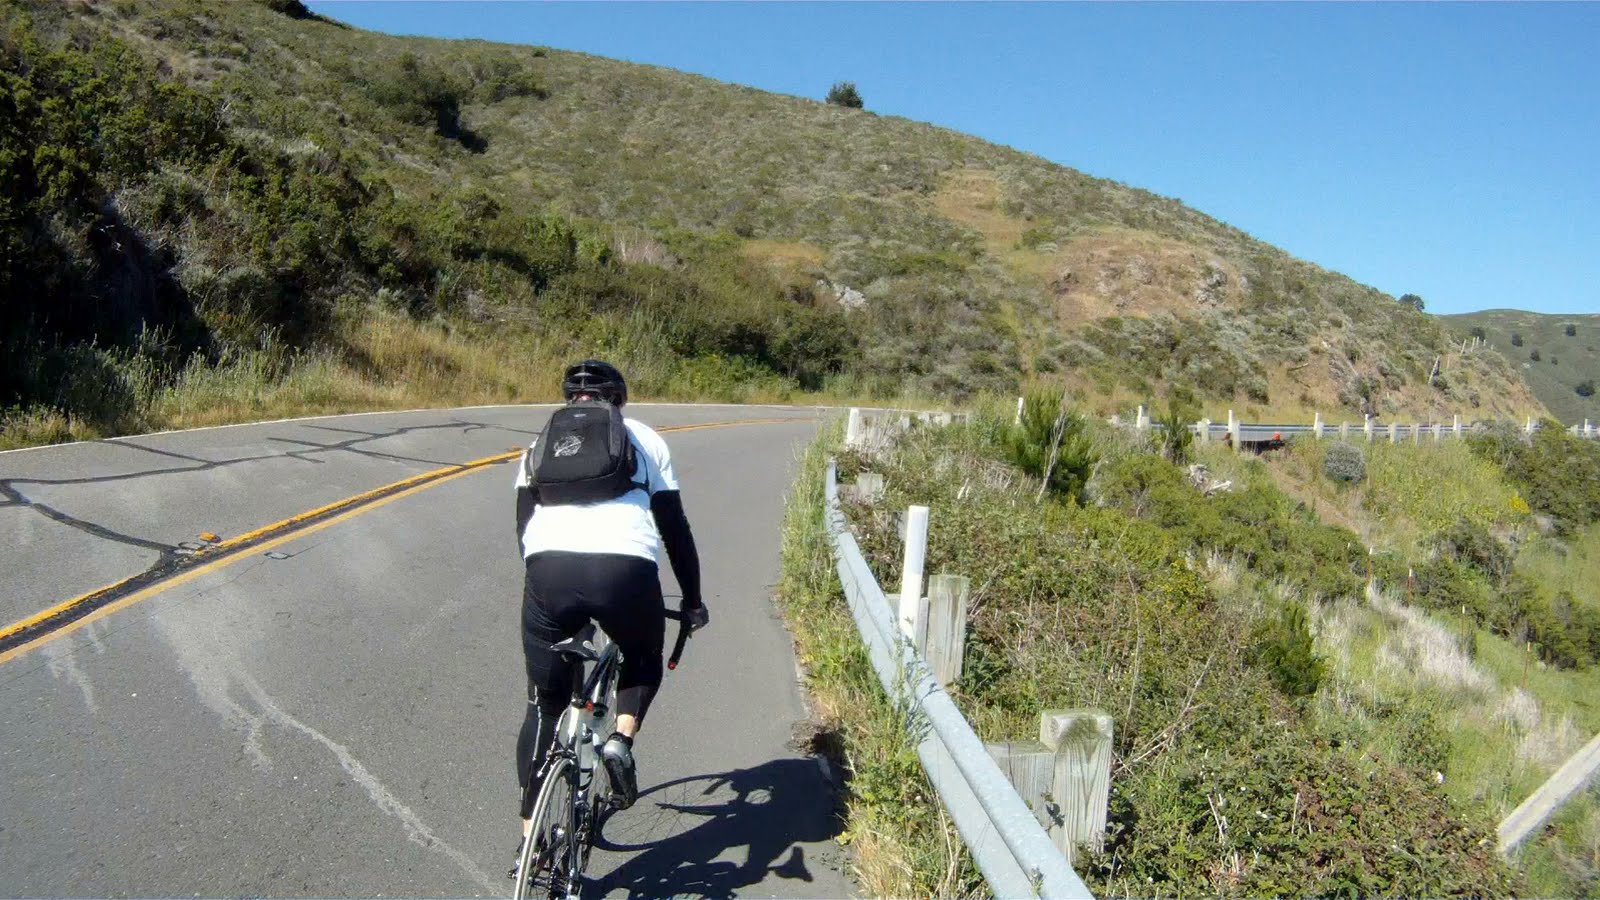
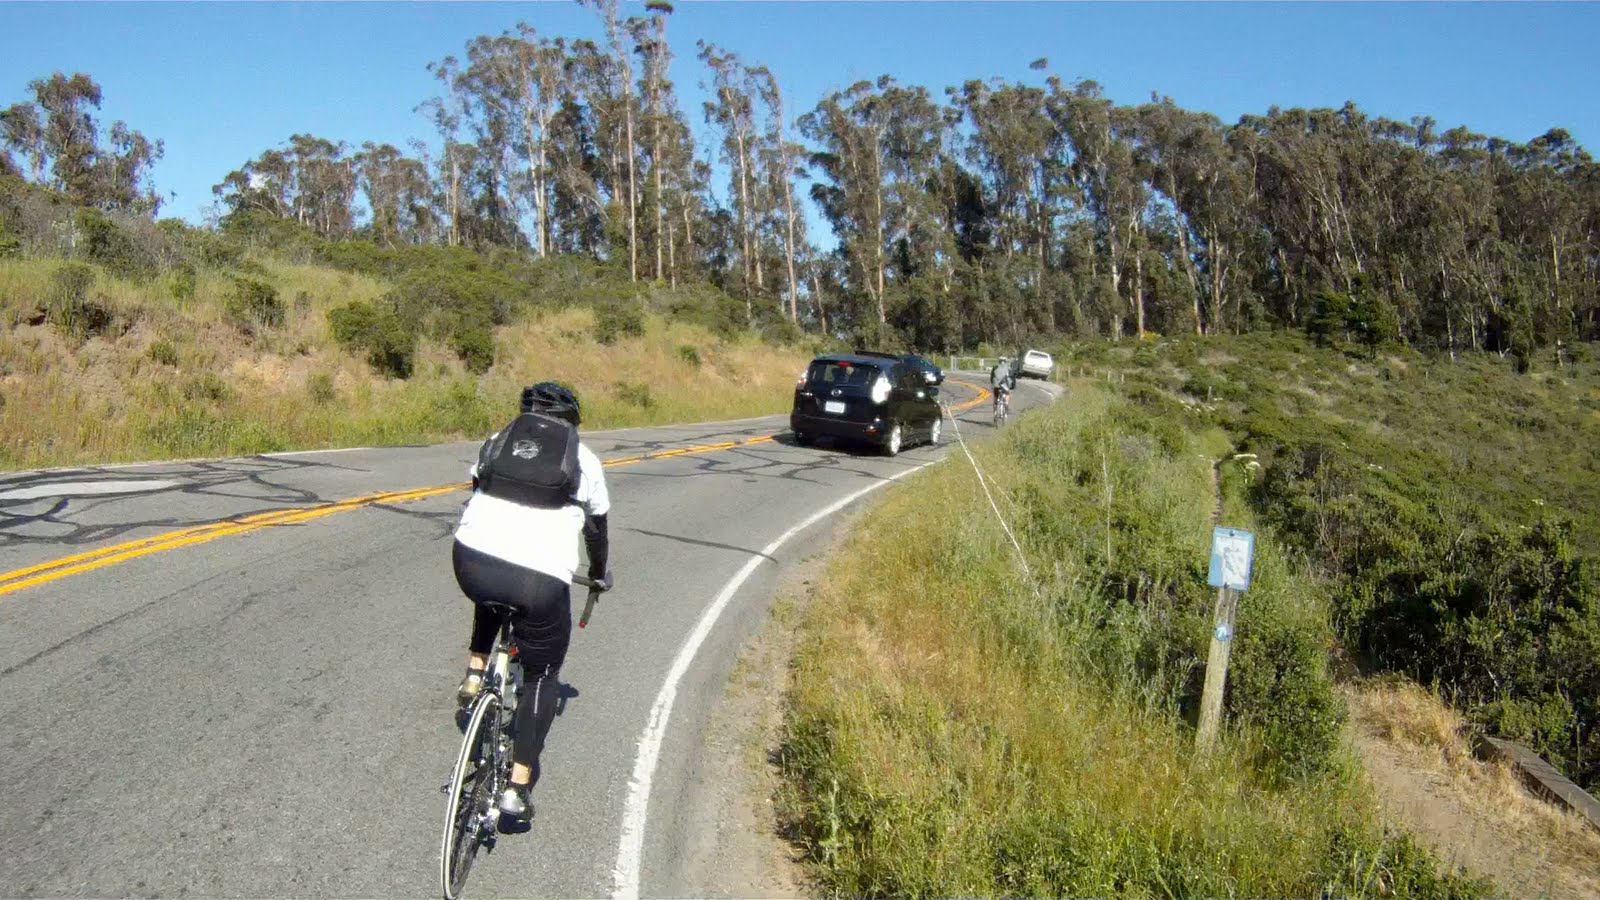
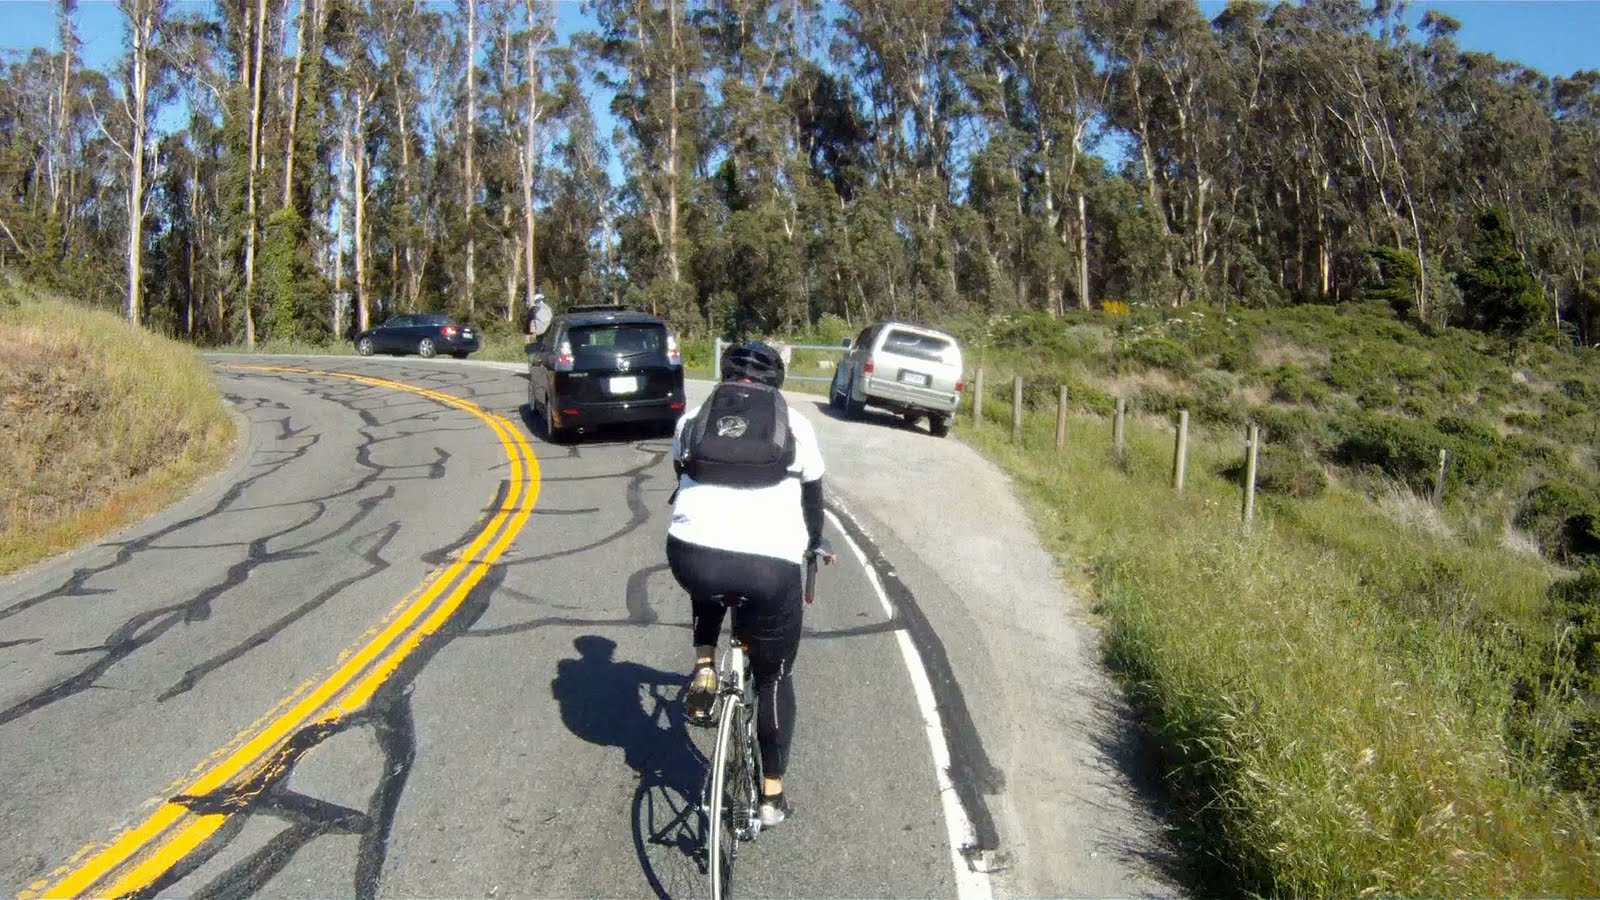
Round the first bend and you get a preview of you life for the next 2.2 miles: switchback, blind corner, switchback, blind corner…

Often the cars pass you closely on this shoulderless, narrow road.

Other times, you get a brief distraction from the climbing.

As the Ferrari F430 passed by we got a brief reprieve from the climbing, if only in our minds
With steep gradients, the standing climb is your friend on this hill.


Though only sometimes necessary, passing other bikers on the narrow road requires, speed, control and a bit of luck to get a long enough break in the traffic.


Poised in the standing position, Kelton overtakes a slower mountain biker during a brief break in the traffic.
The standing climb can also be used to work different muscles to not tire your legs too quickly.
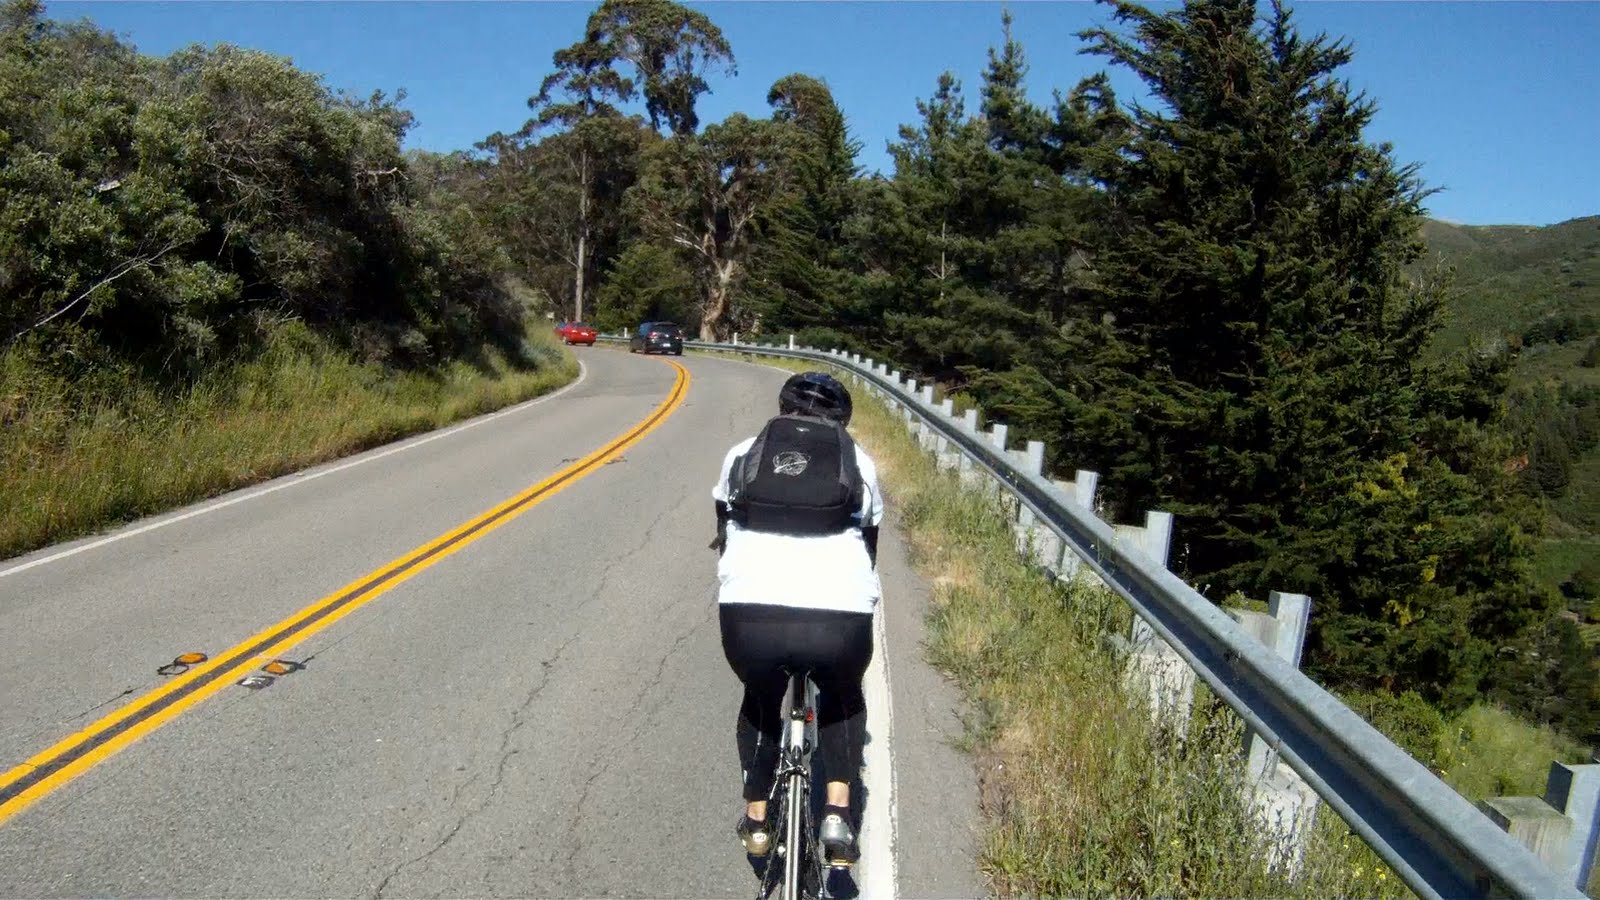
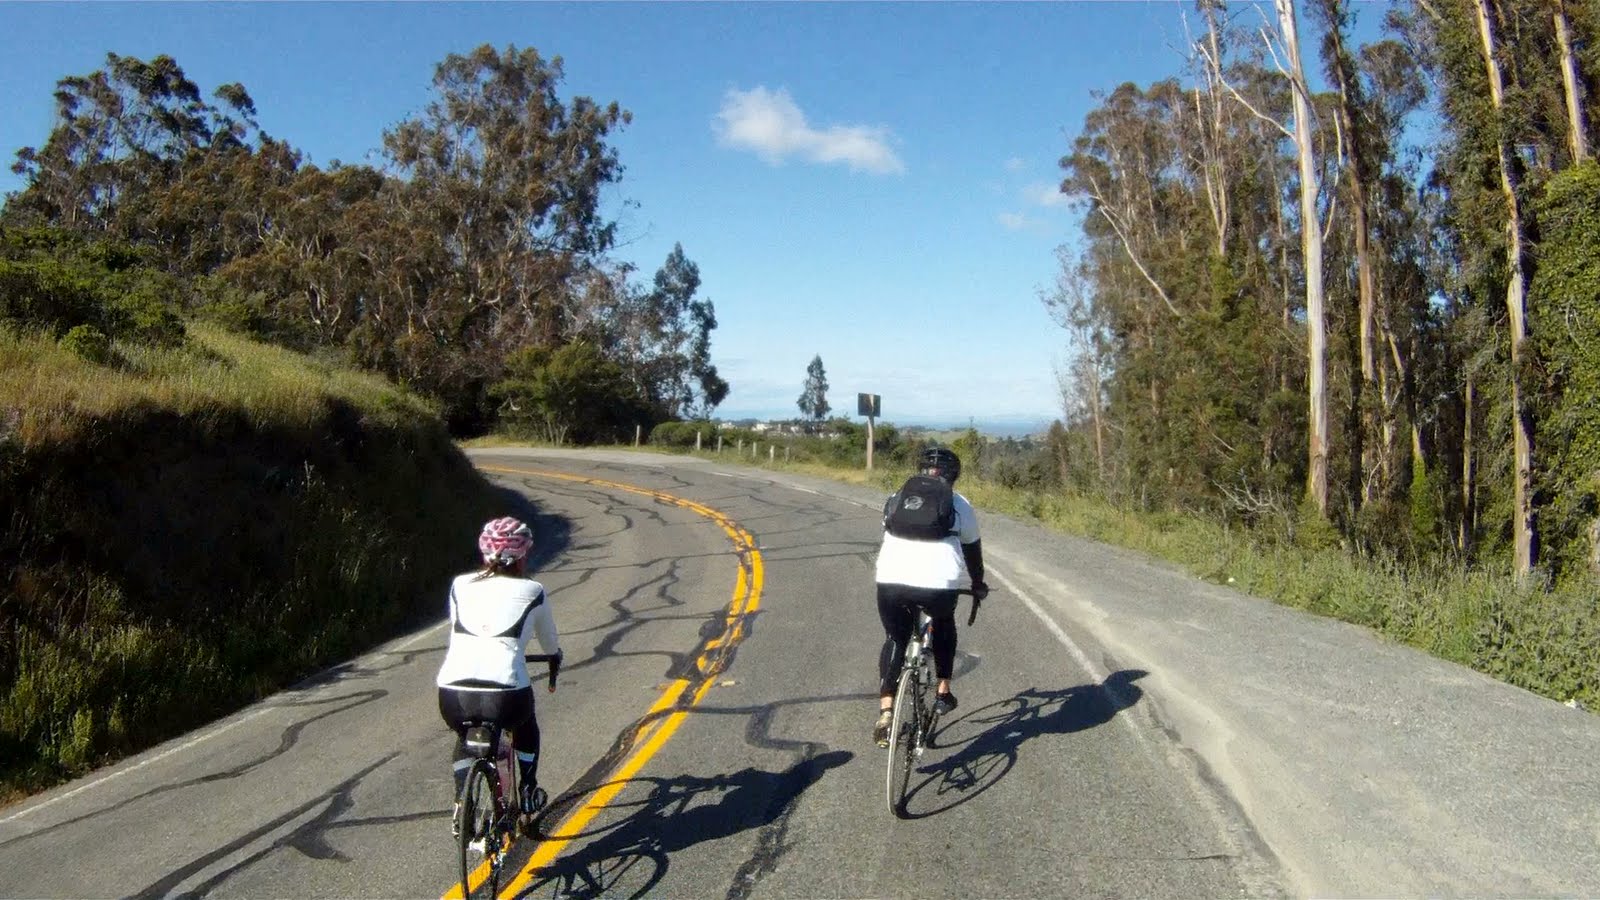
Although the scenery doesn’t change much as you continue around the next corner, make sure to enjoy the views around you.
A small shoulder is present in some areas of the climb.
As you keep climbing you can eventually see the top of the climb.

The top of the climb is at the base of the pine trees in the upper right side of this picture.
As the distance to the top gets shorter, a good standing climb helps Kelton keep pushing his way to the top.

Kelton dances in the saddle
The base of the pine trees (center) signifies the top of the climb is getting near.

Just a few more stints of out of the saddle climbing and you’re almost there.


Turn the corner and you can almost see the definition of the trees.

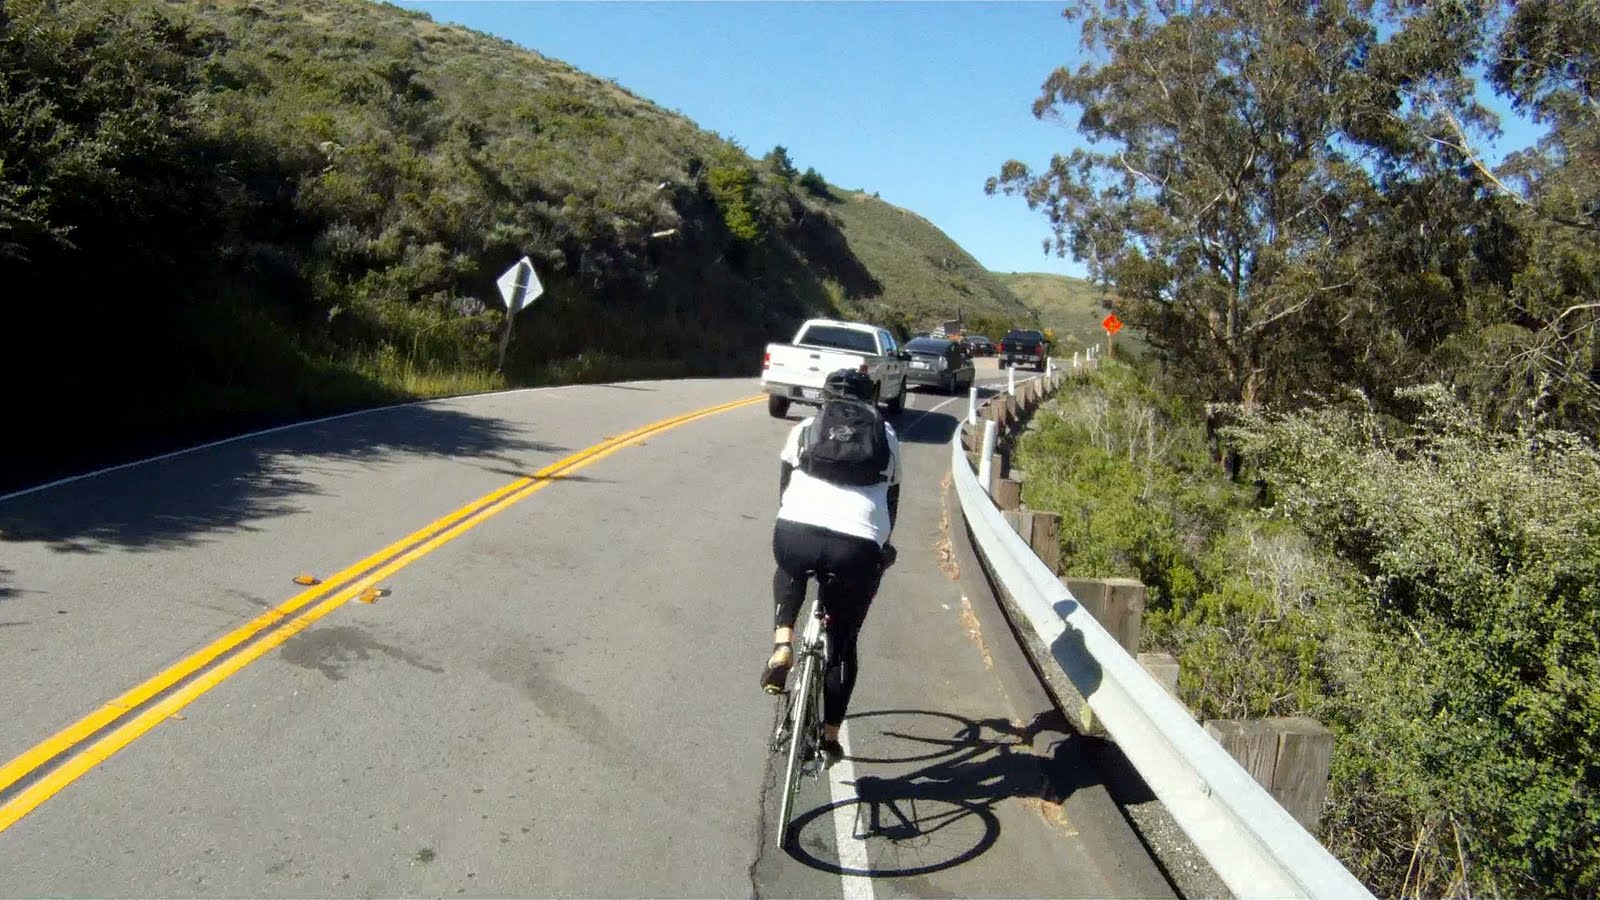
Then you realize you still have a few more turns to go.

Although closer, you still have a few more switchbacks to climb before the reach the top.
The road starts to reduce in gradient as you get closer to the top, keep up the RPMs and you will start to gain speed.
As the top nears, these two road signs indicate the last two switchbacks before the top.

At the sight of the last corner the blood rushes back to your legs.

Rounding the last turn, a spot to rest is just a few hundred feet away.
Kelton approaches the rest area after burning up the hill.
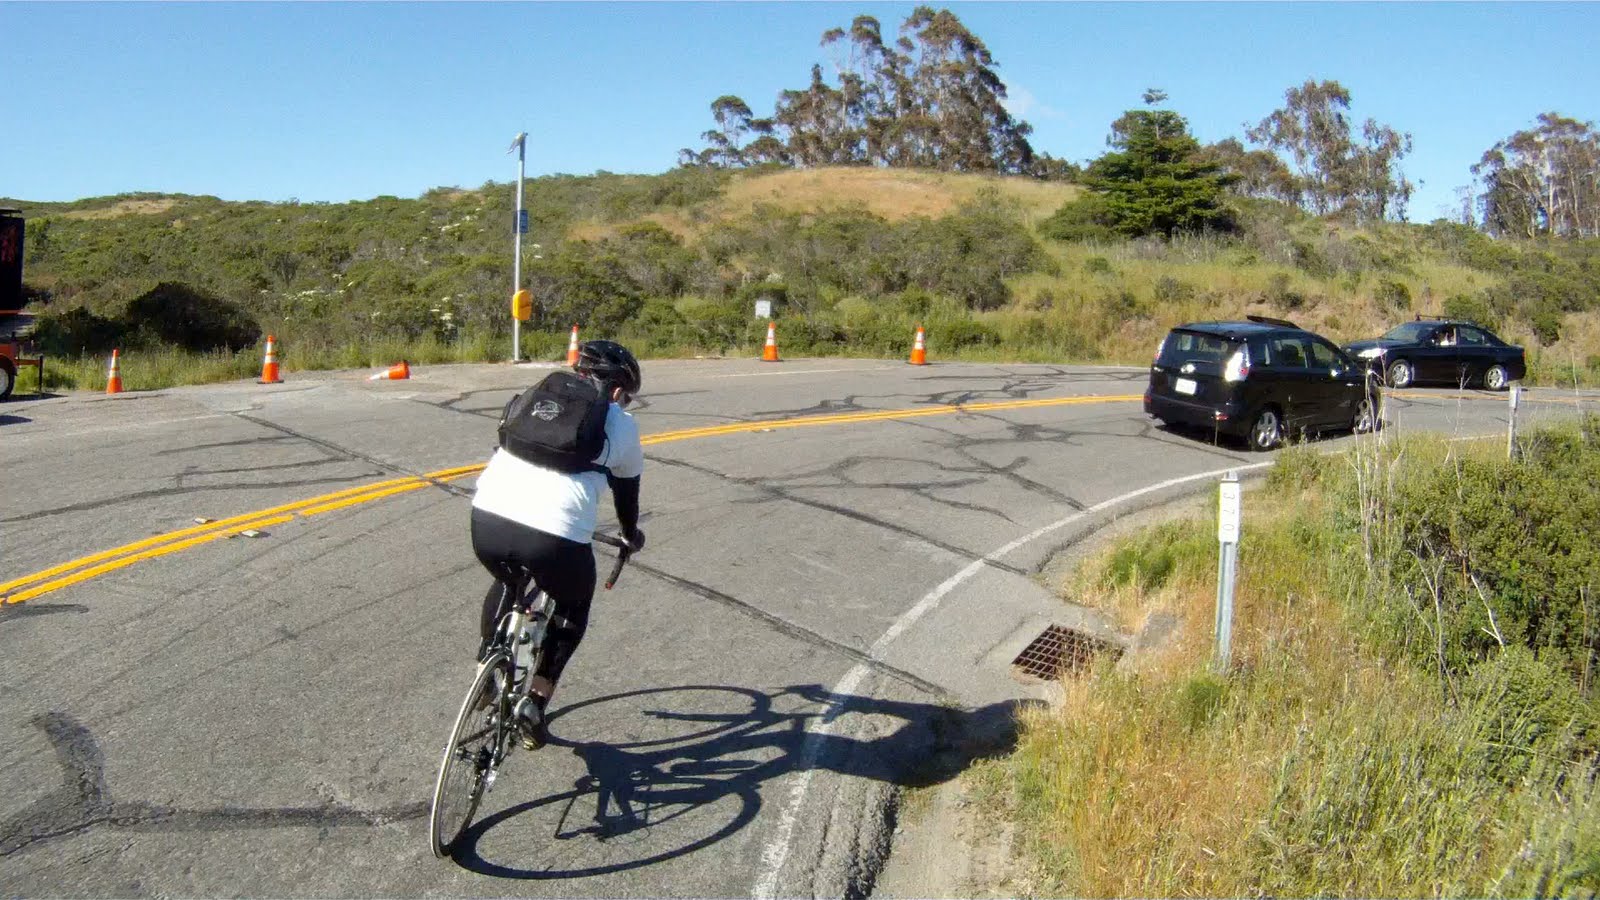
Once at the top, you realize the amount of traffic passing you was not just your imagination.

The top is a great spot to rest for the other members of the party still climbing.

Miko makes it into the resting area after a personal best time up the hill.
Timing is everything in this next portion of the ride. The relatively flat section between the resting area and the intersection with Panoramic Highway gives you a bit of a chance to get ready for the downhill portion of the journey. If timed well, the journey is fast and exciting. If timed poorly, you’ll catch a car quickly and be on your breaks the rest of the way to the bottom.
Watch the cars rounding the visible corners, when no other cars are in sight, that’s your queue to go!

Miko watches carefully for a clear path.
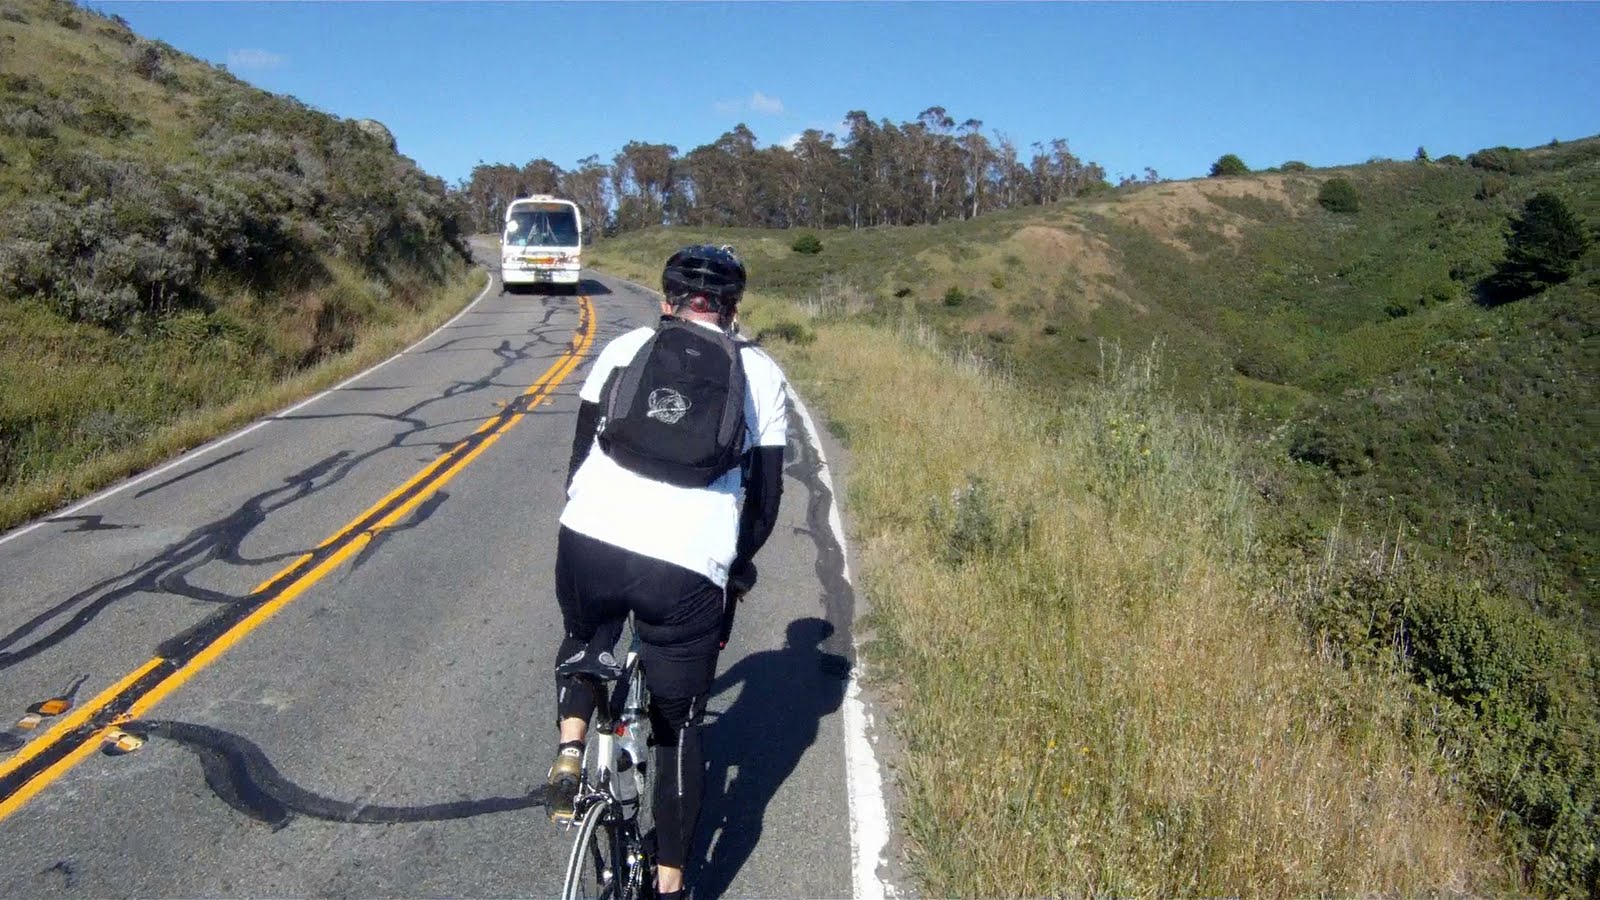
After leaving the rest area, you have a quick jaunt through the woods on a slight decline.


Which leads you past the intersection of Panoramic Highway and CA-1 and to…

How long do other bikers last in front of Miko on a downhill?


Not only can cars be an obstacle, wildlife can be as well…notice deer, stage right.


 And up over the hill towards Fred’s Coffee Shop.


I once took that route from Muir Beach to Tam Valley Junction on a warm, sunny Sunday and it was one solid stream of cars nonstop and no shoulder made it a harrowing experience! I now take Panoramic Hwy instead.
BTW, I like your post on the bike douches, yes, how true, haha!
Carl
Hey guys i really appreciate this, the pictures really help when planning a trip. I ride a road bike and a track bike (not a fixie). Recently i’ve been trying to lose a lot of body fat (trying to go from 18% to under 12%) so i’ve been riding my track bike on roady rides, i’m considering this ride. I’m curious though, how hard are the climbs if gears weren’t an option?
My gear set up is 48-17 if that helps.
Hey Jake,
The climb up to Muir Woods can get pretty tough in such a high gear setup (48-17). This is then mirrored by the first part of the climb out of Muir Beach. We haven’t attempted to do the entire route in the large chainring, but it would be pretty difficult. We recommend riding the route once on your road bike to check it out and see how you do in the large chainring on the climbs, just so you have an option to drop to a smaller chainring if necessary.
Good luck, let us know if you need anything else and how you do on the ride!
Pingback: Trail: ALPINE DAM — Fairfax to Mt. Tam, Hot Damn! | WE LIKE TO BIKE