Our Stories: Downhill Cycling: A Metaphor for Life


Marin Headlands-60
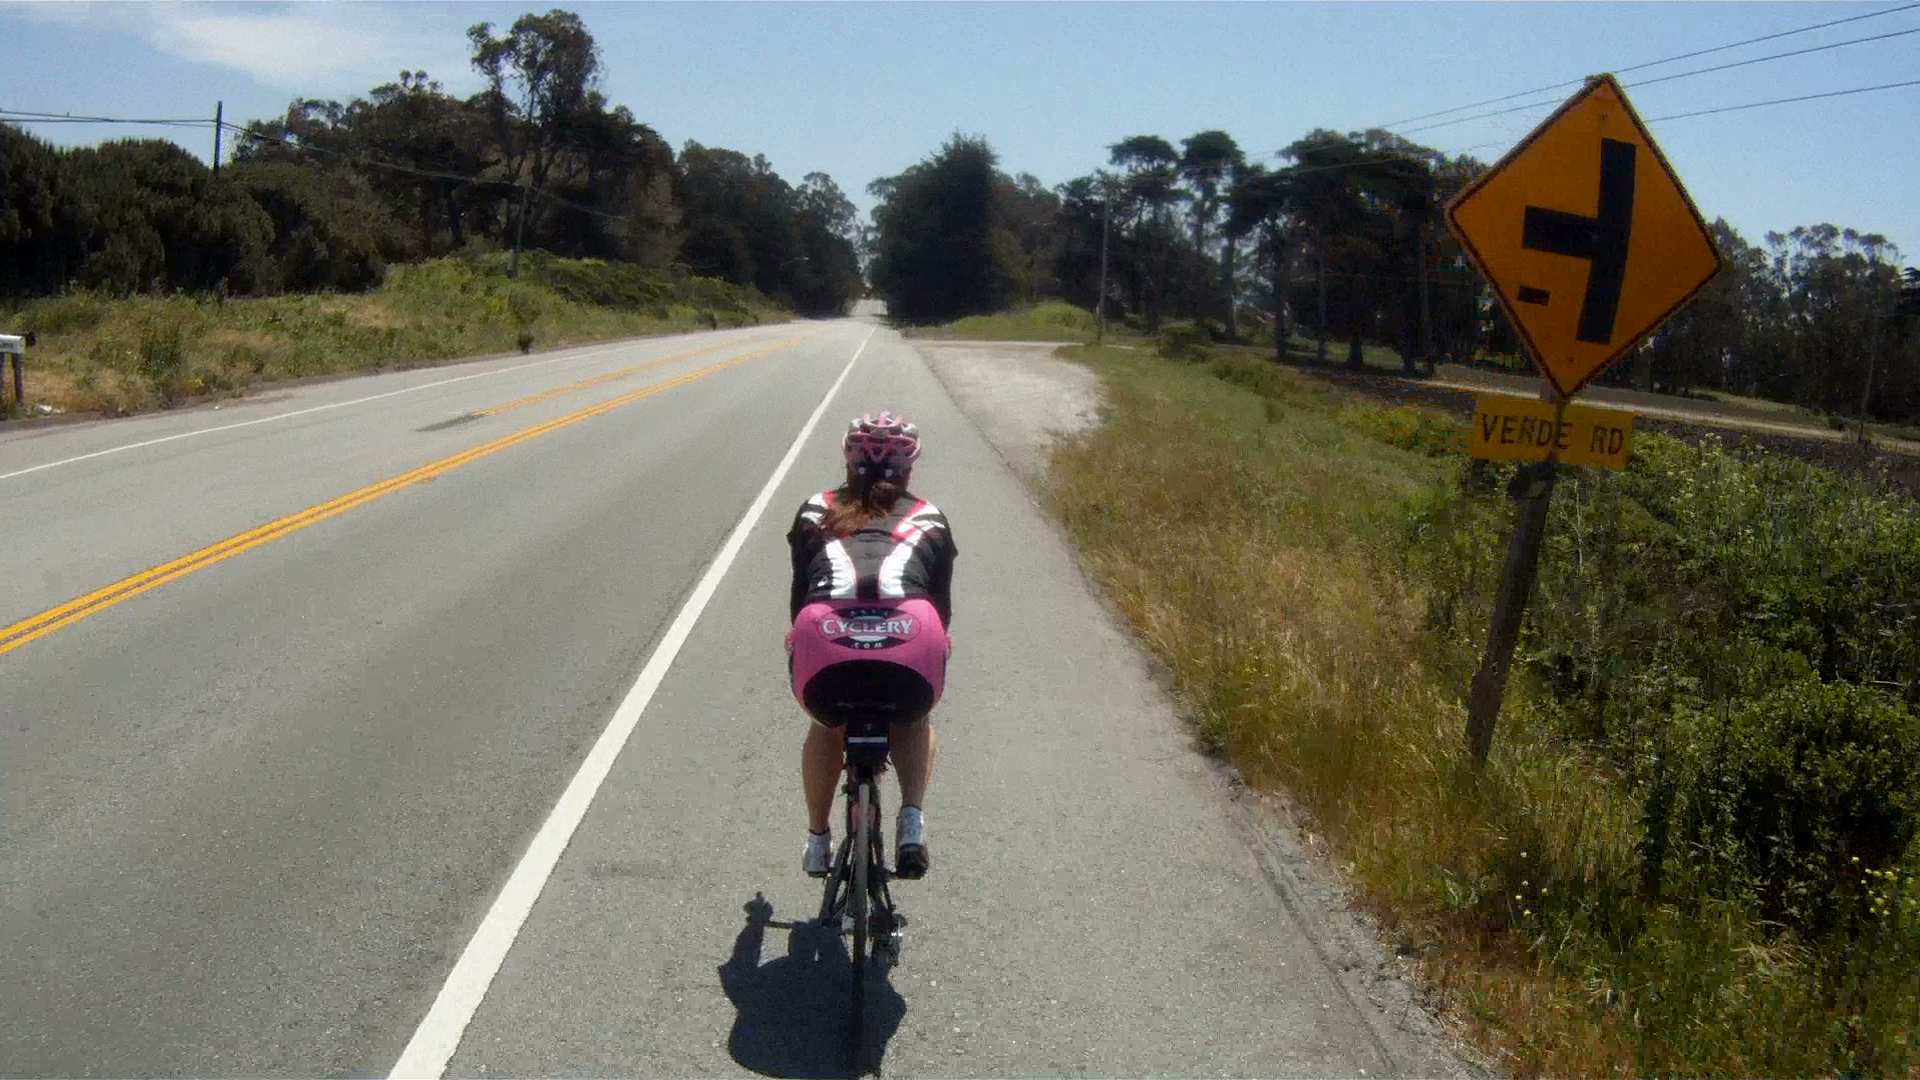
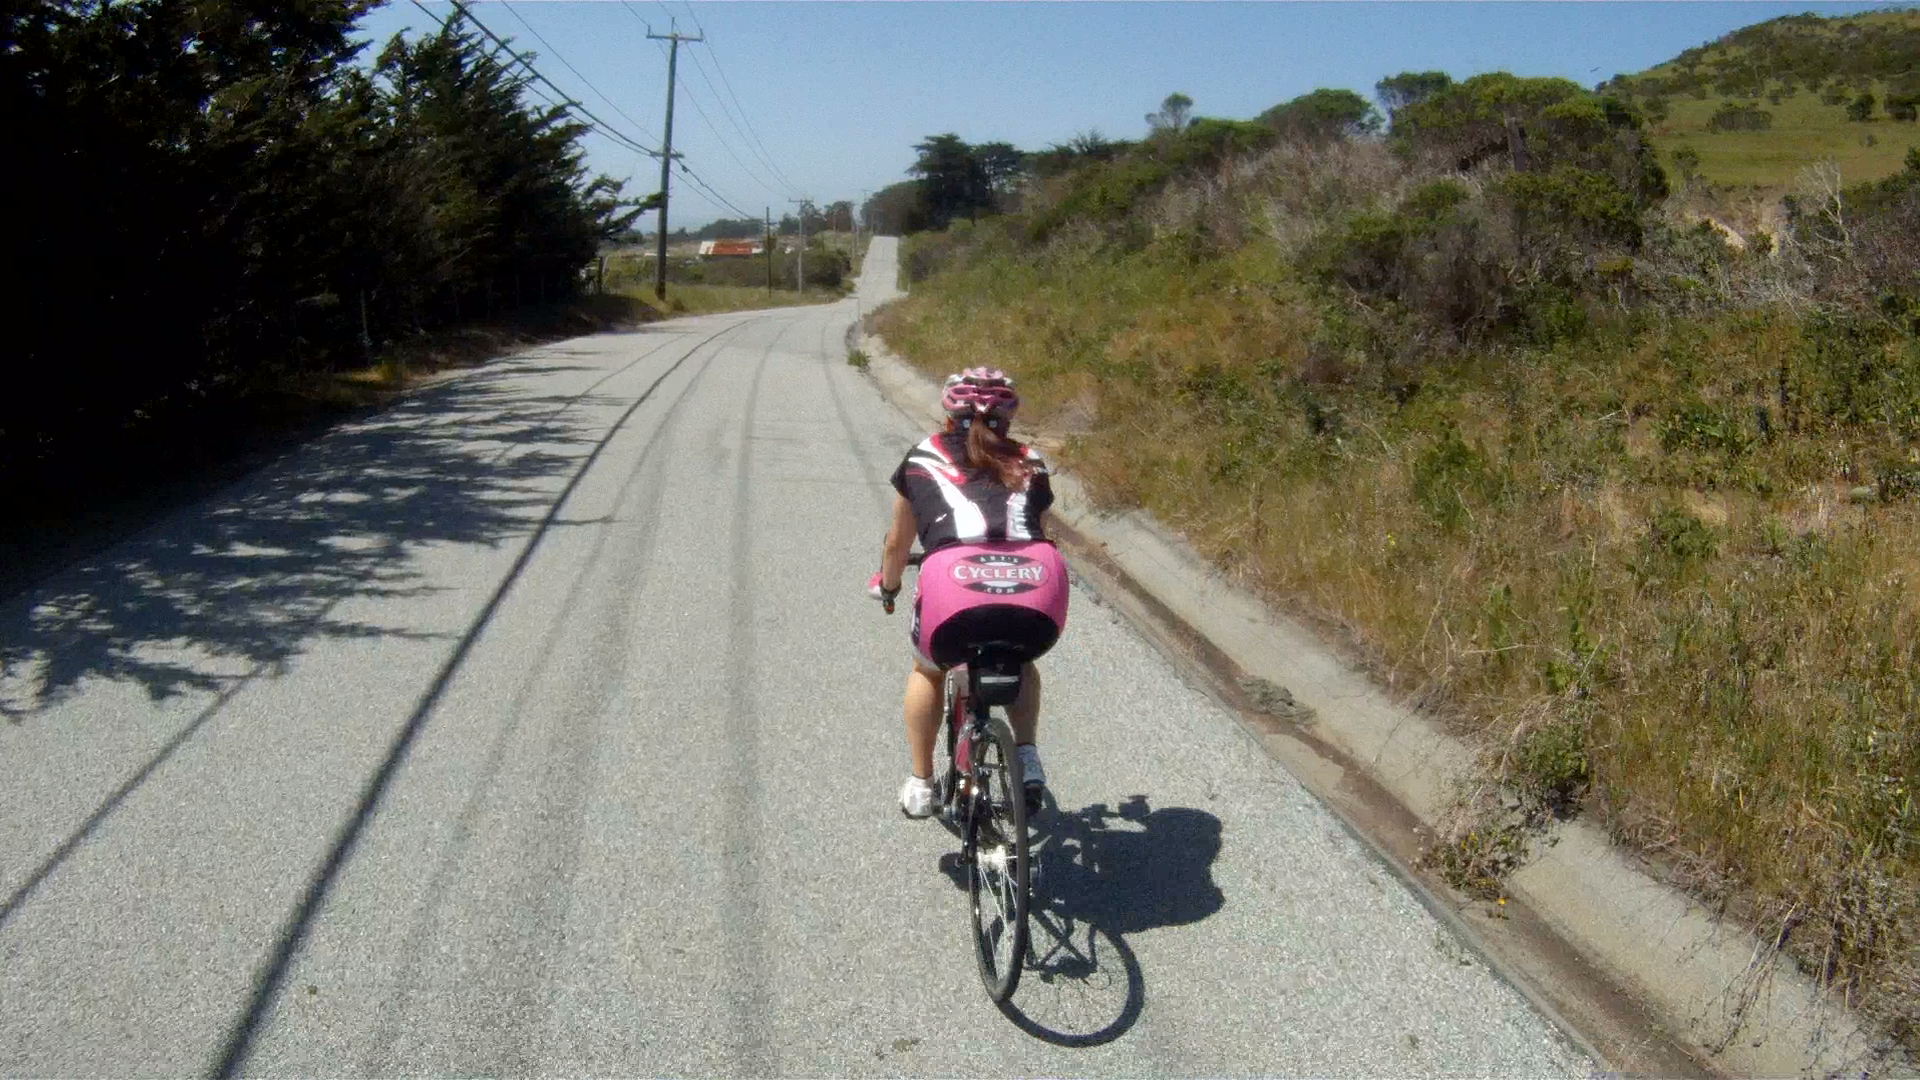
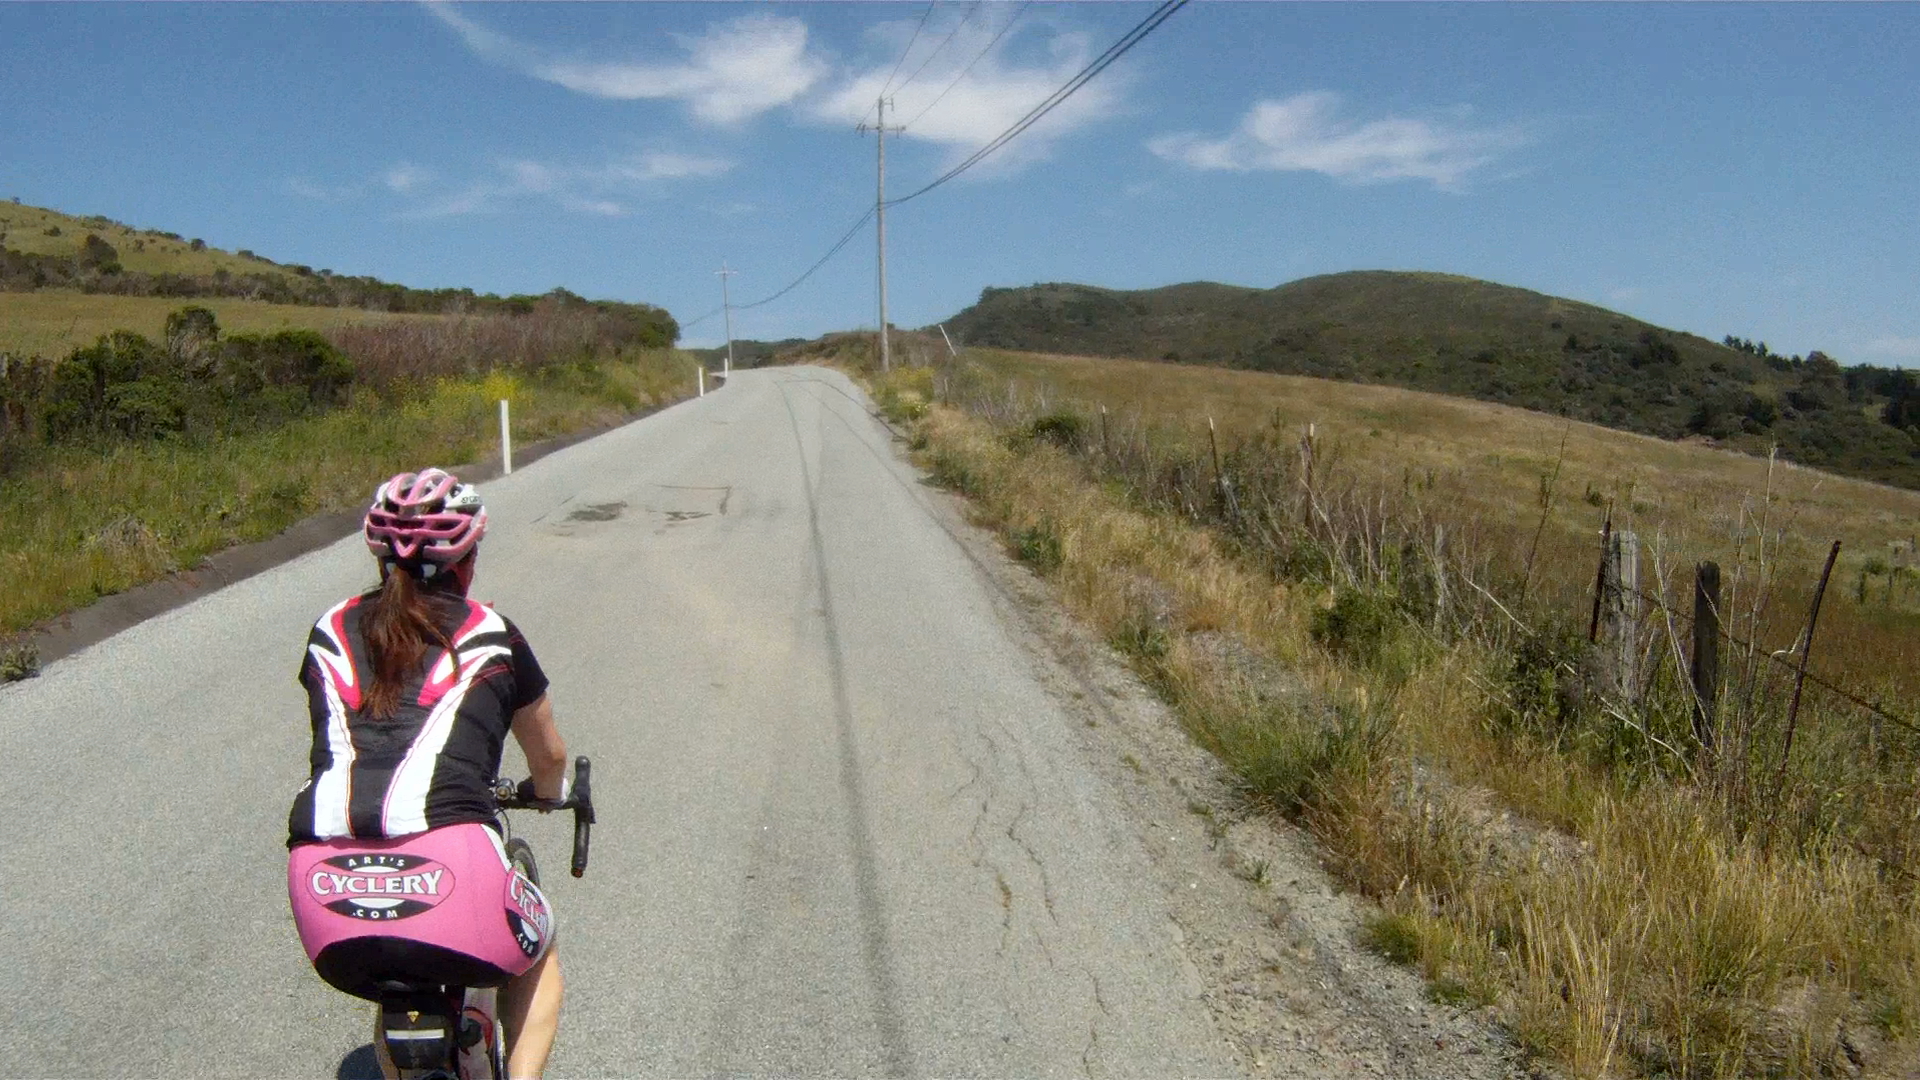
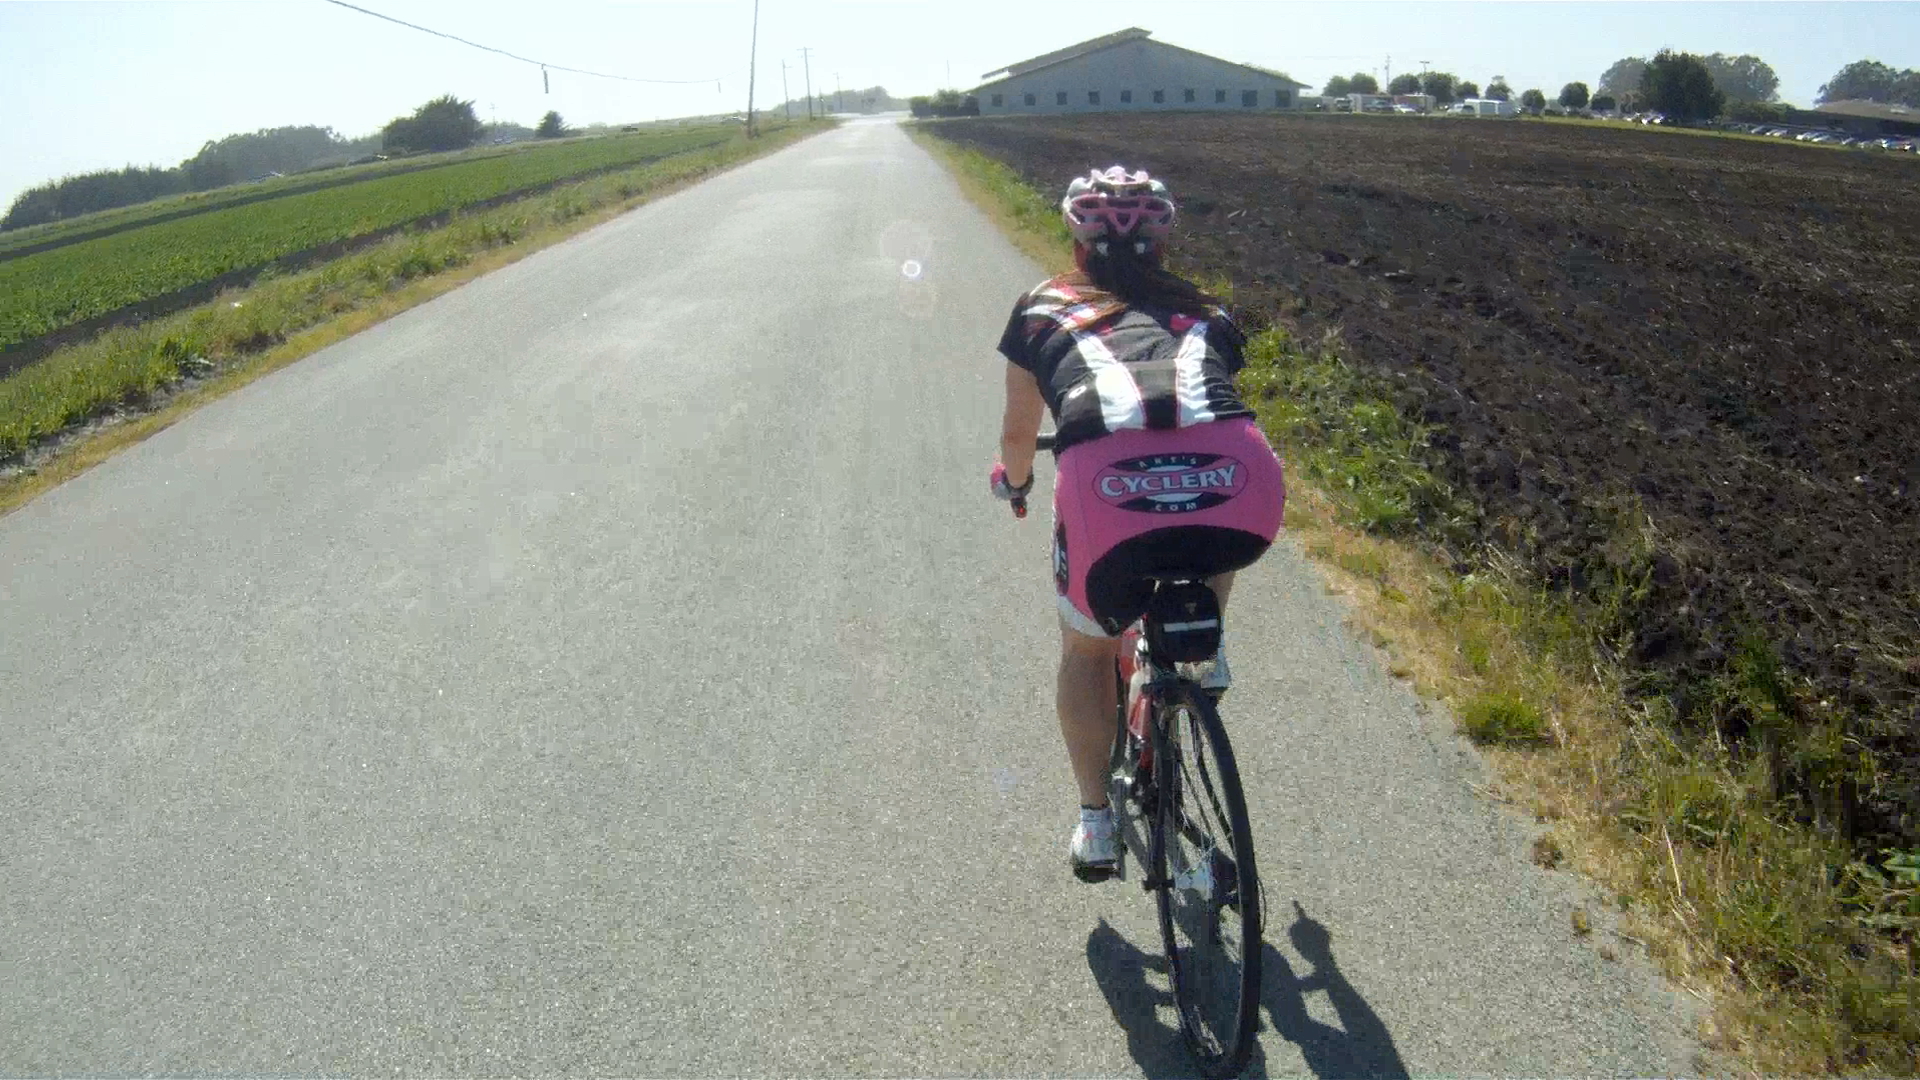
For some of us, cycling is a chance to distance ourselves from our daily lives. Jon and I are exceptionally lucky to cycle in one of the most beautiful places in America which we’ve taken pride in sharing.

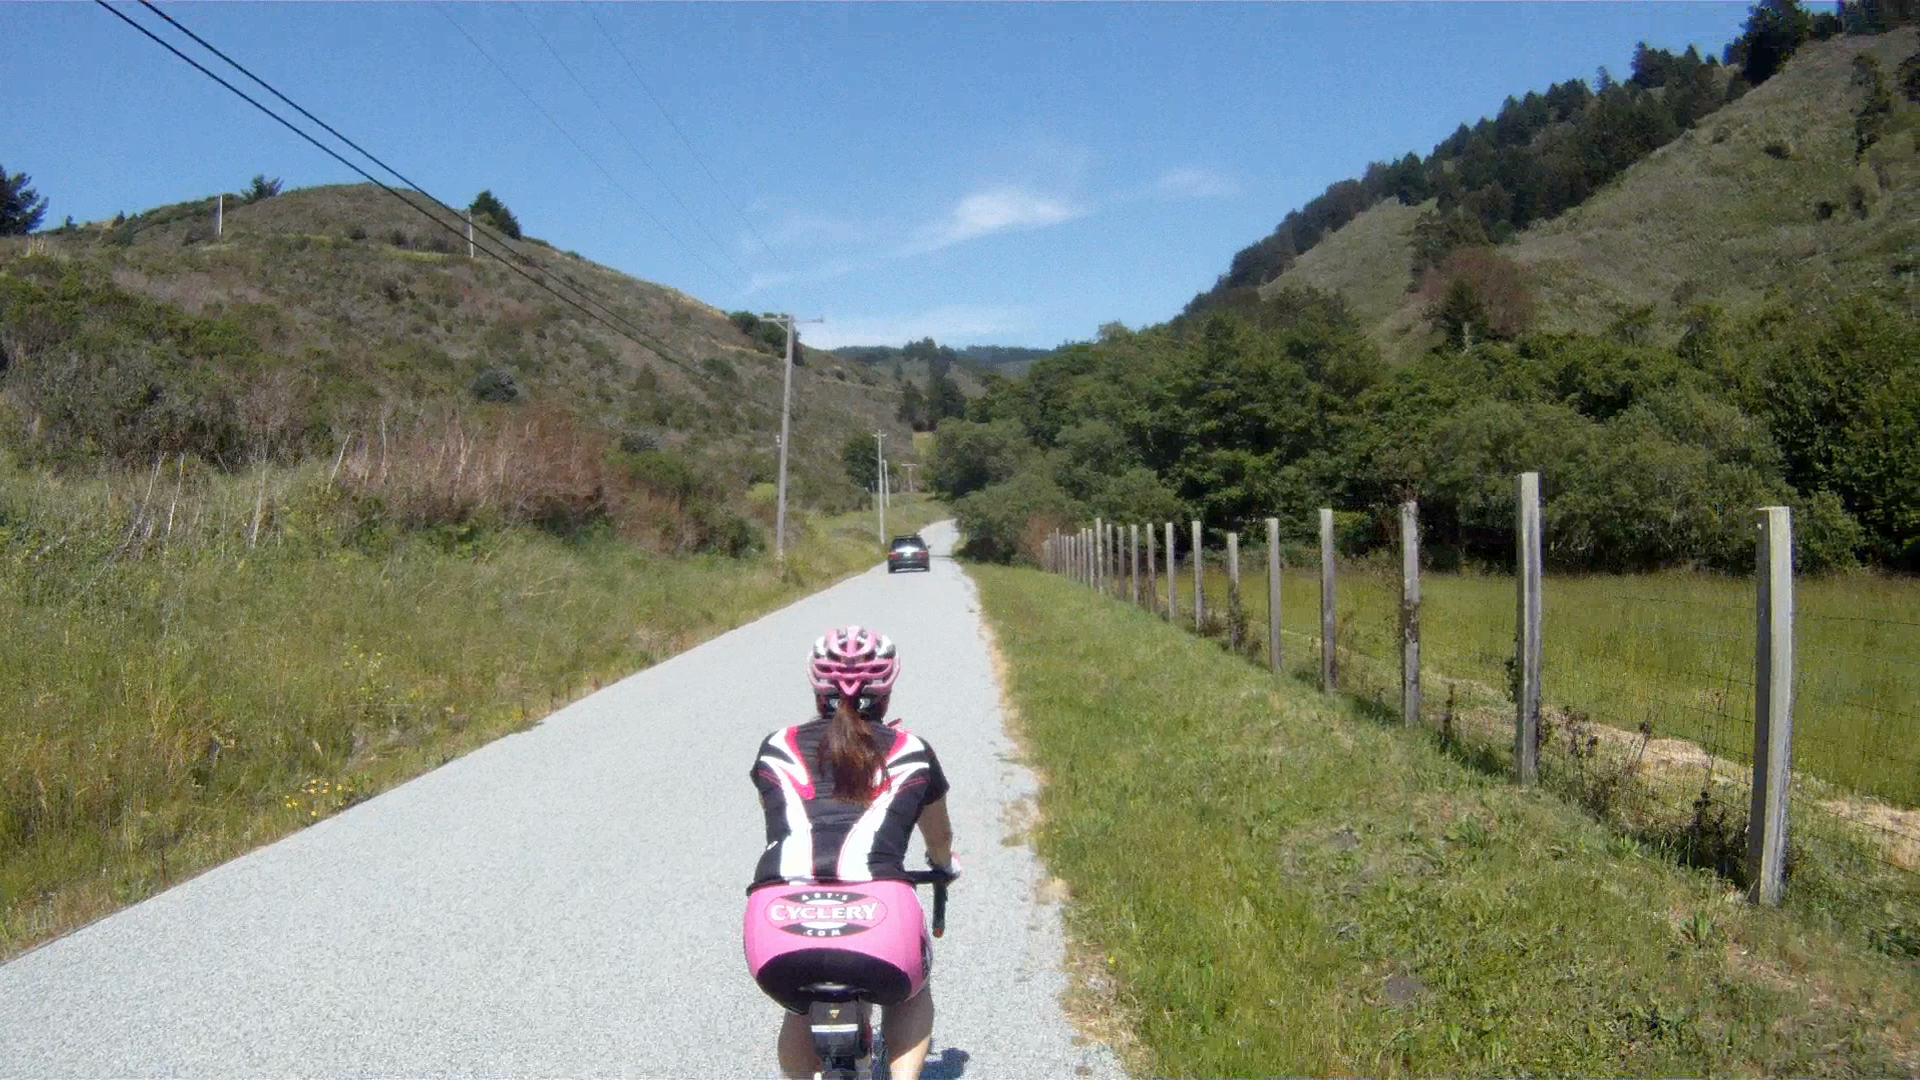
As cyclists we connect to the beauty of our surroundings, attend to the obstacles in our path, absorb the bumps in the road, feel the burn of each pedal stroke pushing us forward, and hear our breath get harder and deeper. We become more present and I think that’s one of the reasons we chose to clip in for the day to tune out the rest of the world. (Words of advice: don’t check your email, Facebook, Instagram or Twitter on a ride. You don’t need to hear from your boss or see what your college roommate is having for brunch. It CAN wait.)

GOPR0061-3

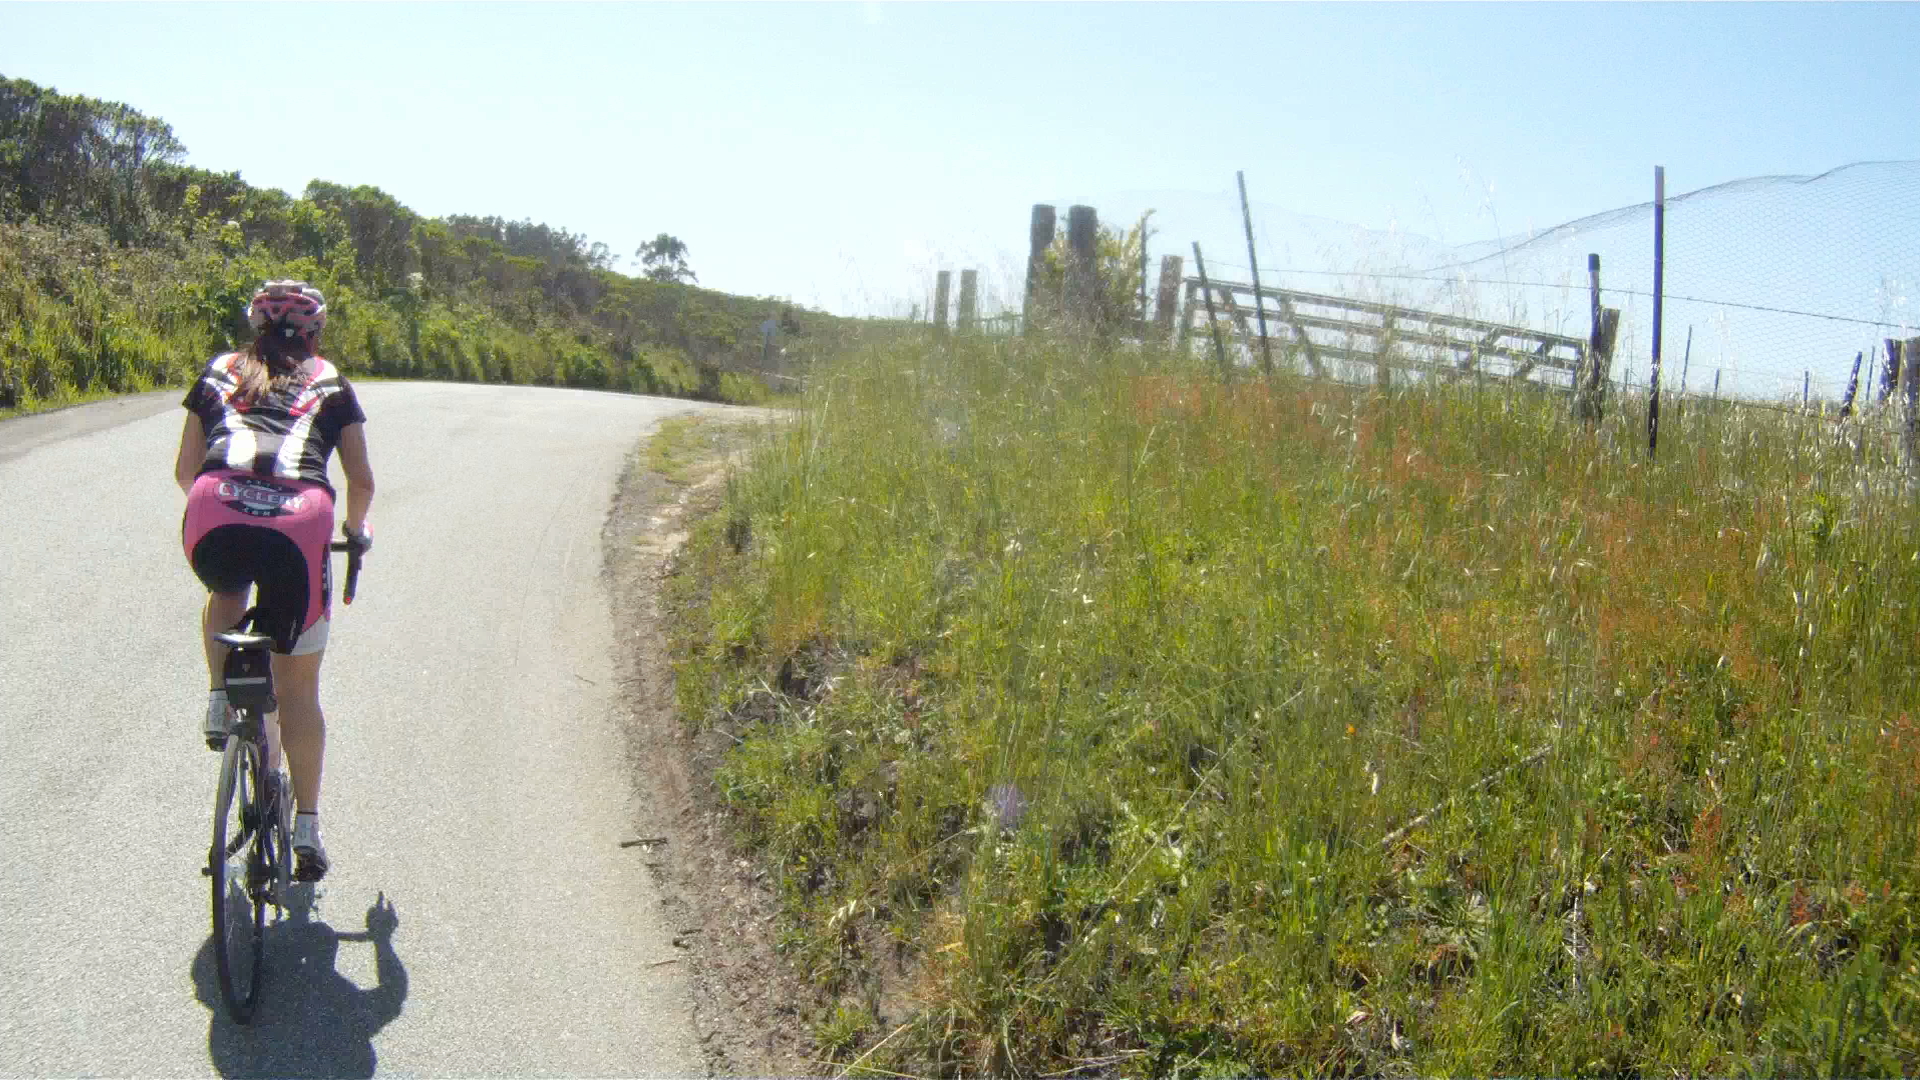
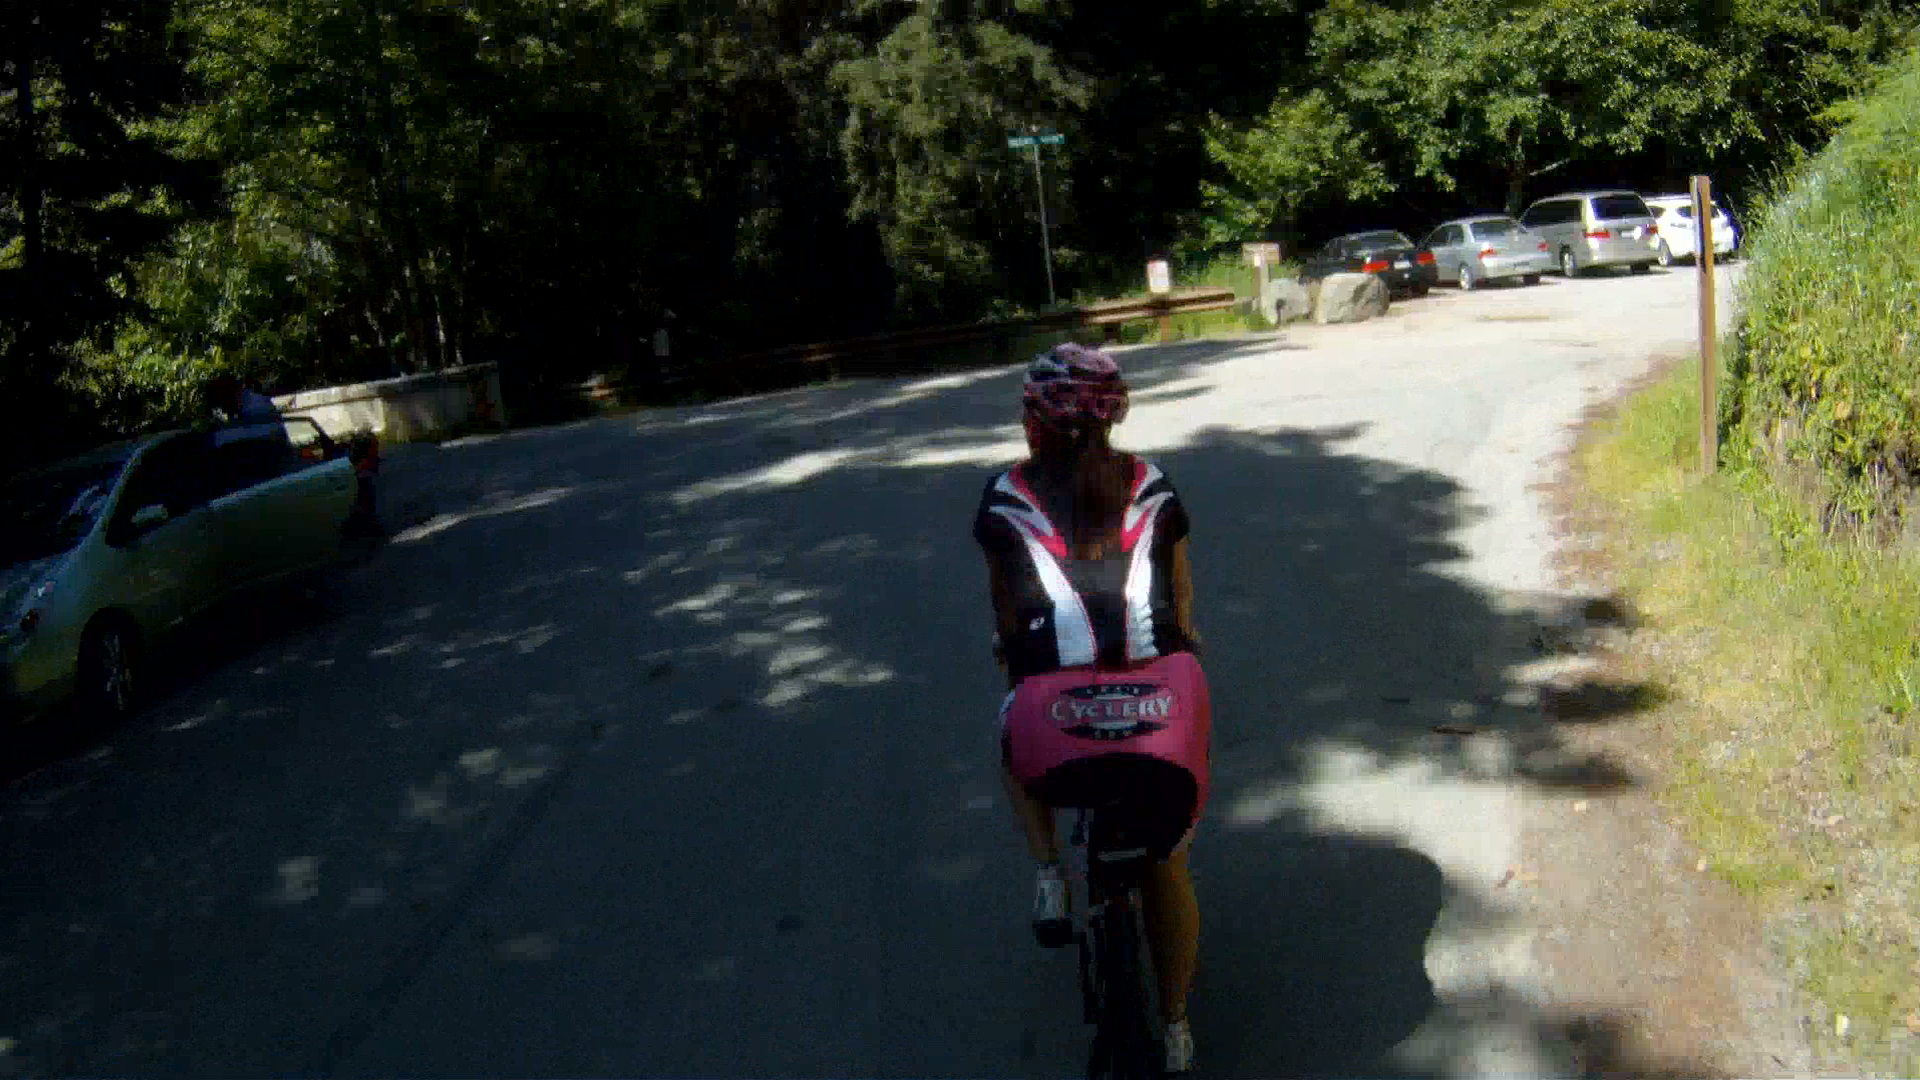
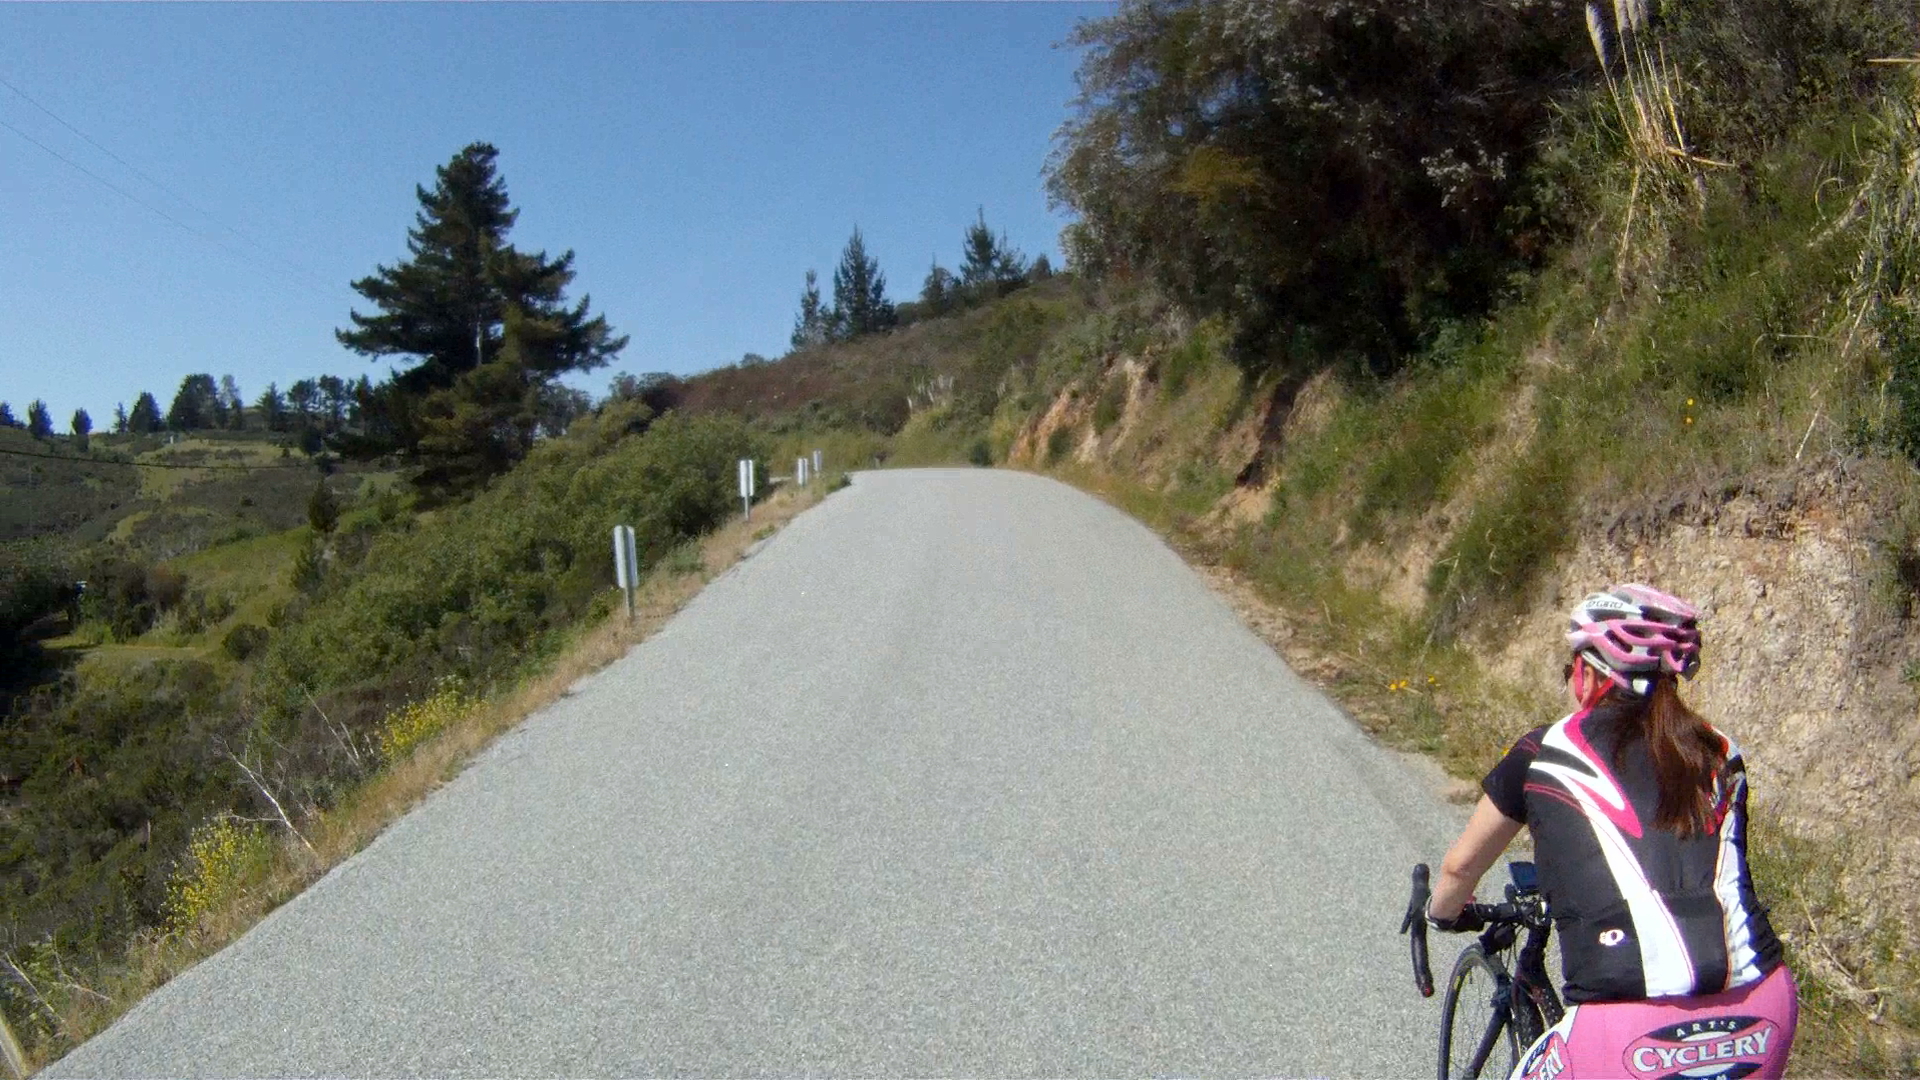
Not every moment of cycling is a blissful. Nothing makes my life more miserable than CLIMBING. All I think about is how pained, exhausted and out of breath I feel. My thoughts turn to doubts of whether I can make it up the hill, or worse, make it home before dark. I am always focused on getting to the top, the finish, the future. (Or I’m saying to myself “What the heck was I thinking when I agreed to do this in the first place!”) If this was my metaphor for life, it would be a recipe for misery: completely immersed in my unpleasant thoughts and only living in the past – for my choices and the future – for my expectations. It’s only when I’m aided by my hybrid of a motivational speaker, athletic coach and cheerleading squad inside my head championing me to get up the hill that I can do it. I need to be told constantly that the effort alone makes me a “Rockstar”, even as the elderly man or tourist on a creaky comfort bike passes me like I’m standing still.

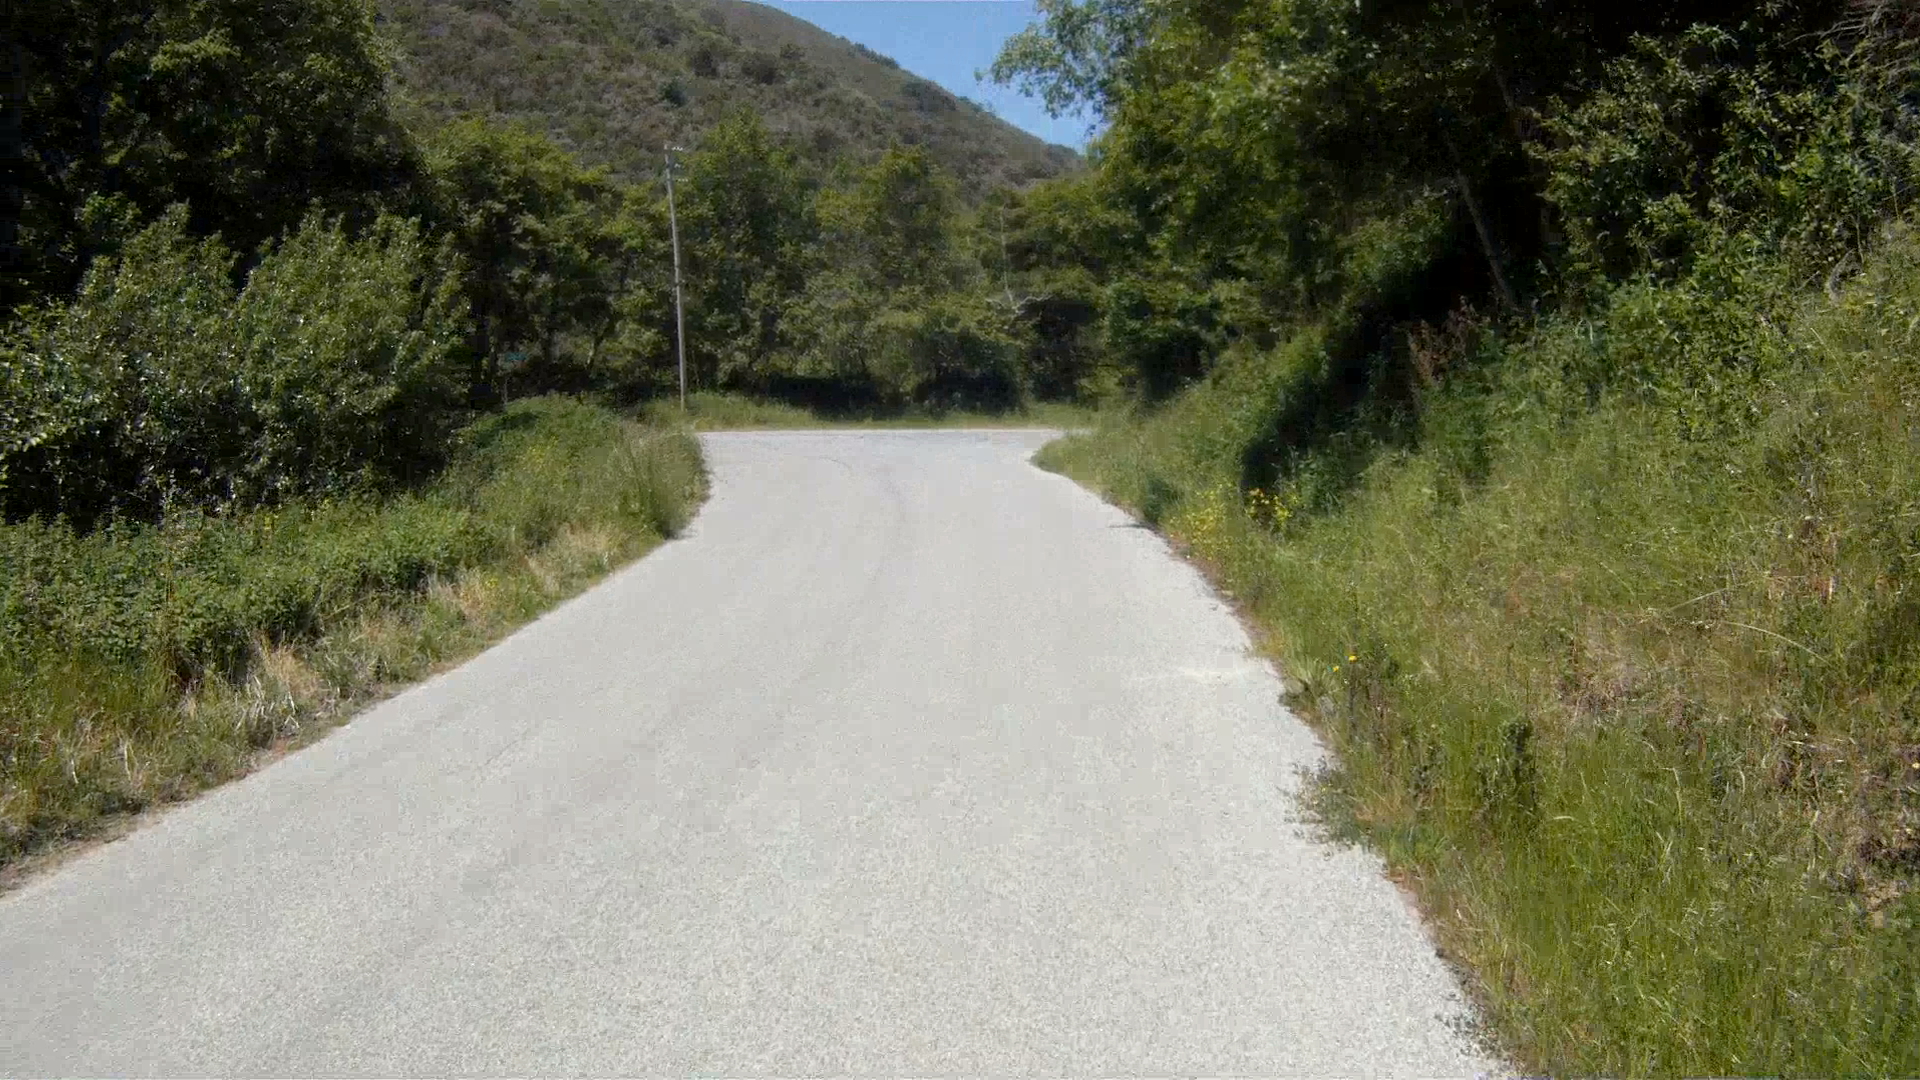
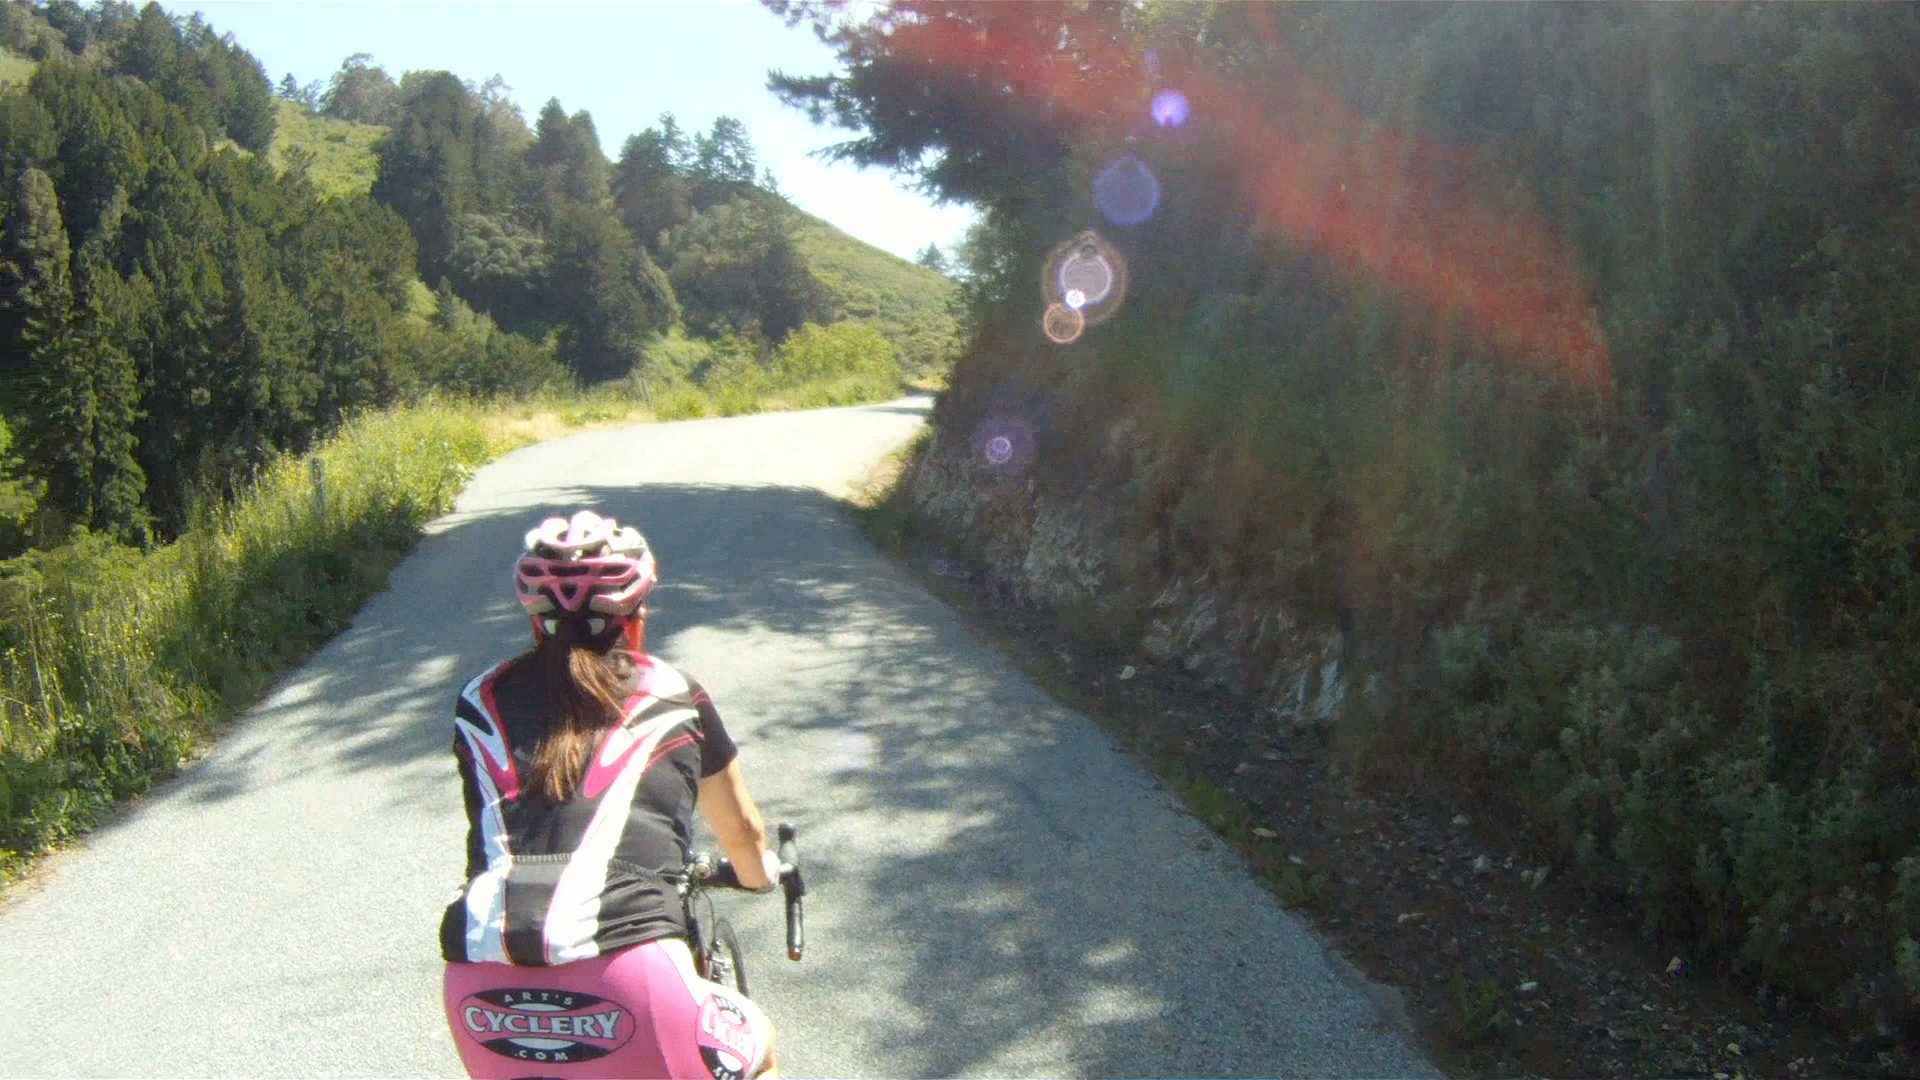
I do it all for the downhill.

Marin Headlands-45

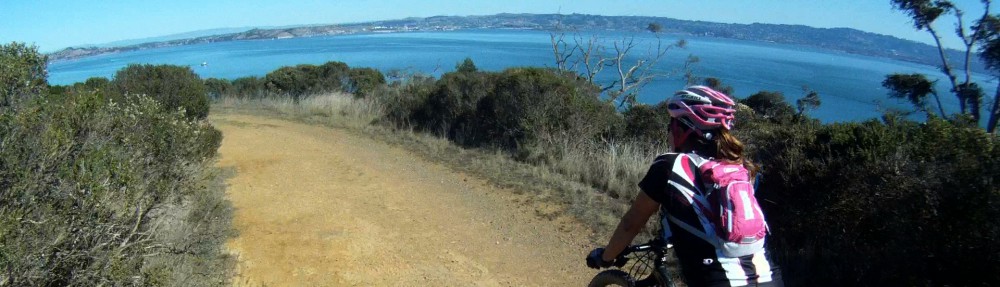
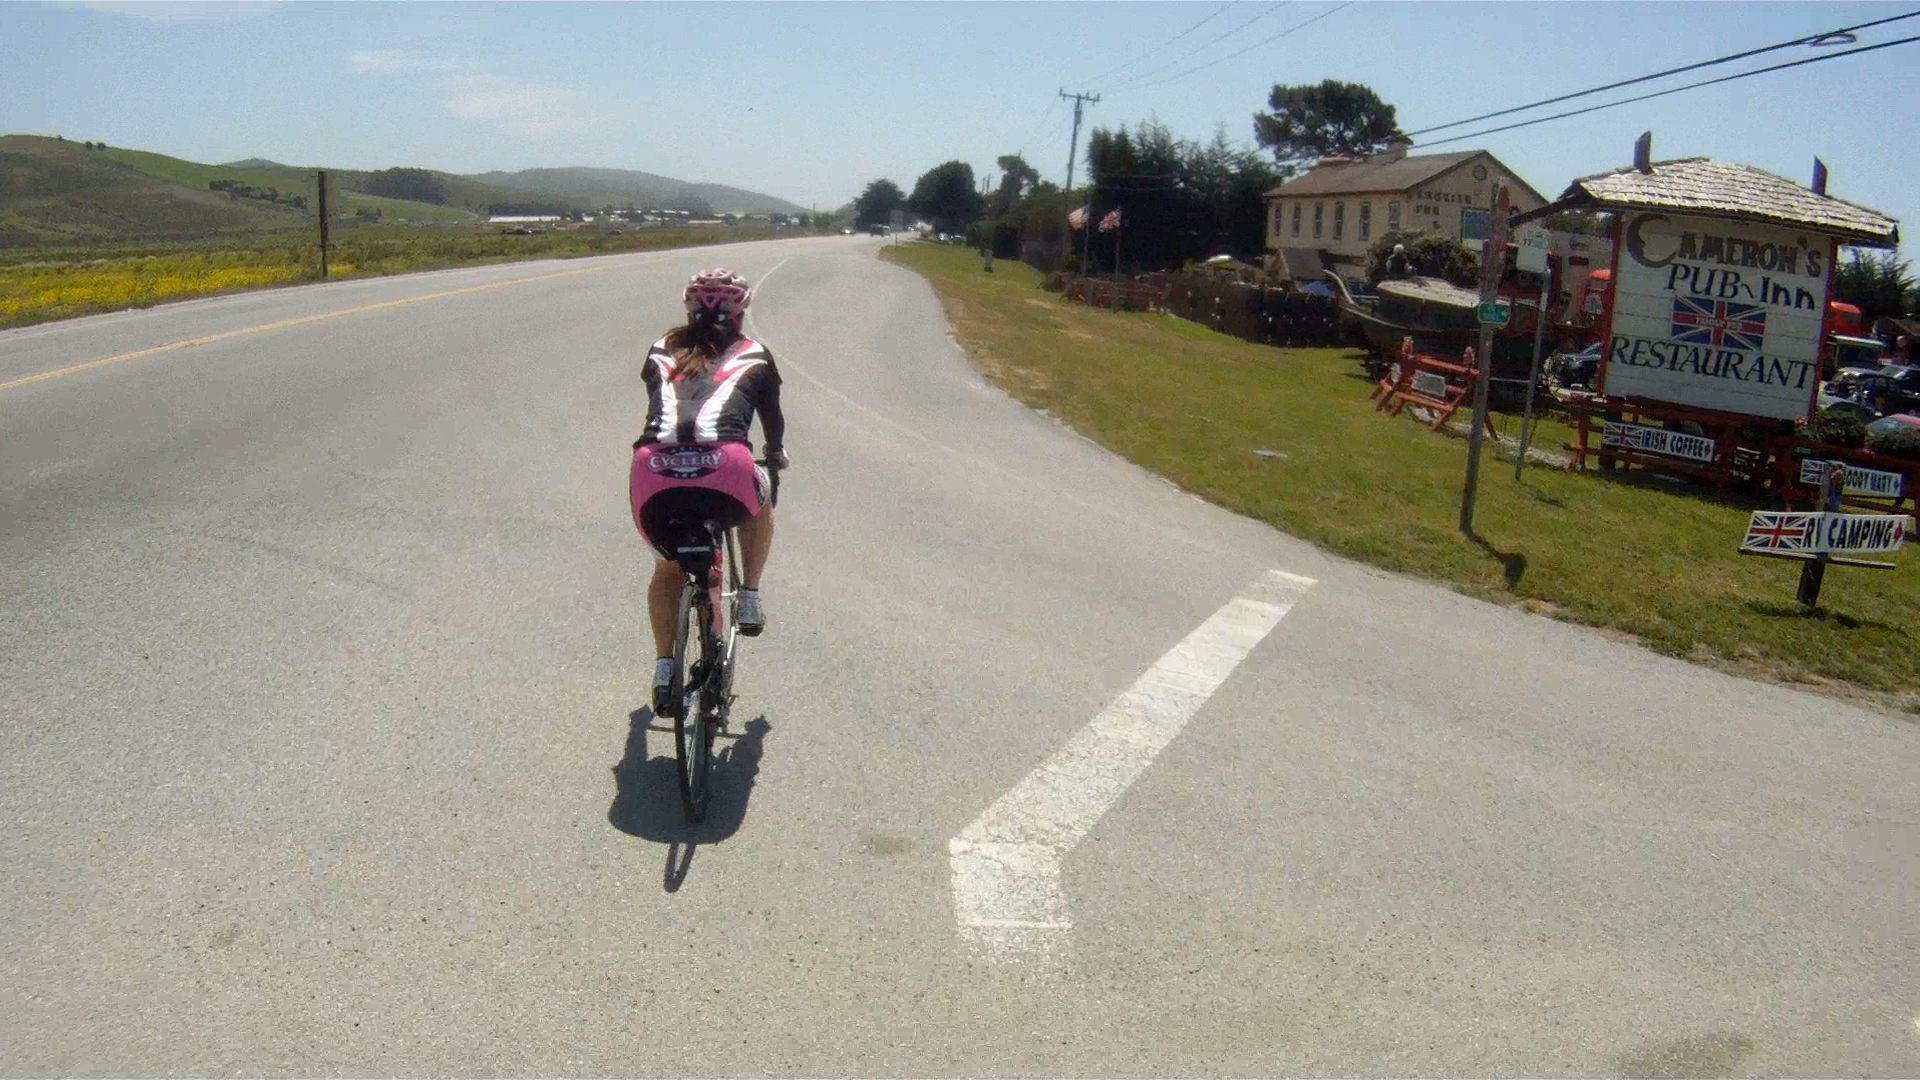
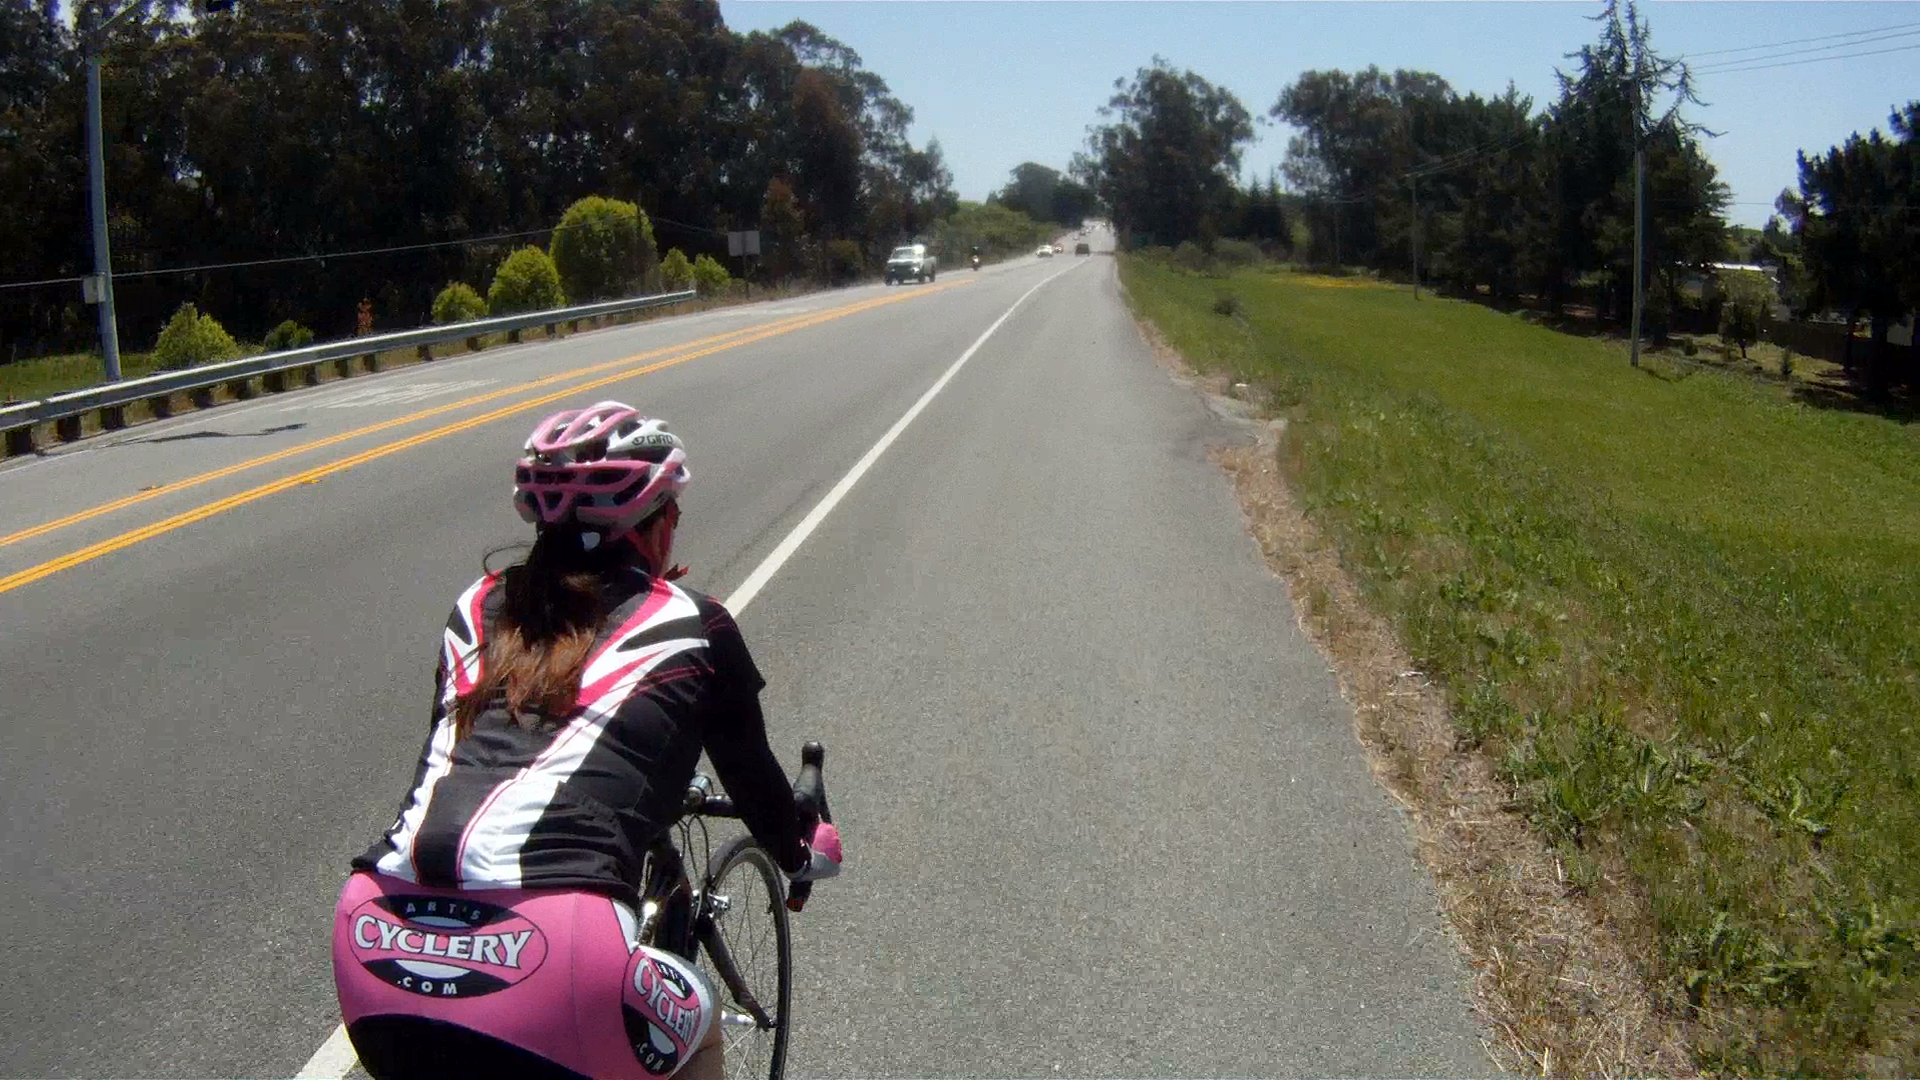
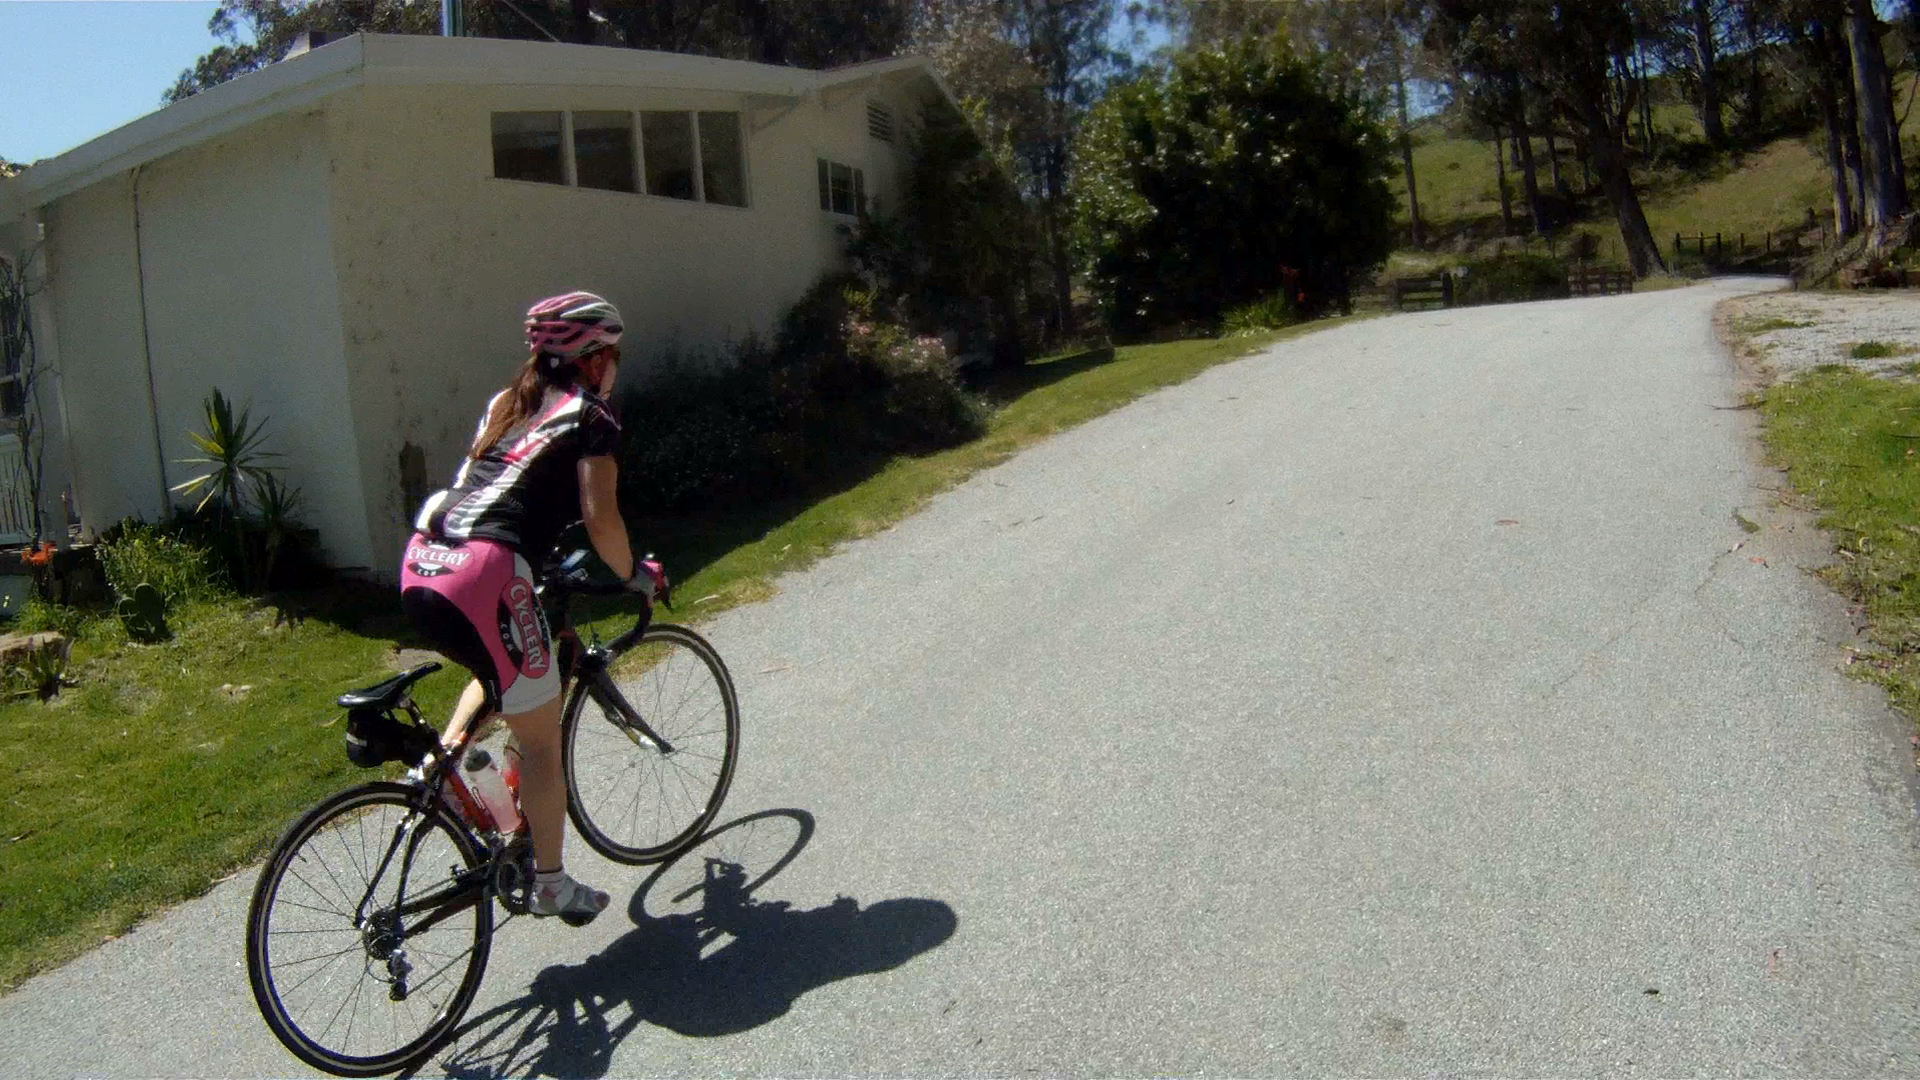
They (namely my endlessly fascinated husband who records these endeavors – see videos – and his friend – see Three Amigos) call me the “Pink Bomber”: after my hot pink helmet and propensity to leave the men behind, pass Porsches (true story) and the genuine euphoria I get from attacking the downhill that eludes most cyclists. My husband calls it “intestinal fortitude” but I know it be the one time in my life that I feel entirely immersed in “The Moment.”

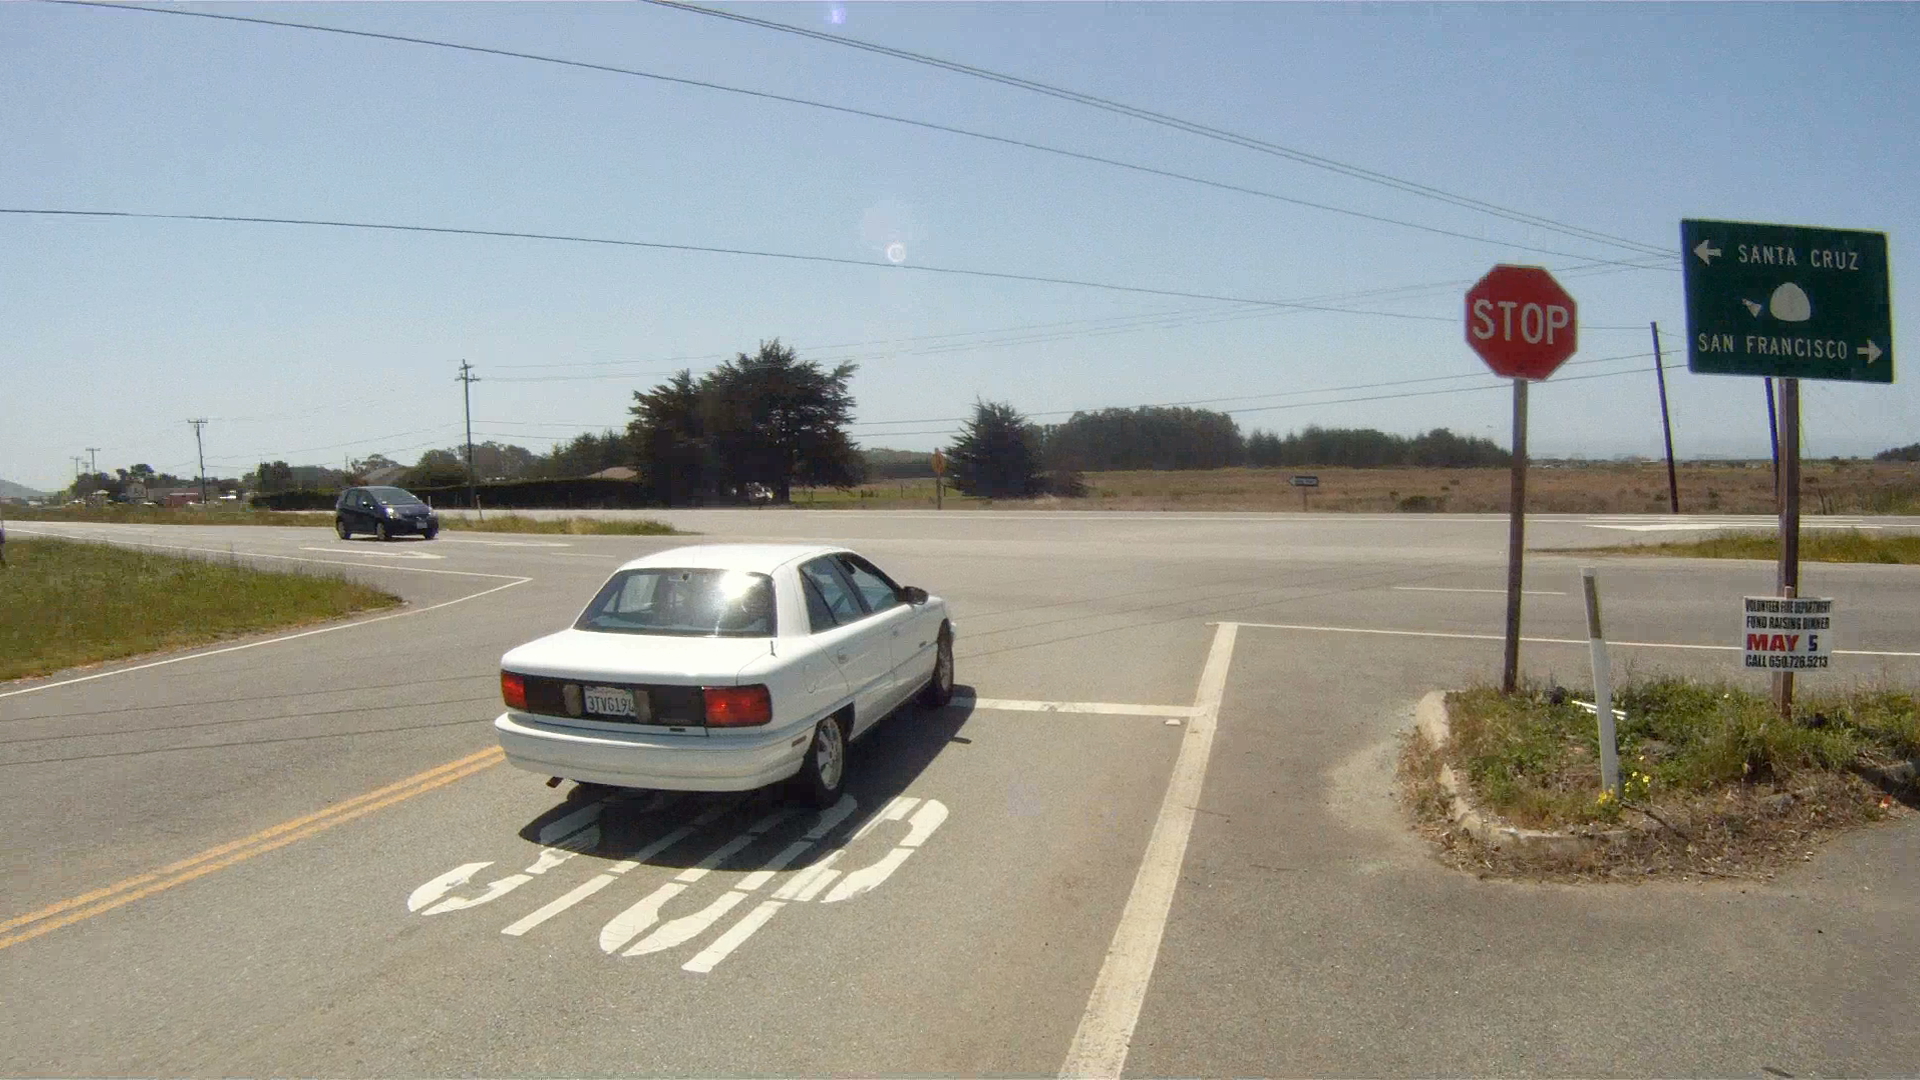
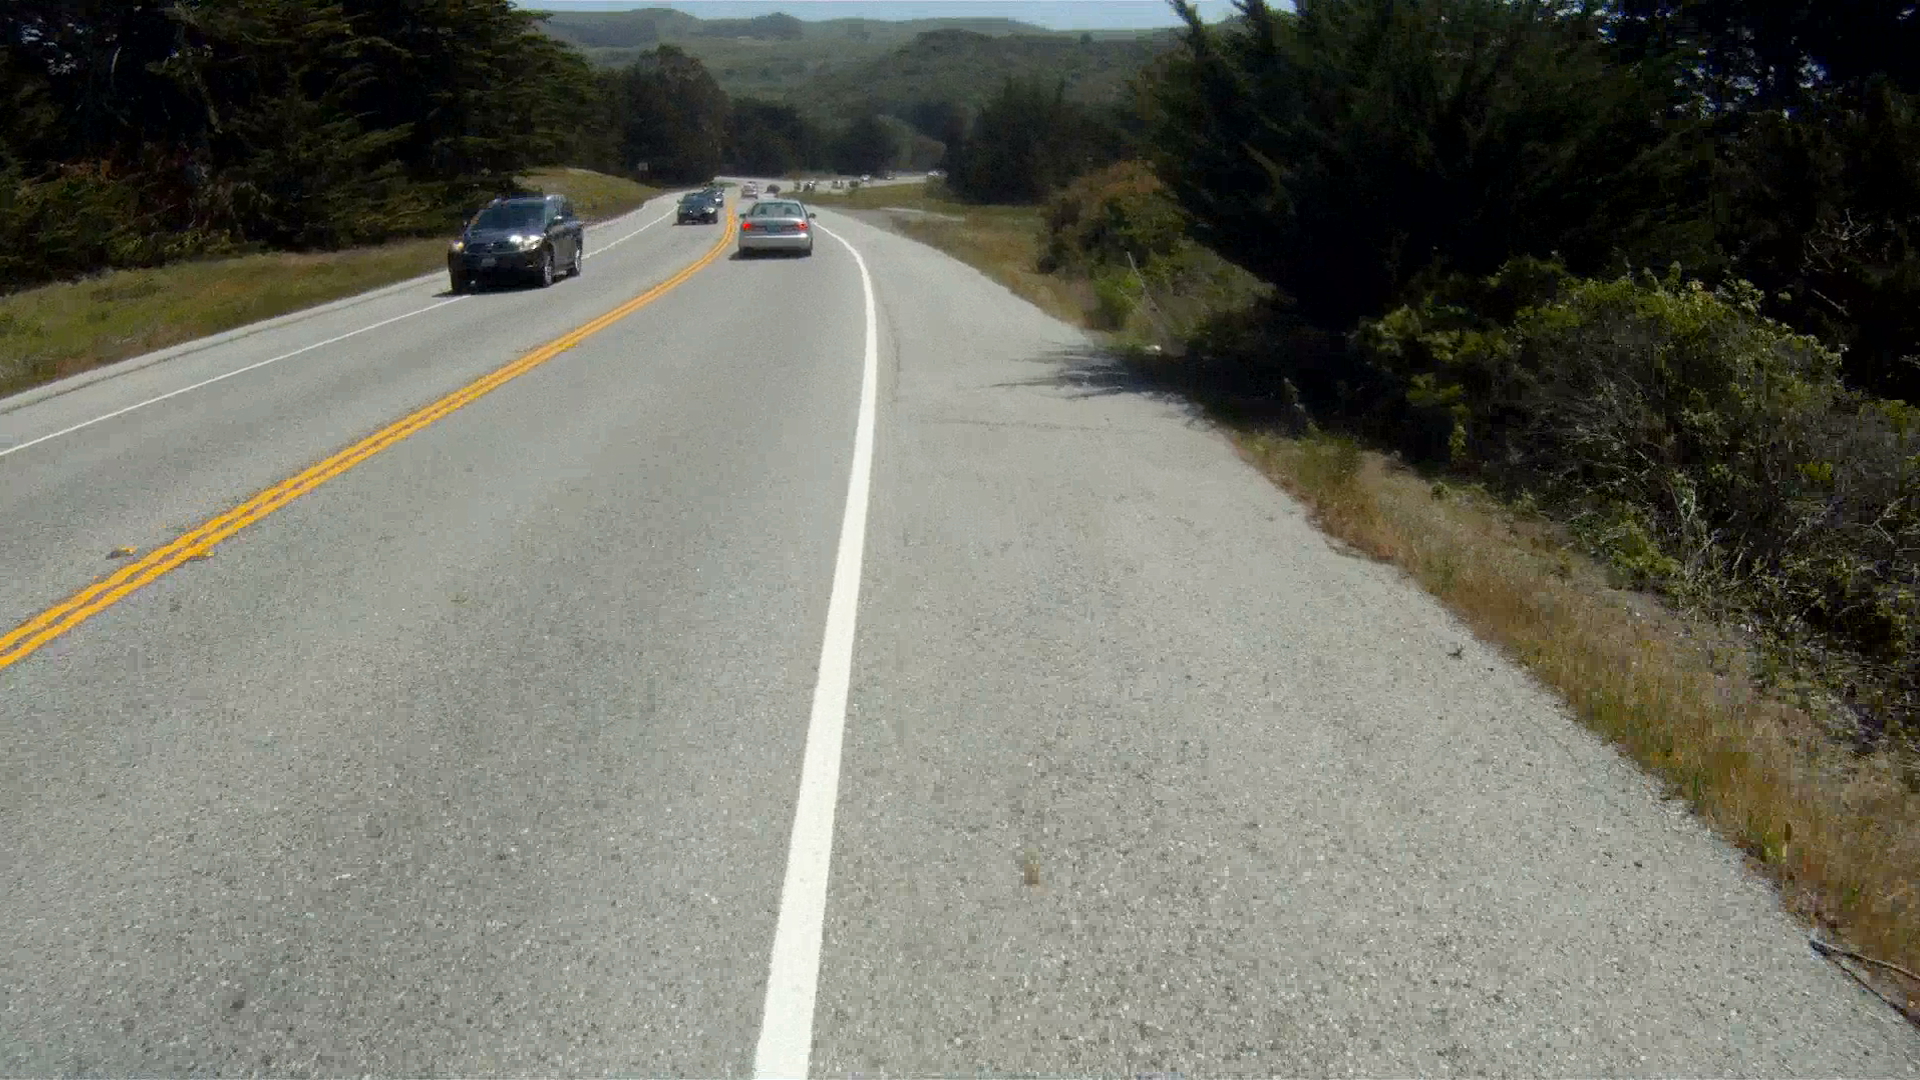
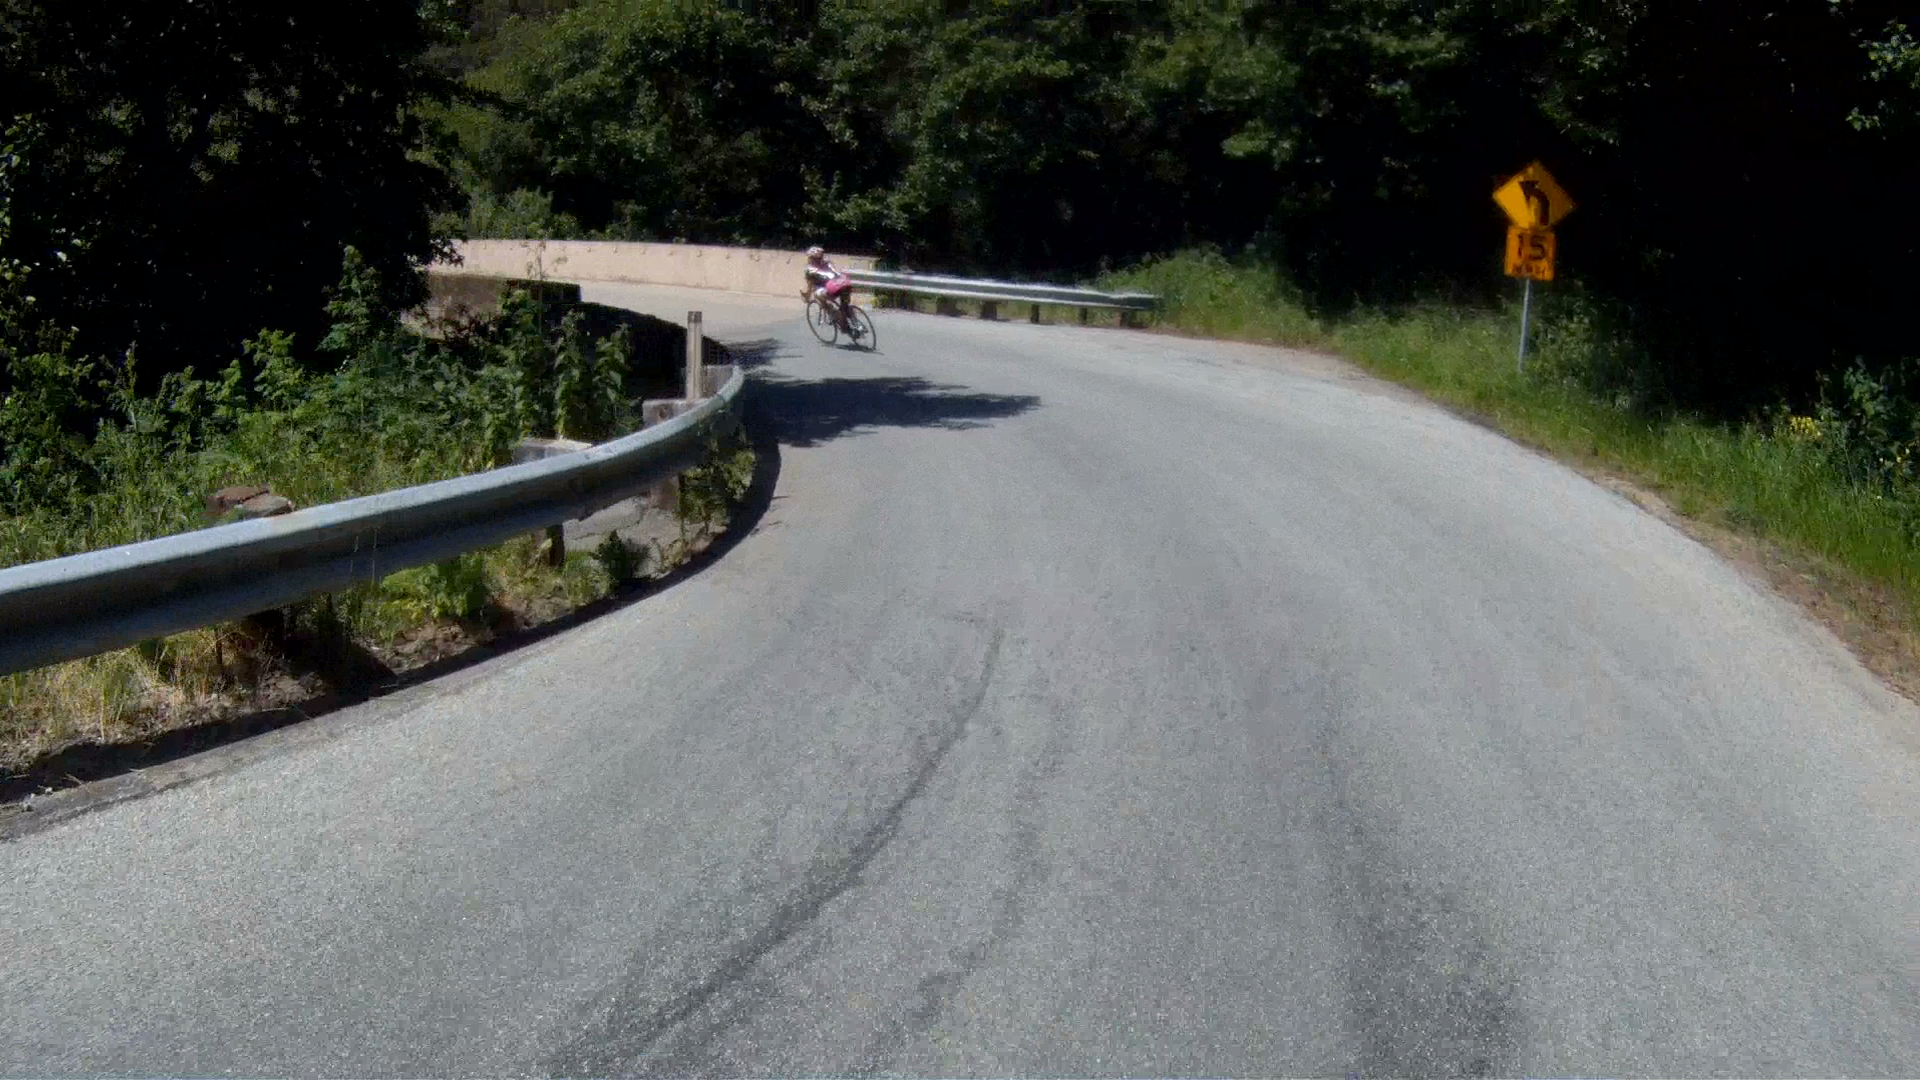
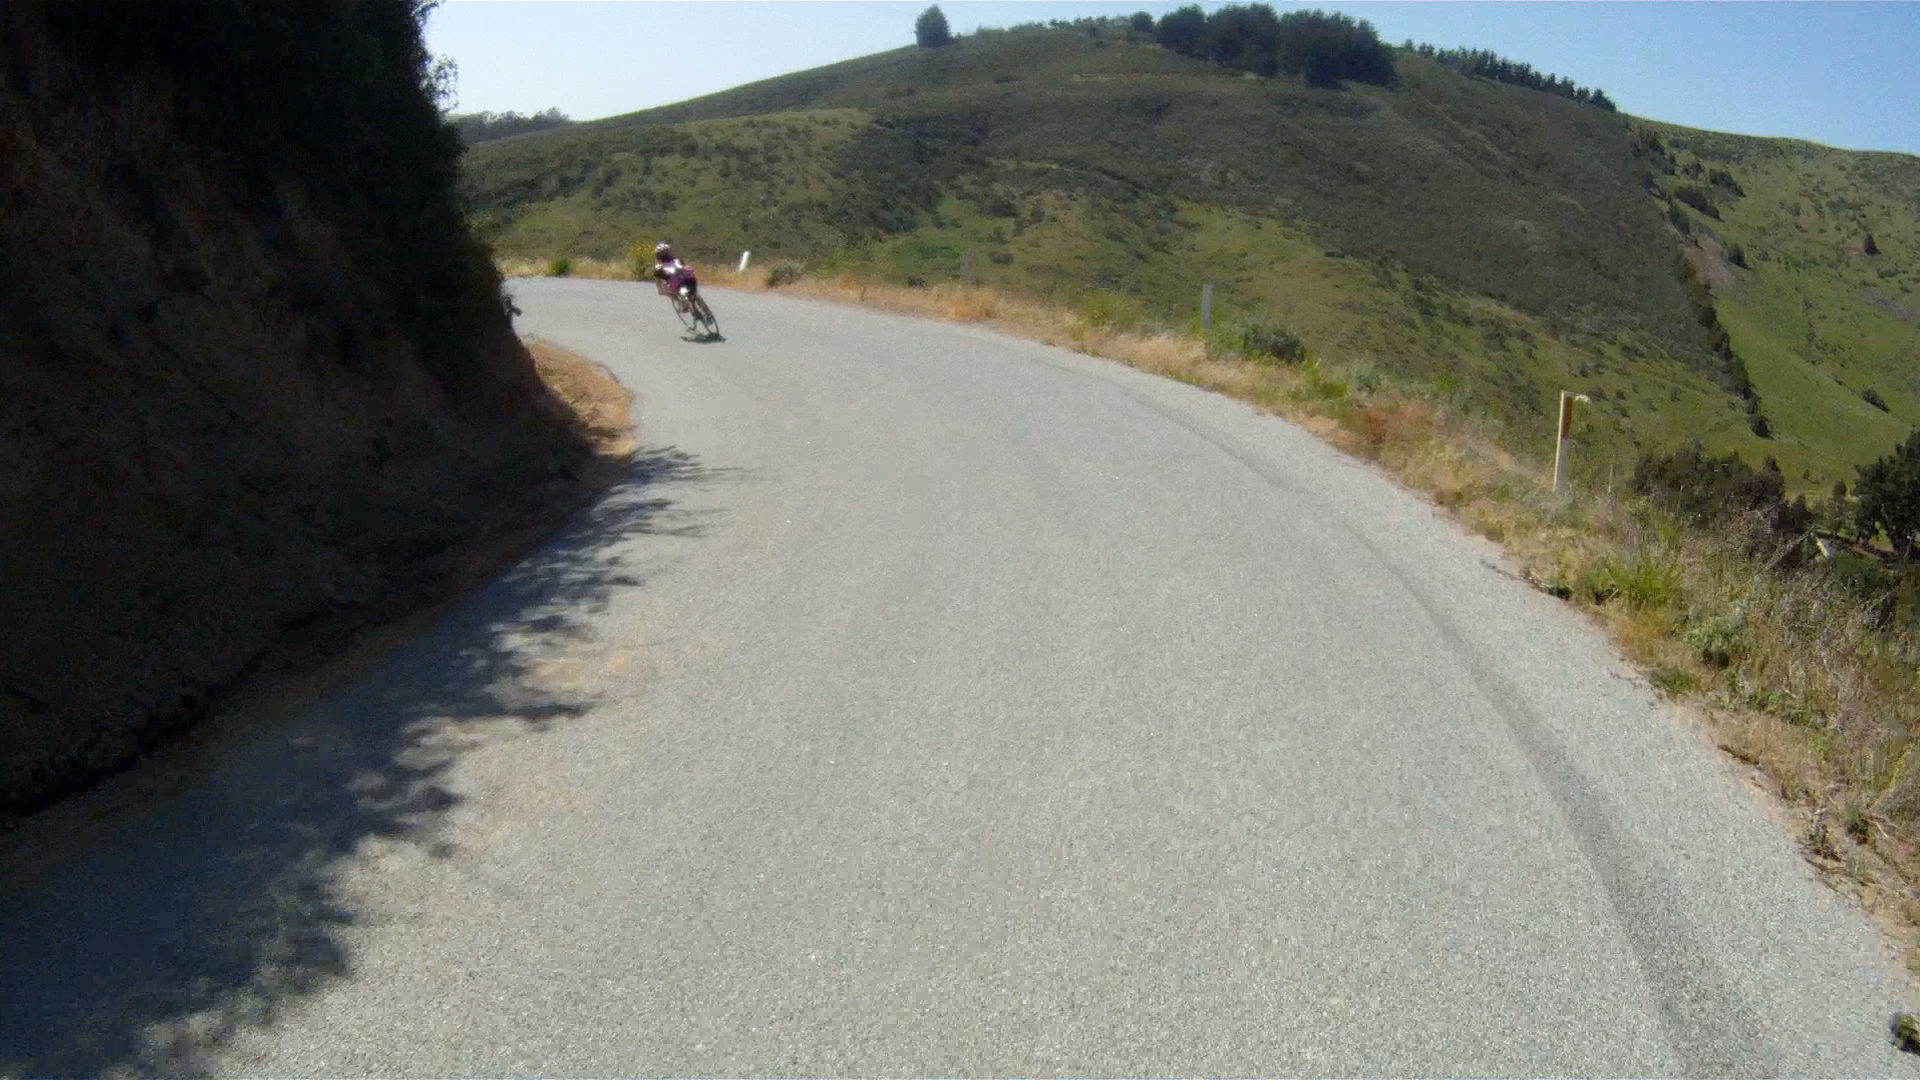
The most natural reaction to downhill cycling is fear. The instinct that tells us “Don’t crash!” is what has kept our ancestors alive throughout evolution. As is often the case in life, people want to grab the brakes to stop the bike from going down to ease their fears, but using your bike handling skills to attend to your brakes is not only less enjoyable, but is a less effective, more dangerous way to get down the hill. When all your attention is paid to your fears and all your your efforts devoted to braking, where is your concentration for the car coming in the opposite direction that’s swerving into your lane? (Or as I like to call them: Sunday Drivers.) Your bike was designed to handle the downhill and coast through corners, not deal with your emotional baggage.

Marin Headlands-49

The key to downhill cycling is looking forward. From moment to moment I must evaluate what my needs are and what the appropriate response is: when to angle my knee, aim for the apex of a corner, get down into my drops, tip, and always look towards where I’m going. And yes, my brakes are there to serve me, like thoughts: not to hold me back but move me forward to the perfect speed for attacking the corner ahead. I touch them gently, like holding the hand of a good friend, I don’t arm wrestle them! Making an enemy of your brakes is your worst mistake on a downhill. They press against your rims, heating up your tires which explode in anger! That’s how I envision it – your fears make your otherwise happy bike have a nervous breakdown. Just like ruminating will make a mess of your mind.

GOPR0061-24

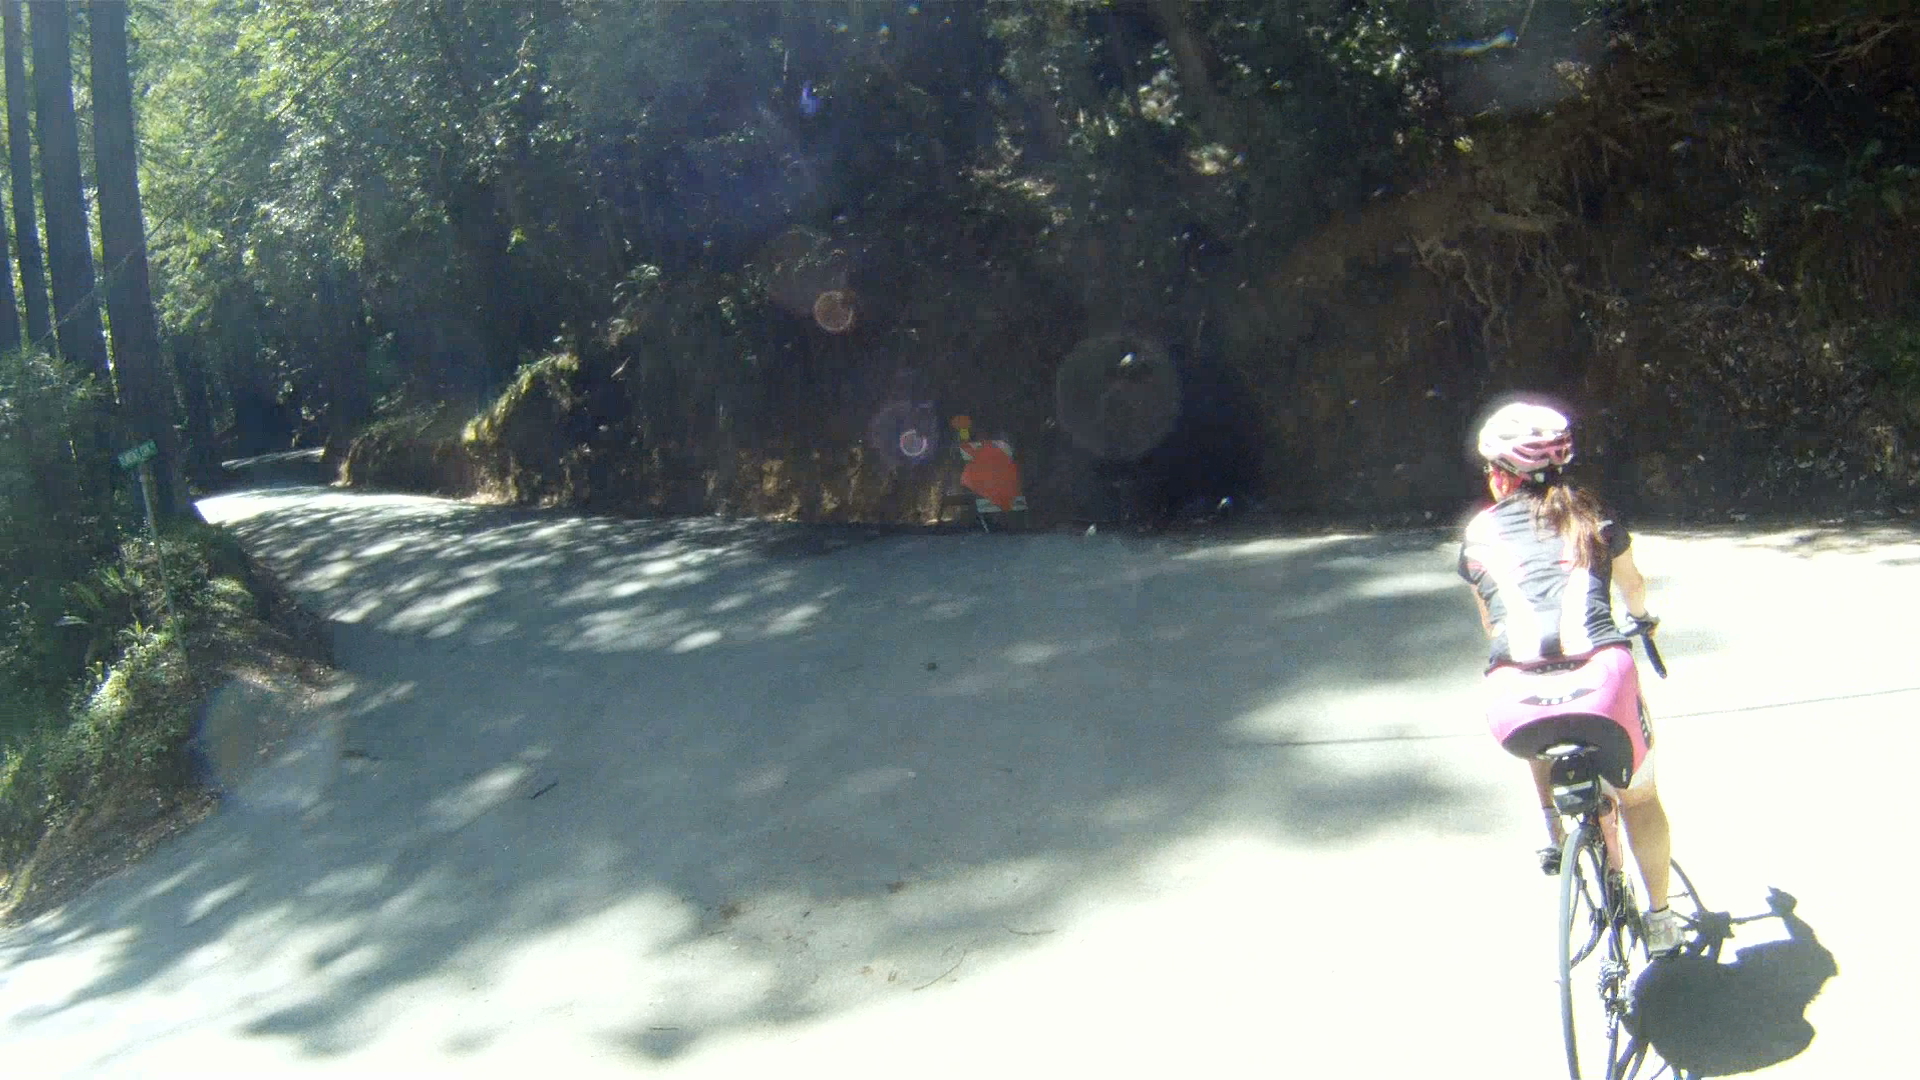
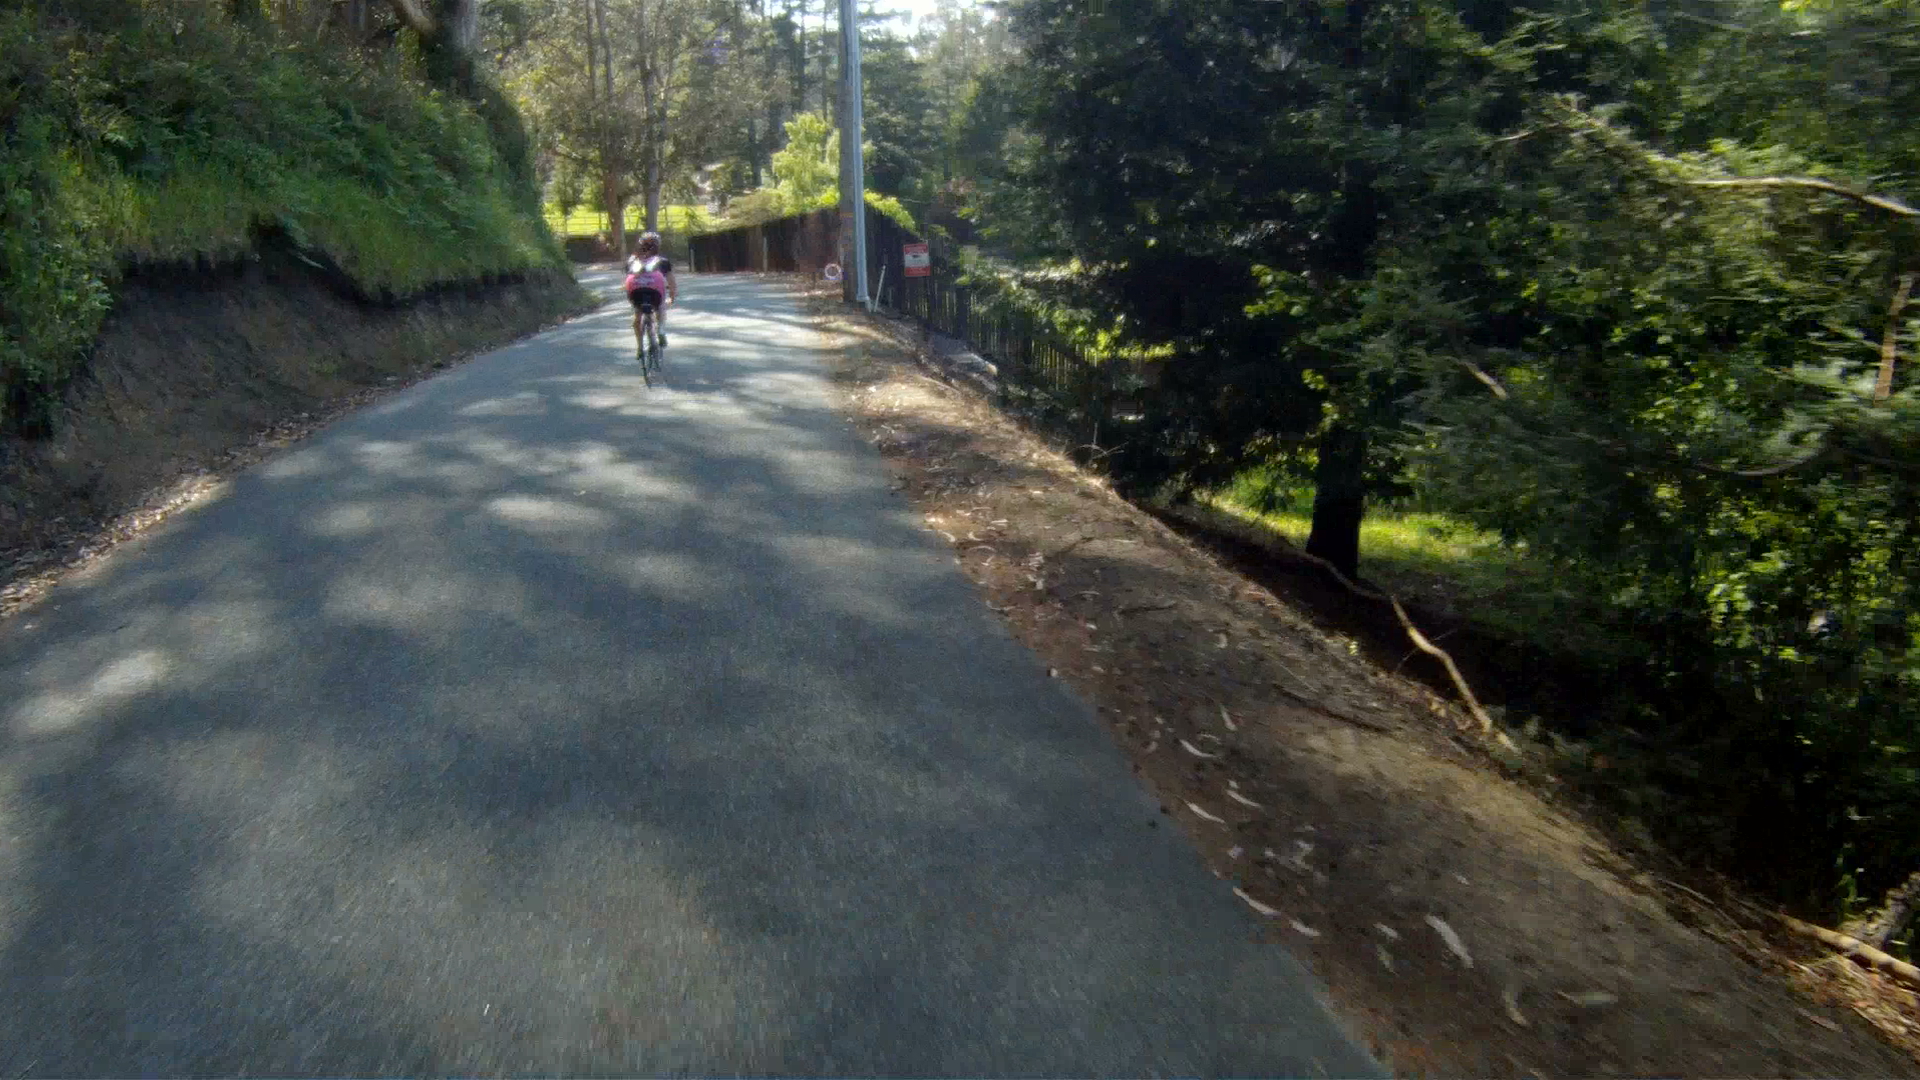
Conquering the downhill necessitates freeing up your mind to make one judgement call after another. Yes, there will be scary moments. The “Oh crap, I almost became roadkill.” But there’s no time to think about that last hairy corner when the next corner is rapidly approaching because you need to attend to “What’s next?” And you can NEVER turn and look back to admire the horror of what might have been. You would most certainly crash. Instead, with every moment you glide with a sense of confidence, forget that your are not crashing, let go of everything except the sensations you need to let your bike do what it was designed to. For every descent you feared, you experience a sense of mastery for handling that complex and fearsome task, the willingness to embrace what you can versus what you cannot do.

Marin Headlands-47

At the end of a descent my mind feels cleansed and all that’s left is the adrenaline and a sense of pride. If only we could go through life attending to each situation as it arises, tackling each problem with the information in front of us and honoring our solution before moving directly on to the next. And if at the end of each day, before we went to sleep, could feel a deep sense of satisfaction for having survived our day’s struggles and for accomplishing so much. To feel that same sense of joy for having lived our lives.

When you figure out how to do this please email me at WeLikeToBike@bikerider.com. I will send you a sweet bike jersey.

In the meantime, attack the downhill with the wisdom we wish we could apply to every part of our lives, as we strive to get there, one corner at a time.

Marin Headlands-52

Author and cyclist, Miko Laube, was a psychology major at Brown University that decided not to become a shrink. She is a published fashion, beauty and men’s magazine photographer (check out her work here) and editor of the photo-fashion-art publication Gleam Magazine which features cycling photography in its November 2014 issue. She has, and always will, hate the uphill. Follow Miko on Instagram @MikoPhotoFashion.

Tips & Tricks: It’s Not Bonking, It’s Dehydration


SAM_3954

**Kinda scientific article, not meant to be medical advice, nor has it been reviewed by a doctor or other medical professional.  It is however, based on research of published articles in medical journals and other sports related articles linked below so you can look for yourself.**

Riding a bike has a lot of different dangers and obstacles, many of which are out of your control.  Whether biking across across town or taking on a double century, the first major obstacle your body will encounter is dehydration.

Dehydration peaks its ugly head in many different ways.  Among those are: dry mouth, reduced aerobic capacity, muscle cramps, decrease in sweating, eyes drying, reduced fine motor skills, decreased urine, lightheadedness, and eventually weakness, heart palpitations, nausea and vomiting.

I personally had a sever case of dehydration at a Half Ironman triathlon in the US Virgin Islands.  I got out of the water to start my next leg on the bike and my muscles just felt heavy. I could not get going and at first though it was the headwind.  Then I realized my power was gone and I just felt weak, and it just continued through the run and to the end of the race.  It was one of those days when most of the racers were not only done, but were also out of the transition area and clapped as I and the last 25 racers came to the finish line.  It was a very tough and humbling day.  But it was also a great lesson how dehydration affects your body.

IMG_7306IMG_7317

We’ve all experienced some degree of dehydration while exercising, but what’s really happening inside your body? Dehydration is the body’s loss of water such that it contains an insufficient volume of water for normal functioning.

The volume of water in your body is directly related to the volume of blood in your body.  As we all know, blood carries oxygen to your muscles to keep them functioning during aerobic exercise, but another core competency of your circulatory system is to maintain your core temperature (at ~37 degrees C) to help prevent overheating which can lead to coma through a process called thermoregulation.

Basically, the circulatory system performs thermoregulation by carrying heat away from your heart and other vital organs using heat transfer.  This type of heat transfer works by pumping blood through the organs and then to the skin.  The blood cells oxygenate the organs while the water in the blood cells absorbs the heat within the organs.  Water has a large heat capacitance (ability to store heat) and is the main part of the blood cell that assists in thermoregulation.  The “hot blood” is then sent to the skin to dissipate the heat through the skin surface.  This process regulates your core temperature.

The amount of blood flow to the skin during rest, or non-exercise periods is typically 4%.  This amount can increase to remove the excess heat from the core up to 48%!  This huge potential fluctuation in blood flow redirection is one of the main reasons maintaing blood volume, via hydration, is so important for cyclists and other endurance athletes.  Muscle tissue needs oxygen to produce power.  If your blood volume decreases, the amount of blood available to oxygenate your muscle tissue reduces, resulting in reduced ability to produce power.  (See Control of skin blood flow during exerciseMed Sci Sports Exerc. 1992 Mar;24(3):303-12; see also Major Functions of the Cardiovascular SystemHydration: Is your sports drink making you dehydrated?; and Skeletal Muscle Blood Flow).

rowdrinks2516780_93920502

So the solution would be to replace that lost water by drinking a lot of water while working out, right?  Well, no, it’s not that simple.  Research has found water by itself does not work to rehydrate the body.  There’s an element missing in water, that element is sodium.  (See Sodium-free fluid ingestion decreases plasma sodium during exercise in the heatJ Appl Physiol 100: 1847–1851, 1999.)

So then just use a salt tab, right? Wrong.  Salt is sodium chloride (NaCl), what your body actually needs is Sodium Citrate (Na+).  While salt is ok in small doses, increased ingestion leads to gastrointestinal distress, which is neither helpful or fun during a long ride.  Sodium Citrate actually increases water retention resulting in greater hydration.  Hydration: Is your sports drink making you dehydrated?

So the question becomes, what can you drink that has the higher concentration of Na+?  A study at Drake University performed testing to determine the amount of sodium (Na+) was found in various sports drinks and other foods.  The sodium was either in the form of trisodium citrate or sodium bicarbonate, as both are effective in oral rehydration.  (See Citrate can effectively replace bicarbonate in oral rehydration salts for cholera and infantile diarrhea, Bull World Health Organ. 1986; 64(1): 145–150.)  The study looked mainly at sports drinks like Gatorade, Gatorade Endurance, Powerade and Accelerade.  (See Electrolyte (Na+, K+, Cl-) Concentrations in Assorted Sports Drinks and Milk).

orange heroendurance-group powerade-printable-coupon all-natural-accelerade-fp_1

However, as the study was released in 2010, there are some newer kids on the block of rehydration for athletes.  They are Osmo, Nuun, Cytomax and DripDrop.

imgmensactiveblackberry_185x260 LD-tube-382x369 40390_Cytomax_4.5lbs-Grape dripdropboxlemon_1024x1024

Normalizing the results for the amount of Na+ in a 16 fluid ounce (~0.5 L) serving of each, here is the amount of Na+ in each of the major rehydration beverages:


orange

Gatorade: 8-11 (mmol/L)

powerade-printable-coupon

Powerade: 11.5 (mmol/L)

dripdropboxlemon_1024x1024

DripDrop: 30 (mmol/L)

all-natural-accelerade-fp_1

Accelerade: 63.5 (mmol/L)

heroendurance-group

Gatorade Endurance: 105.5 (mmol/L)

40390_Cytomax_4.5lbs-Grape

Cytomax: 180 (mmol/L)

LD-tube-382x369

Nuun: 360 (mmol/L)

imgmensactiveblackberry_185x260

Osmo: 360 (mmol/L)

There’s more to replacing the fluids lost in your body than just the Na+ content, but good rehydration starts there.

We have both had success with Osmo, Nuun and DripDrop, although we have done our best using Osmo on the ride and Nuun as a pre-ride hydration aide. Since my experience in the USVI, I revamped my hydration by adding two more bottles to my bike and starting to us Osmo as my hydration supplement.   Less than a month after my experience at the Half Ironman in the USVI, I competed in the Escape from Alcatraz and had one of my best races ever!  I am a firm believer in the value of hydration.

Get out there, try out the rehydration beverages that look best to you and good luck on your next ride!!!

TRAIL: Half-Moon Bay – From the Surf to the Top of the Mountains


GOPR0098-5
When you hear Half Moon Bay, most people think about surfing and the monster 50 foot waves at Mavericks. Half Moon Bay has more natural beauty than just the surf, it also has the Costal Range and amazing biking. The Half Moon Bay Backroads features amazing views of the Pacific while cycling along CA-1 and winding backroads with very few cars as you wind your way back.

Distance: 25.94 miles round-trip

Elevation Gain: 1240 feet (378 meters)

Difficulty: The ride features a ride along the Pacific Coast Highway south of Half Moon Bay and then makes two tough climbs on your way back to Half Moon Bay. The reward for your climbing is a couple of great descents and amazing views of the Pacific.
Download your route sheet here: Directions – Half Moon Bay
Map - Halfmoon Bay Backroads
Elevation - Half Moon Bay Backroads
The route starts at the Mac Dutra Park in Half Moon Bay at the intersection of Main Street and Kelly Street. This is your next to last stop for a restroom, so go if you gotta.
Follow Main Street south (away from CA-92) through Half Moon Bay until you reach the end of the road across from the Fire Station and make a right toward CA-1.
GOPR0093 GOPR0093-3 GOPR0093-4
Cross CA-1 and make a left toward Santa Cruz.
GOPR0093-6
Continue to follow CA-1 south along the rolling hills.
GOPR0093-7
You will pass by Cameron’s Pub and Inn just south of Half Moon Bay. This is a place to grab some fish and chips and a beer.
GOPR0093-12 GOPR0093-14 GOPR0093-15
You will pass by Verde Road, which is one of the roads you will take on the way back to Half Moon Bay.
GOPR0093-19
Admire the view of the sea and the mountains as you continue following CA-1.
GOPR0094-2
You will see Verde Road again paralleling CA-1.
GOPR0094-5 GOPR0094-7
Watch for the last hill along CA-1, your left turn is at the bottom of the fast descent.
GOPR0094-11
You can see your left turn onto Tunitas Creek Road at the bottom of the descent.
GOPR0094-13
And here’s your turn…
GOPR0094-15
Just watch for cars in front and behind you as you make your turn.
GOPR0094-17 GOPR0094-18
Welcome to the Half Moon Bay Backroads.
GOPR0094-21
GOPR0095-2 GOPR0095-4
At the “T”, make a right and continue along Tunitas Creek Road.
GOPR0095-5 GOPR0095-8
GOPR0095-15
You will start to climb and enter the redwoods as your approach your next turn.
GOPR0095-21
Make a left on to Lobitos Creek Road and get ready for the first big climb.
GOPR0095-22
GOPR0095-23 GOPR0095-24 GOPR0096-1
Continue climbing for another half mile or so and then you’ll reach a flat.
GOPR0096-2 GOPR0096-5 GOPR0096-9
Over the next ridge is a pond and a quick, steep incline just before the wicked descent.
GOPR0096-12 GOPR0096-13
And then comes the very fast, narrow descent.
GOPR0096-15 GOPR0096-16
Just keep your eyes open for any cars or other bicyclists climbing in the opposite direction.
GOPR0096-19 GOPR0096-21
The road you take back towards Half Moon Bay is visible on the descent.
GOPR0096-22
The left turn at the bottom of the run is very sharp, so make sure to control your speed into the corner.
GOPR0096-23
The ride starts a slight climb again as the road makes its way toward Verde Road. You’ll see the descent you just conquered on your left.
GOPR0096-25 GOPR0096-30
As you pick up speed, watch for cars as you merge with Verde Road.
GOPR0096-31
Just a short distance down Verde Road you’ll start to parallel CA-1 on your left just after the stop sign.
GOPR0096-34
Continue along Verde Road as it rises and falls until you get to Purisima Creek Road at the next stop sign.
GOPR0096-38 GOPR0096-40
Make a right onto Purisima Creek Road and head east.
GO010096
Continue along Purisima Creek Road through the valley until the road ends at Purisima Creek Open Reserve.
GOPR0097-5 GOPR0097-7 GOPR0098-1
At the Open Reserve parking lot, make a left onto Higgins Canyon Road over the bridge and start climbing.
GOPR0098-2 GOPR0098-4
Look to your left and you will see Purisima Creek Road in the valley below.
GOPR0098-5
Keep climbing and you will eventually see the ridge line in the distance.
GOPR0098-6 GOPR0098-7 GOPR0098-9
Once you reach the ridge line, get ready for a quick and windy descent!
GOPR0098-12 GOPR0098-15
Quick corners, narrow roads and opposing traffic make this fun, but also keep to your side of the road.
GOPR0098-16 GOPR0098-18 GOPR0098-19
Once you reach the bottom of the descent, keep pedaling over the remaining rolling hills until you reach the flat farmlands.
GOPR0098-24 GOPR0098-25 GOPR0098-28
Just another couple of miles along the flats and you’ll be back to Half Moon Bay.
GOPR0098-30 GOPR0098-31
Make a right Main Street, just past the fire station heading back into downtown.
GOPR0098-32 GOPR0098-33 GOPR0098-34
Once you’re back in Half Moon Bay, pedal back up Main Street to complete your ride. Once you’ve packed back up, it’s time for a bite to eat. Our suggestion is to grab a crab melt sandwich on your way up CA-1 at Nick’s Restaurant on Rockaway Beach in Pacifica.
This first ride in Half Moon Bay is a great way to get acquainted with all of the different places you can explore in San Mateo County riding from the Pacific Ocean through the redwoods and beyond.

Tips & Tricks: Keep it Clean – Cleaning Your Bike


In some ways, a bike is just like a car. When you pull up for a date and your Corvette, Mazda or Prius (no, not Prius*) is dirty, your date considers “if that’s how he treats his toys, how’s he gonna take care of me?” Same thing goes when you arrive at a group ride, race or favorite bike douche hangout and your ride looks like you keep it in a coal mine, people judge from your ride that you would also get married, and then let yourself go. Don’t be that dirty bastard!
Follow these simple steps to properly wash, lube and even wax your ride and keep it cleaner, longer.
THE WASH AND WAX
Step 1: The Sponge Bath
Since pressure from a water hose or solvents like WD-40 can damage components and even remove the factory lubricant from the chain, it’s best to wash your bike by hand.
This is a bit more of a challenge in an urban environment. We use a corner of a parking structure with a sanitary drain nearby, that way you can dump the water when you are done because direct the solution to a water treatment plant where the grease, oil, and particulate matter can be removed from the water and the cleaned water can then be released. We use Simple Green as our soap, as it can be placed in the sanitary drain with no issues. If you are in a back yard, you can allow the dirty Simple Green solution to fall onto ground, grass or gravel, where it will biodegrade, but be sure to water-in if the rinse hits grass or plants.
You will need the following for the wash: One – two gallon bucket; Simple Green; spray bottle with clean water; a sponge; a rim/tire cleaning brush; a paper bag; some cotton rags and lube. See the items pictured below.
First, mix the Simple Green with hot water. Make the mix so that there are enough bubbles, but not overly sudsy.
Then go to your cleaning area and soak the sponge in the water. Start cleaning your bike by ringing the sponge out over your bike frame.
Next ring your sponge out over the components while running your pedals in reverse. Get the chain, cassette and chainring soapy.
Then sponge down the bike frame to remove all the heavy dirt.
Ring the sponge out over the bike frame one more time to re-wet the bike, then use your spray bottle with clean water to rinse all of the soap off the bike frame and components.
Once you have rinsed off all of the soap, dry off the frame with a clean cotton cloth. Once you have dried off the frame, use a separate cloth to lightly dry off your components by padding the water beads off the cassette, chain and chainring.
Now its time to clean your tires and rims. Start by soaking your rim brush in the bucket. Then clean your rims and tire with the rum brush to get off all of the dirt from the tires and brake dust from the rims. Clean both sides of the rims at the same time. Once your are done with the rims, use the clean water bottle to again spray off all of the soap. Then dry the rims with a cotton cloth. Repeat for the the process for your other wheel.
Step 2: The Lube Job
To properly lube your chain, you will need to find a second spot at your cleaning area where the ground is dry. Post your bike so you can rotate the pedals in reverse. Then place either the paper bag or a rag behind your chain in order to protect your frame and rims from the lube.
Use a second rag behind your rear derailleur and sprockets to again protect your wheel and rim from the lube, as pictured above.
After washing the bikes, we use Boeshield T-9 Spray Lube. This lube was developed by The Boeing Company for aircraft parts and is perfectly suited for use on bike chains as it dissolves minor corrosion from the parts and leaves a long-lasting waxy coating that is waterproof. This is perfect for lubricating your chain after washing your bike.
Spray the lube toward the ground directly on the lower rung of the chain, below the chainstay, while rotating the pedals. Rotate the pedals ten times around while continuing to lube the chain. This should provide a sufficient coating.
Then spray a bit of lube on both sides of each the upper and lower rear derailleur sprockets. Then rotate the pedals another ten times to really work the lube into the chain and moving parts.
Now it’s time to wipe the excess lube off the chain and rear derailleur. Press your thumb on one side of the sprocket and your forefinger on the other. Rotate the pedals ten times. Repeat for the other sprocket.
Then place the rag on the chain where it meets the lower sprocket at the rear derailleur and rotate the pedals ten times to remove excess lube. Repeat at the upper sprocket.
Lightly press the top and bottom of the lower section of the chain with the rag between your fingers. Rotate the pedals twenty times to remove the excess lube.
Now lightly press the outside and inside of the chain with the rag between your fingers. Rotate the pedals thirty times to remove the excess lube.
Repeat the process with the top and bottom of the chain and rotate the pedals another ten times. Now wipe off any lube from the chainstay.
With your bike cleaned and lubed, now its time to protect your bike from the elements. The best way to do this is to apply a coat of wax to your bike.
Step 3: Wax On, Wax Off
This tip always raises an eyebrow. Most riders have never thought about applying wax to their bike. Waxing your car is one thing, but waxing your bike?
If you have a dark colored frame and have never waxed your bike, you may notice streaking or a cloudiness to the finish. Waxing your bike helps eliminate the streaking and cloudy finish.
Not only does the wax make your ride shine, it also protects the finish from the elements and helps keep dirt, dust and mud off the frame. Although most bikes are made from either aluminum or carbon fiber frames, the wax we use comes from the car detailing industry and our friends at Detailed Image. This same wax can be used on your steel or titanium frame as well.
IMG_9701
Your first step is to apply the Optima No Rinse to the frame. you can do this either through a spray bottle or by applying the No Rinse onto a rag and using the rag to wipe down the frame, using enough to make the frame look wet. With a clean rag, dry the frame completely.
IMG_9704
IMG_9709
Next, apply the Meguiar’s M205 polish to the polishing pad. Dab a small amount of polish onto the various parts of the frame. Then use the pad to work the polish onto the entire frame. Use a circular motion to work the polish in. The polish is fully applied once you no longer see any obtuse coating or streaking from the application. The finish will feel a bit rough and waxy to the touch.
IMG_9712IMG_9716IMG_9721IMG_9723IMG_9733
Now wipe off the polish with another clean cotton rag. Use circular motions again to remove the wax. You have removed all of the wax when the finish is smooth to the touch.
IMG_9756IMG_9757
Although it seems repetitive, the next step is to use the Meguiar’s Final Inspection Spray to remove any missed wax. Again, you can either apply the spray directly to the frame or to a rag. Either way, use a clean rag to apply the Spray to the entire frame. Then wipe it down with another clean, dry rag.
IMG_9771IMG_9779IMG_9783
The last step is to apply the Blackfire Wet Diamond to get the final shine and protection. Apply the Blackfire to another clean rag and wipe down the entire frame. Then use a second rag as a final way to remove any residue from the frame. Finally, use a microfiber cloth to wipe down the entire frame.
IMG_9793IMG_9795IMG_9799
If you take a picture of your frame before and after the waxing, you’ll notice a huge difference in the shine of your bike. You’ll also notice your bike stays cleaner, longer as you continue to ride throughout the season.
WINTER STORAGE
This wash and wax is also a great final wash of the season if you are putting your bike away for winter. When you pull it back out in the spring, all you will need to do is wipe it of with the microfiber cloth and apply a new round of lube to the chain. The T-9 applied above does a great job at protecting your chain from rusting or seizing while in storage.
PRE-RIDE RITUAL
Our pre-ride ritual requires lube, a couple of rags, a paper bag, steel wool and alcohol pads.
IMG_9689
Start by lubing the chain with Rock-n-Roll lube. On days with dry roads, we use the red, Absolute Dry lube. When the roads are wet, or it’s foggy out, we use the Gold lube for a bit more waxiness to keep the chain from getting wet.
Set up the rags behind the the chain and apply the lube to the lower part of the chain behind the chain ring. Rotate the pedals ten times while applying the lube. Next apply the lube to both upper and lower rear derailleur sprockets. Then rotate the pedals another ten times.
IMG_9826
IMG_9836IMG_9841IMG_9845
With a clean rag, wipe the excess lube off the chain and derailleur sprockets. Start with the lower sprocket and then the upper sprocket. Then the chain where it meets the lower sprocket and repeat where the chain meets the upper sprocket.
IMG_9851IMG_9869IMG_9857IMG_9874
Then wipe the excess lube off the top and bottom of the chain by gripping the top and bottom of the lower part of the chain with your thumb and forefingers and rotating the pedals twenty times. Then do the same for the sides of the chain an rotate the pedals thirty times. Finally, repeat wiping the top and bottom of the chain another ten rotations. When you are done, your clean rag will have much of the dirt, grime and excess lube from your chain.
IMG_9877
IMG_9893
IMG_9901
After lubing the chain, we use an isopropyl alcohol pad to wipe off the aluminum breaking surfaces of the rims in order to remove any brake dust and ensure proper breaking.
If you have a nick or other surface imperfection in your braking surface, you can also use steel wool to smooth out the surface. We use copper, as it leaves less residue on the aluminum braking surfaces as your are smoothing it out.
IMG_9911
Finally, we pump the tires to the desired pressure. We use 95 – 100 psi for normal rides, or 100 – 110 psi for races. Once the tires are pumped, we are ready to roll with the clean, bright and shiny frames!
Whether you just got a new bike, or have been riding the same steed for years, a good wash and wax can make your ride look brand new and sparkle in the sun!
*Riding in the San Francisco Bay Area, we encounter A LOT of Pariah (Priuses or Pri-i, whatever), none of whom appear to either be cyclists, or even like cyclists as they are your most likely offender to passing too closely! Our theory is the Prius drivers are angry that cyclists have a smaller carbon footprint. Beyond our personal observations, the National Highway Safety Administration backs up our theory in that it has found bicyclists are 57% more likely to be in an accident with a hybrid, such as the Prius, than an internal combustion engine car (aka cars other than hybrids). Although it is our opinion no serious cyclist would ever drive a Prius and thus, a Prius driver need not read this article. However, just like every other rule, we have been informed there is an exception. So if you are one of the exceptions, please feel free to read and use all of the information in this article.